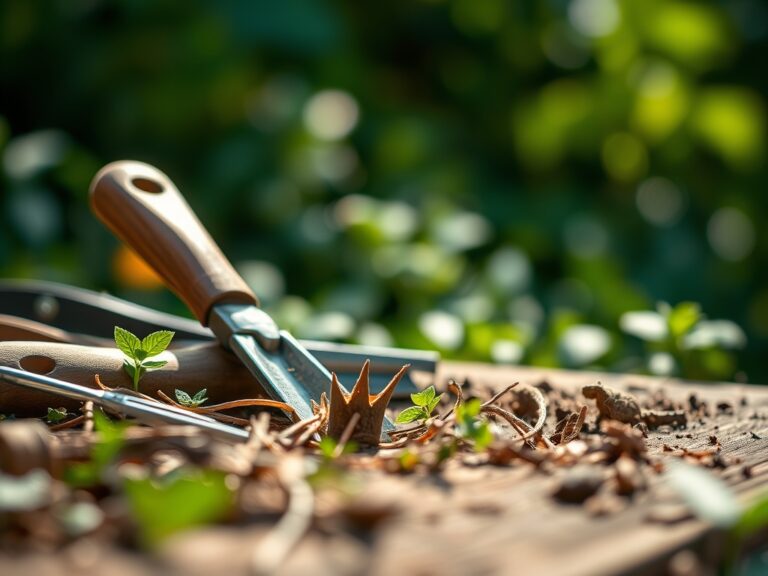
8 Tips to Use a Comprehensive Tool Repair Guide
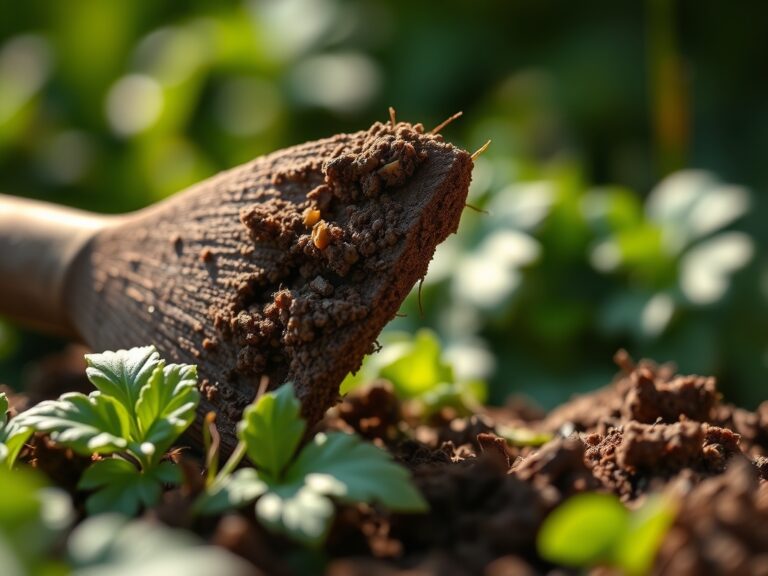
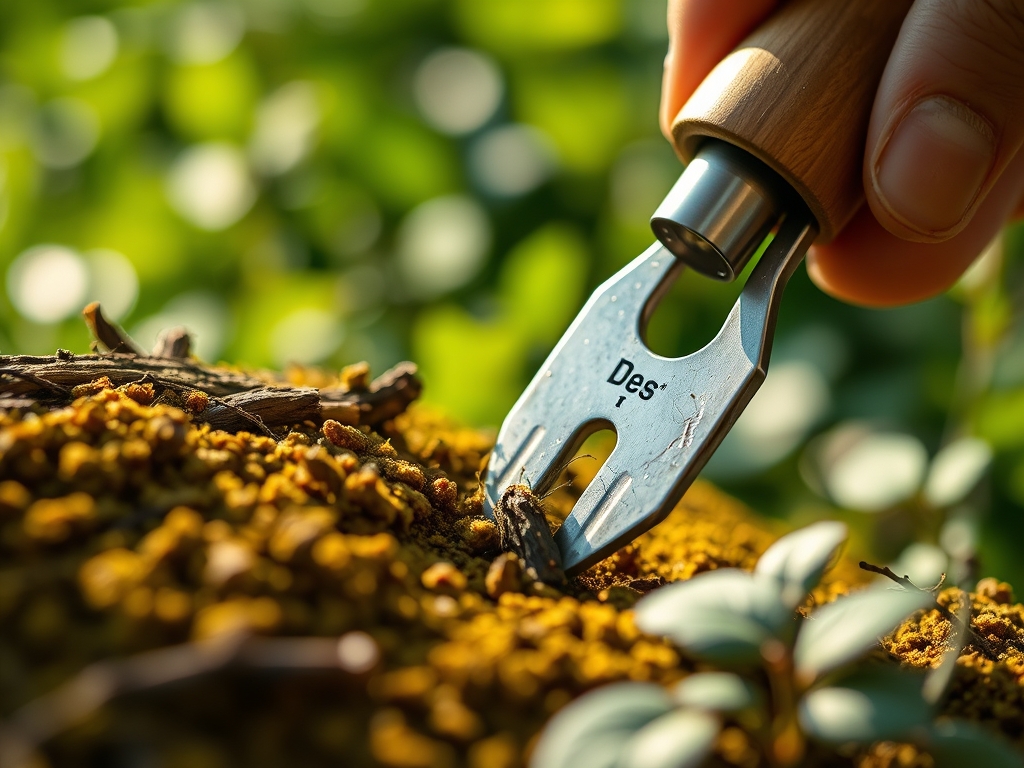
Damp soil clinging to a spade indicates high organic matter; however, a dull edge or a loose ferrule disrupts the mechanical advantage required to penetrate the rhizosphere. Using a repair guide for garden tools ensures that your equipment maintains the structural integrity needed to manage plant turgor and soil compaction. When a bypass pruner loses its calibration, it crushes vascular tissue instead of severing it. This creates jagged entry points for pathogens. Maintaining your inventory through systematic restoration prevents the physiological stress associated with improper pruning and cultivation. Precision in tool maintenance correlates directly with the precision of your horticultural interventions. A sharp, well oiled tool reduces the physical force required for operation; this minimizes soil disturbance and protects the delicate fungal networks essential for nutrient uptake.
Materials:
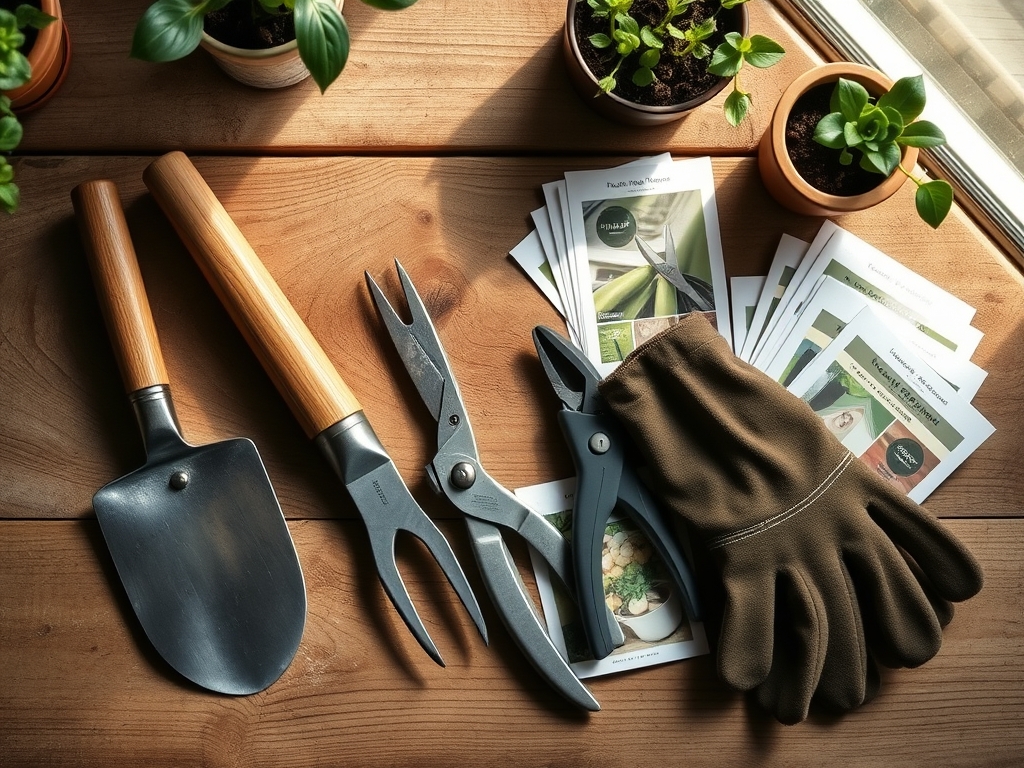
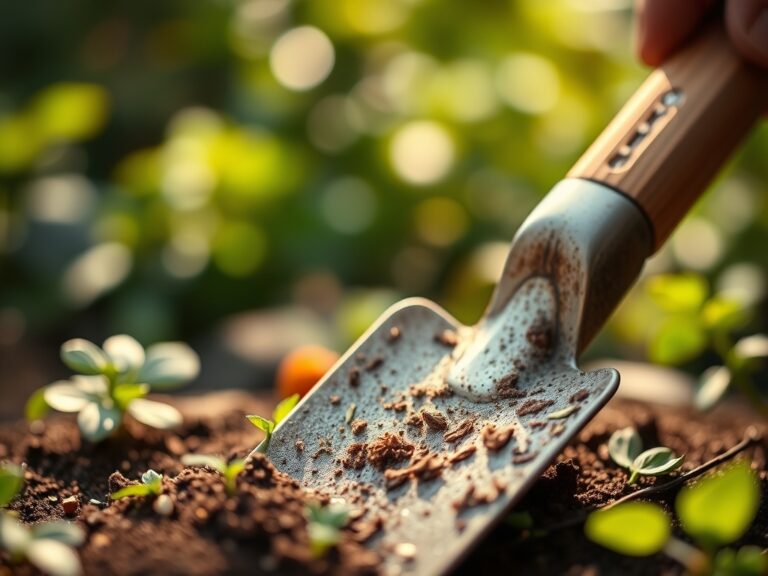
The efficacy of your garden tools directly impacts the chemical and physical state of your growing medium. To maintain a **friable loam** with a **pH between 6.2 and 6.8**, your tools must be free of oxidation and chemical residues. When repairing tools used for fertilization, understand the chemistry of the inputs. A standard **10-10-10 NPK ratio** provides balanced nitrogen, phosphorus, and potassium; however, salt buildup on metal surfaces accelerates corrosion. High **Cation Exchange Capacity (CEC)** soils, often rich in clay or organic matter, require heavy-duty digging tools with reinforced shanks. Use a **3-in-1 oil** for moving parts and a **medium-grit whetstone** for blade restoration. For wooden handles, **boiled linseed oil** prevents desiccation and splintering. Avoid petroleum-based lubricants near the root zone to prevent hydrocarbon contamination of the soil biology.
Timing:
Tool maintenance should align with the biological clock of your specific Hardiness Zone. In Zones 5 through 7, the primary repair window occurs during the dormant season, typically between the first hard frost in November and the spring thaw in March. This prevents the interruption of critical spring tasks like seedbed preparation. During the vegetative stage, tools must be sharp to ensure clean cuts that heal before the plant transitions to the reproductive stage. Pruning a plant during its peak flowering period can trigger premature senescence if the tool is dull or contaminated. Monitor the photoperiod; as days shorten, the reduction in photosynthesis slows the plant's ability to recover from mechanical damage. Execute major tool overhauls when the ground is frozen or saturated to avoid the temptation of working wet soil, which destroys soil structure.
Phases:

Sowing and Preparation
Before the first seed hits the soil, calibrate your seeding tools and sharpen your hoes. A clean, sharp draw hoe allows for precise furrow depth, which is critical for seeds requiring specific light levels for germination. Using a repair guide for garden tools during this phase ensures that depth markers on trowels remain legible.
Pro-Tip: Maintaining a sharp edge on weeding tools prevents the survival of taprooted competitors. This reduces competition for light, preventing phototropism where your primary crop grows weak and leggy while stretching toward a light source.
Transplanting and Root Management
Transplanting requires a hori-hori knife with a calibrated blade to measure hole depth accurately. If the blade is rusted or dull, it can tear the root ball. This damage disrupts the mycorrhizal symbiosis between the roots and beneficial soil fungi, slowing the establishment of the plant in its new location.
Pro-Tip: Use a sterilized blade to make clean cuts on any circling roots. This stimulates the release of auxins at the cut site, promoting the growth of new, lateral feeder roots that increase nutrient uptake efficiency.
Establishing and Pruning
As the plant enters its rapid growth phase, bypass pruners must be perfectly aligned. A gap between the blade and the anvil leads to tearing of the epidermis and cortex. This mechanical failure exposes the plant to airborne spores and insects.
Pro-Tip: Proper pruning tool maintenance allows for the strategic removal of the terminal bud. This triggers auxin suppression in the lateral buds, encouraging a bushier growth habit and increasing the total photosynthetic surface area.
The Clinic:
Physiological disorders in plants are often exacerbated by faulty tools. Use the following diagnostic criteria to identify when your equipment or your soil chemistry is failing.
Symptom: Ragged, brown edges on pruned stems.
Solution: This is a mechanical failure. Use a repair guide to disassemble your pruners and sharpen the blade to a 20-degree angle. Tighten the pivot bolt to ensure the blades pass each other with zero clearance.
Symptom: Interveinal chlorosis (yellowing between leaf veins).
Solution: This indicates a Magnesium deficiency or a pH imbalance. Test the soil; if the pH is below 6.0, apply dolomitic lime. Ensure your soil probes are polished and calibrated to get an accurate reading.
Symptom: Stunted growth and pale green leaves.
Solution: This is Nitrogen chlorosis. Apply a high-nitrogen fertilizer (such as a 21-0-0 ammonium sulfate) at a rate of 0.5 pounds per 100 square feet. Ensure your broadcast spreader is cleaned and the gears are lubricated for even distribution.
Symptom: Wilting despite adequate soil moisture.
Solution: Check for root rot or mechanical damage to the main stem. A dull shovel used during transplanting may have severed the primary xylem vessels, preventing the transport of water to maintain turgor pressure.
Maintenance:
Long-term tool health requires a strict regimen. After every use, remove soil using a stiff brush; soil holds moisture and promotes oxidation. Apply a light coat of oil to all metal surfaces. For irrigation systems, use a soil moisture meter to ensure you are delivering exactly 1.5 inches of water per week at the drip line. This prevents localized anaerobic conditions that can lead to root decay. Inspect your bypass pruners for spring tension; if the spring is weak, replace it to prevent hand fatigue and inaccurate cuts. Store wooden-handled tools in a bucket of sand mixed with mineral oil to keep the wood conditioned and the metal polished. Every six months, check the handles for cracks; a failing handle is a safety hazard and reduces the leverage needed for heavy soil work.
The Yield:
Harvesting is the culmination of the biological cycle. For leafy greens, harvest in the early morning when turgor pressure is at its peak. Use a sharpened harvesting knife to make a single, clean cut. For fruiting crops like tomatoes or peppers, use snips to avoid pulling on the vine, which can cause vascular damage to the remaining fruit. To maintain "day-one" freshness, immediately move the harvest to a cool environment to slow the rate of respiration and prevent the breakdown of sugars. Field heat must be removed quickly to extend the shelf life of the produce. Clean your harvesting tools with a 70% isopropyl alcohol solution between plants to prevent the cross-contamination of viral or bacterial pathogens.
FAQ:
How do I fix a rusted garden spade?
Remove surface rust using a wire brush or 80-grit sandpaper. Once the bare metal is exposed, sharpen the leading edge with a mill file. Apply a thin layer of mineral oil to prevent further oxidation and store in a dry environment.
What is the best way to sharpen bypass pruners?
Disassemble the pruners and use a diamond hone or whetstone. Follow the factory bevel, usually between 15 and 20 degrees. Only sharpen the outside edge of the cutting blade; never sharpen the flat side or the anvil.
Why is my wooden tool handle splintering?
Splintering occurs due to UV degradation and moisture loss. Sand the handle with 120-grit sandpaper until smooth. Apply multiple coats of boiled linseed oil, allowing each coat to penetrate the wood fibers before wiping away the excess.
How often should I calibrate my soil pH meter?
Calibrate your meter at the start of every season using a buffer solution of known pH (usually 4.0 and 7.0). Accurate readings are essential for managing nutrient availability and preventing chemical lockout in the rhizosphere.