6 Tips to Use a Complete Tool Maintenance Guide
The smell of damp earth and the crisp turgor of a healthy leaf define a productive garden; however, the efficiency of your labor depends entirely on the condition of your steel. Dull blades crush vascular tissue instead of slicing it. This leads to pathogen entry and slow healing for the plant. Using a maintenance guide for garden tools ensures that every cut is surgical and every soil penetration is effortless. Neglected tools increase physical strain on the gardener and the garden alike. Maintaining a sharp edge and a clean surface is not a matter of aesthetics; it is a fundamental requirement for plant health and systemic longevity.
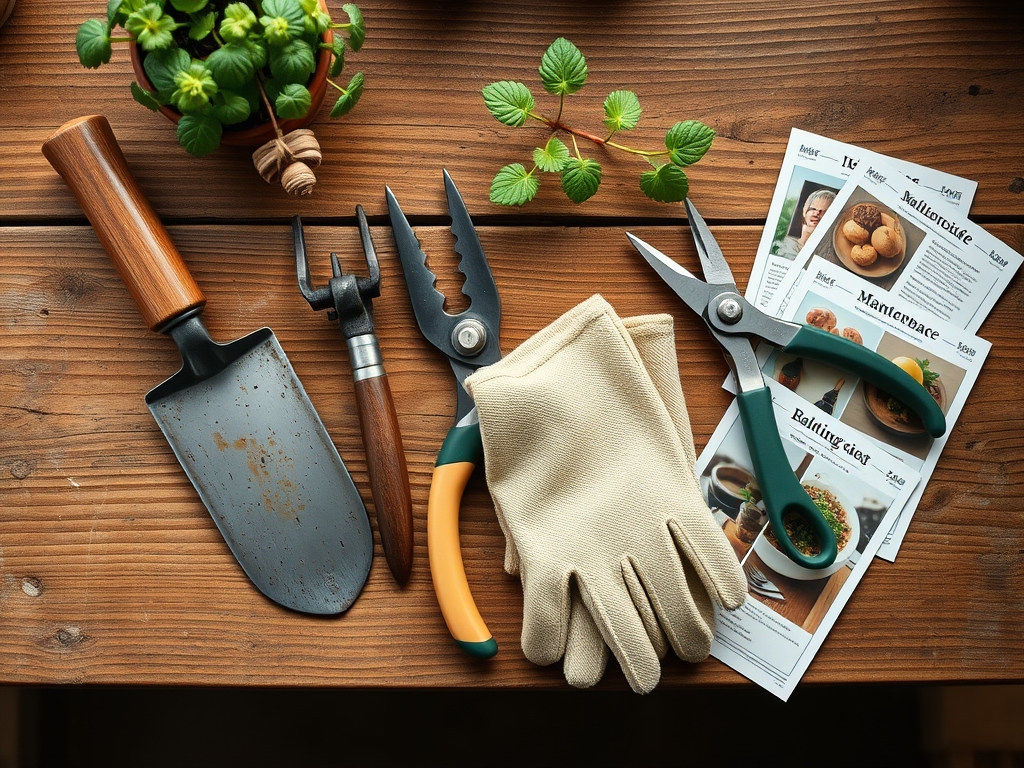
Materials:
To optimize the rhizosphere and ensure proper nutrient uptake, the soil environment must be managed alongside the tools that cultivate it. A **friable loam** with a crumbly texture allows for maximum aeration and root penetration. Maintain a soil pH between **6.2 and 6.8** to ensure the availability of essential macronutrients. When preparing the substrate, incorporate a balanced NPK ratio of **10-10-10** for general establishment. For heavy feeders, a high-nitrogen ratio like **20-10-10** supports rapid vegetative growth. High Cation Exchange Capacity (CEC) in the soil ensures that positively charged ions such as Potassium (K+) and Magnesium (Mg2+) are held in the root zone rather than leaching away during irrigation.
Timing:
Timing is dictated by the Hardiness Zone and the biological clock of the species. In Zones 5 through 7, the primary maintenance window for tools occurs during the dormant season, typically between the first hard frost in November and the spring thaw in March. This prevents the transfer of fungal spores during active growth phases. The biological clock of a plant transitions from the vegetative stage to the reproductive stage based on the photoperiod. Pruning must occur before the sap rises in late winter to prevent excessive bleeding of the plant's vascular system. Using a maintenance guide for garden tools during these windows ensures equipment is ready for the high-demand planting season.
Phases:
Sowing
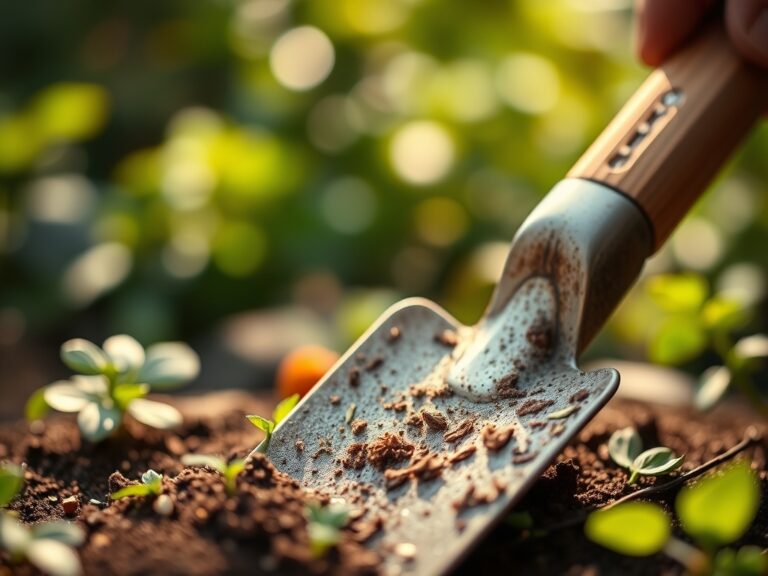
Success starts with a clean seedbed. Use a sharpened hoe to create a uniform furrow at a depth exactly three times the diameter of the seed. This ensures adequate soil-to-seed contact and moisture retention for germination.
Pro-Tip: Proper seed depth is critical for skotomorphogenesis, the development of a seedling in the dark. If the tool creates an uneven furrow, the seedling may exhaust its endosperm reserves before reaching the surface for photosynthesis.
Transplanting
When moving a specimen from a container to the field, use a hori-hori knife to slice through any circling roots. This encourages lateral root branching into the new soil profile. Ensure the transplant hole is twice as wide as the root ball but no deeper.
Pro-Tip: Slicing the root ball triggers auxin suppression at the tips, which stimulates the plant to produce new, healthy root hairs. This process increases the surface area for water absorption and reduces transplant shock.
Establishing
Once the plant is in the ground, use a soil moisture meter to monitor the hydration levels at a depth of 6 inches. Consistent moisture is required to maintain turgor pressure within the cells, preventing the plant from wilting or entering early senescence.
Pro-Tip: Maintaining a consistent moisture gradient encourages mycorrhizal symbiosis. These beneficial fungi extend the reach of the root system, allowing the plant to access phosphorus that would otherwise remain immobile in the soil.
The Clinic:
Physiological disorders often stem from improper tool use or soil imbalances. Observe the plant for these specific symptoms:
- Nitrogen Chlorosis: Symptoms include the yellowing of older, lower leaves while the veins remain green. Fix-It: Apply a high-nitrogen fertilizer (NPK 4-1-1) to the soil surface and water in deeply.
- Blossom End Rot: This appears as a dark, leathery spot on the bottom of the fruit. This is caused by a Calcium deficiency often triggered by inconsistent watering. Fix-It: Maintain a steady irrigation schedule and ensure soil pH is above 6.0 to facilitate Calcium uptake.
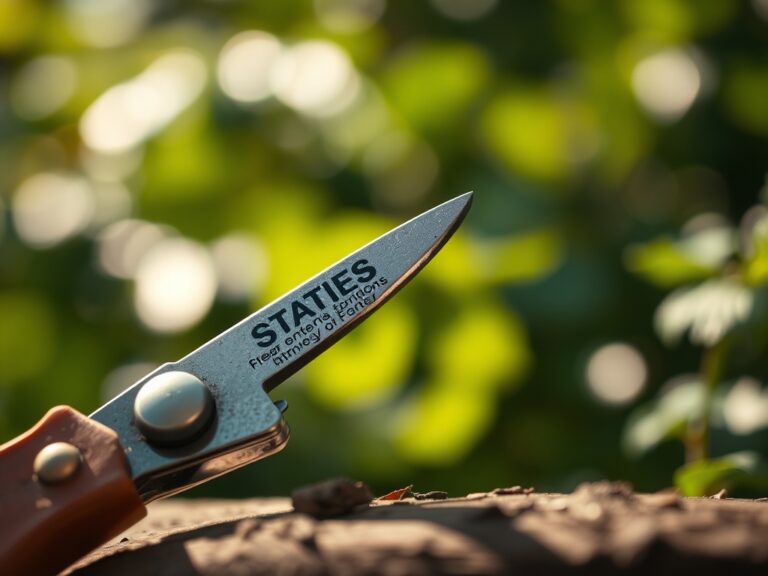
- Bacterial Canker: Sunken, weeping sores on woody stems. This is often spread by unsterilized bypass pruners. Fix-It: Prune out infected tissue 6 inches below the visible canker and soak tools in a 10 percent bleach solution between every single cut.
- Iron Deficiency: New leaves appear yellow or white while veins stay dark green. This usually occurs in alkaline soils where pH exceeds 7.5. Fix-It: Lower the pH using elemental sulfur or apply chelated iron foliar sprays.
Maintenance:
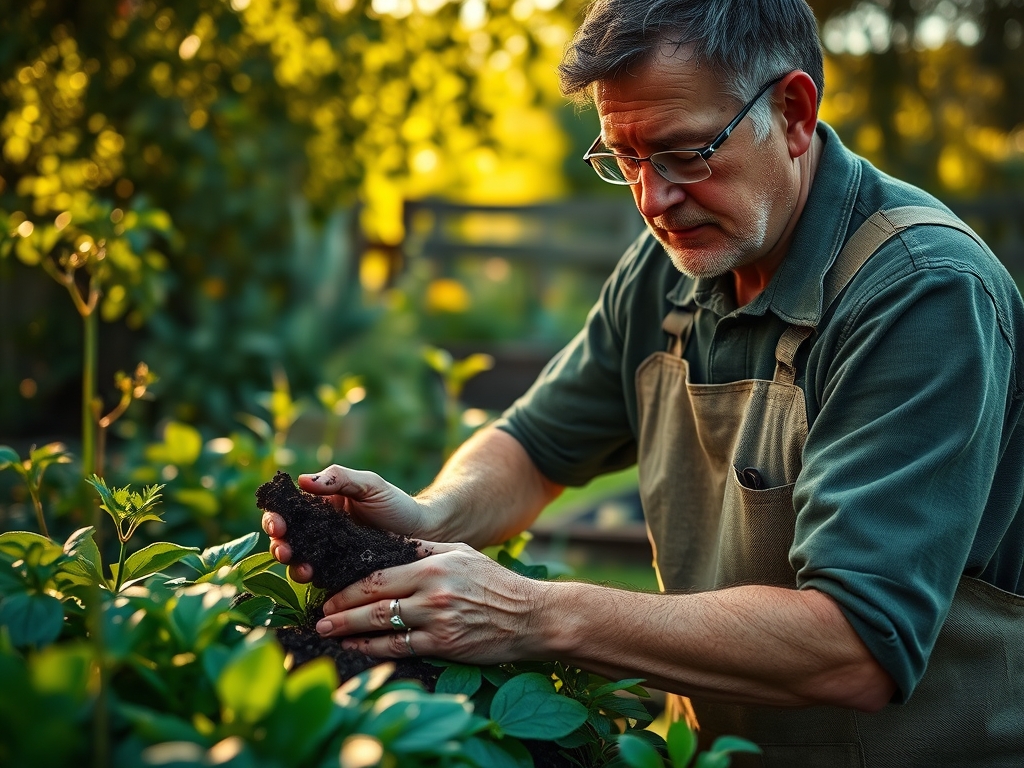
Precision maintenance extends the life of the tool and the plant. Every tool requires a specific cleaning protocol. After each use, scrub steel surfaces with a stiff brush to remove soil, which holds moisture and promotes oxidation. Sharpen blades using a medium-grit whetstone at a 20-degree angle to maintain a factory edge. Lubricate pivot points with a drop of mineral oil to prevent binding.
For the garden itself, apply 1.5 inches of water per week at the drip line. Use a soil moisture meter to ensure the water penetrates the top 8 inches of the soil profile. Avoid overhead watering to minimize leaf wetness, which serves as a primary vector for fungal pathogens. Clean your hori-hori knife and bypass pruners with isopropyl alcohol after working with diseased material to prevent cross-contamination.
The Yield:
Harvesting is the final stage of the production cycle. For most leafy greens, harvest in the early morning when turgor pressure is at its peak. This ensures the cell walls are fully hydrated, providing a crisp texture. For fruiting crops, use sharp bypass pruners to cut the pedicel rather than pulling the fruit, which can damage the main stem.
Post-harvest handling is vital for "day-one" freshness. Immediately submerge harvested greens in 40-degree Fahrenheit water to remove field heat. This slows the rate of respiration and prevents the degradation of sugars and vitamins. For woody herbs, keep the stems in a shallow container of water, similar to a floral arrangement, to maintain hydration until consumption.
FAQ:
How often should I sharpen my bypass pruners?
Sharpen your pruners every 20 to 50 hours of use or whenever you notice the blade crushing the stem rather than slicing it. A sharp blade ensures rapid healing of the plant's vascular tissue and prevents disease.
What is the best way to prevent rust on garden tools?
Clean all soil from the metal surfaces after each use. Apply a thin layer of mineral oil or linseed oil to the steel. Store tools in a dry environment, ideally hanging, to prevent moisture accumulation on the blades.
Can I use a maintenance guide for power tools too?
Yes. Power equipment like tillers or hedge trimmers requires specific schedules for oil changes and blade sharpening. Following a guide prevents engine failure and ensures that the mechanical action of the tool does not tear plant fibers.
Why is tool sterilization important in a garden?
Sterilization prevents the mechanical transmission of pathogenic fungi, bacteria, and viruses. Using a 70 percent isopropyl alcohol solution on your tools between plants stops the spread of systemic infections that can decimate an entire crop.