6 Steps to Build a Durable Pergola Renovation Focal Point
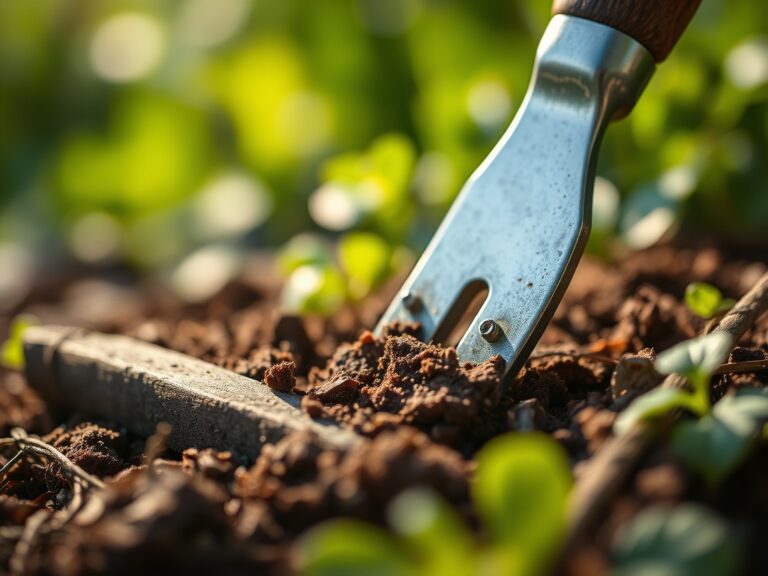
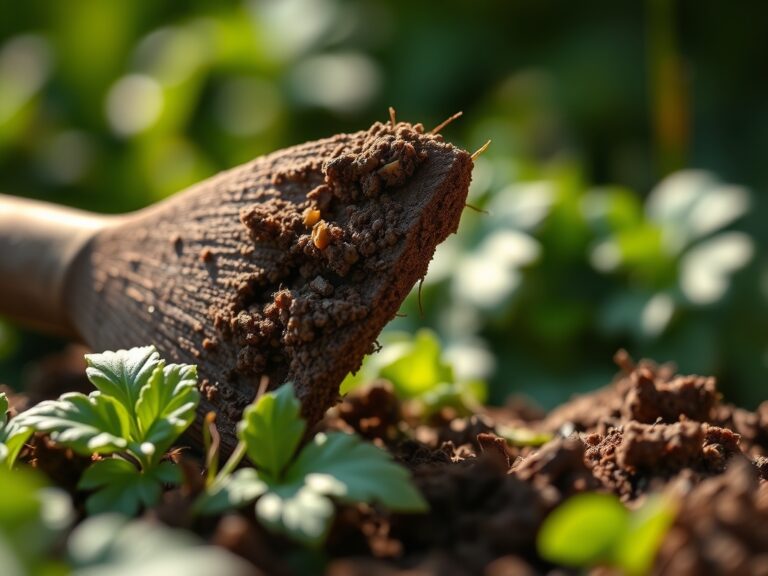
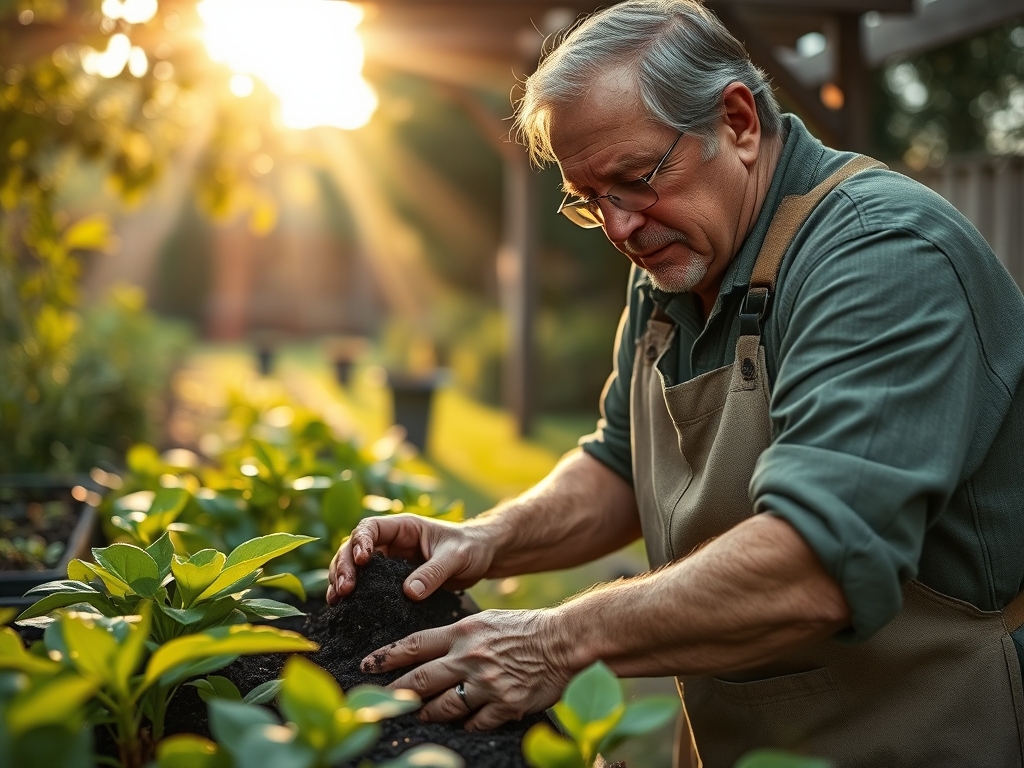
The scent of damp, disturbed earth signals the beginning of a structural shift in the garden landscape. When you break ground, you encounter the cool, gritty reality of the rhizosphere, where moisture levels and soil density dictate the longevity of any heavy installation. Success requires more than just timber; it demands an understanding of how a permanent structure interacts with the living substrate. Following the specific steps for building a garden pergola ensures that the vertical weight does not compromise the turgor pressure of surrounding flora or lead to localized soil compaction. Every post hole dug is an invitation to observe the soil profile, from the organic-rich A horizon down to the mineral-heavy subsoil. A durable renovation focal point balances architectural rigidity with the fluid needs of the botanical environment. By integrating structural footings with high-performance soil management, you create a microclimate that supports both wood and leaf. Precision in the initial measurements prevents future mechanical stress on the root systems of climbing perennials intended to colonize the rafters.
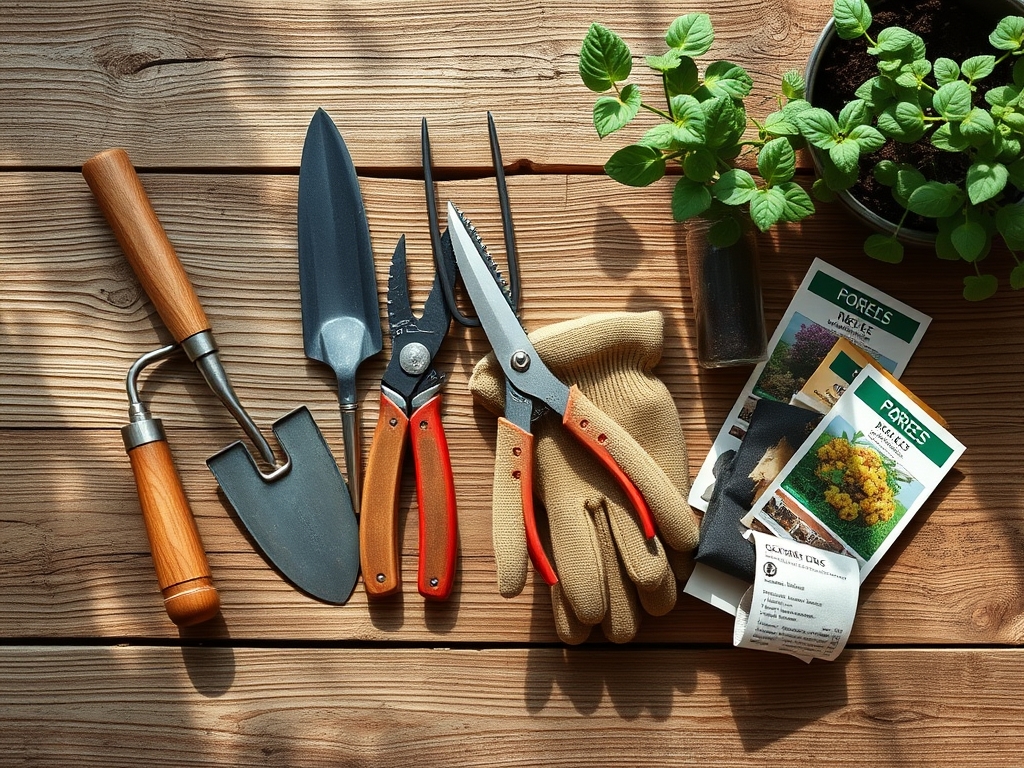
Materials:
The foundation of a pergola renovation is not just the lumber but the soil that anchors it. For the surrounding planting beds, aim for a **friable loam** with a **Cation Exchange Capacity (CEC) between 15 and 25 meq/100g**. This ensures the soil can retain and exchange essential cations like potassium and calcium. Maintain a **soil pH between 6.2 and 6.8** to optimize nutrient availability.
Before planting climbers like Wisteria or Clematis at the base of your posts, amend the backfill with a slow-release organic fertilizer. Use an NPK ratio of 5-10-5 for initial root establishment; the higher phosphorus content supports ATP production and cellular division in the root tips. The physical texture should be crumbly, allowing for 15 to 20 percent macropore space to facilitate gas exchange. Avoid heavy clays that suffocate the rhizosphere or pure sands that fail to hold moisture against the post footings.
Timing:
Timing is dictated by the USDA Hardiness Zones and the local frost-free window. In Zones 5 through 7, structural work should commence in late winter or early spring while the ground is workable but the plants are in dormancy. This prevents damage to the vascular cambium of existing perennials.
The biological clock of your garden determines the best window for the "planting" phase of the pergola. Transitioning from the vegetative to the reproductive stage requires consistent photoperiods. Aim to have the structure complete before the vernal equinox. This allows climbing plants to utilize the full spring surge of auxins, the hormones responsible for apical dominance and upward growth, as they begin to scale the new supports.
Phases:
Sowing and Foundation
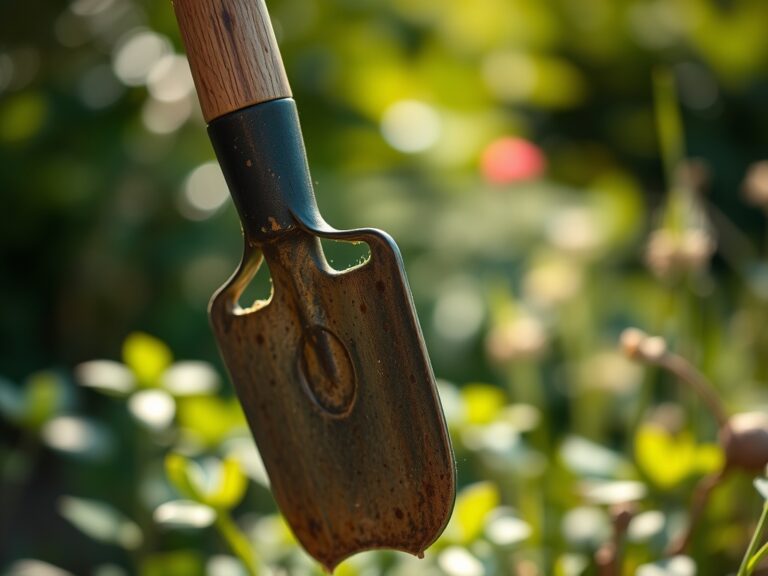
Excavate post holes to a depth of at least 36 inches, or 6 inches below the local frost line. This prevents frost heave from displacing the structure. For the botanical elements, sow seeds or prepare the soil for transplants at the base of the posts. Ensure the soil is not overly compacted during the construction phase.
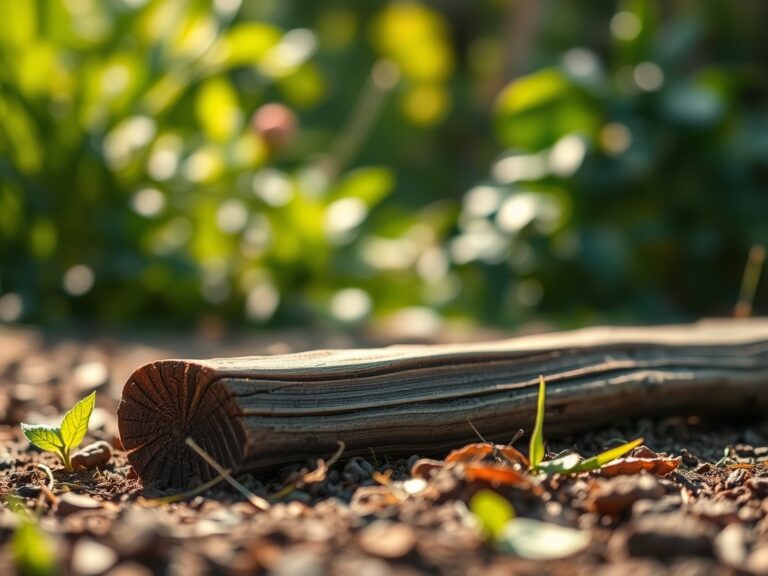
Pro-Tip: Maintain a 12-inch buffer of mulch between the timber and the soil to prevent mycorrhizal symbiosis from being disrupted by wood preservatives. This buffer also prevents mechanical damage to the plant stems during maintenance.
Transplanting
When moving mature climbers to the new pergola, minimize root exposure to prevent transpiration stress. Dig a hole twice the width of the root ball. Ensure the crown sits exactly at the soil line to avoid stem rot.
Pro-Tip: Use a root-stimulating solution containing Vitamin B1 or seaweed extract. This mitigates transplant shock by stabilizing the plant's turgor pressure and encouraging rapid fine-root development in the new substrate.
Establishing
As the plants begin to reach for the rafters, they utilize thigmotropism, a growth response to touch. Manually guide the primary leaders toward the posts using soft ties. Monitor the photoperiod requirements; if the pergola creates too much shade, lower-level plants may experience etiolation, or weak, leggy growth.
Pro-Tip: Prune the lateral buds in the first season to suppress auxin in the side branches. This redirects energy to the main leader, ensuring the plant reaches the top of the structure faster.
The Clinic:
Physiological disorders can undermine the aesthetic of your renovation. Monitor these specific symptoms:
- Nitrogen Chlorosis: Symptoms include yellowing of older leaves while veins remain green. Solution: Apply a high-nitrogen liquid feed (NPK 10-0-0) to restore chlorophyll production.
- Leaf Scorch: Brown, crispy edges on leaves. This is often caused by high salt index in the soil or wind desiccation. Solution: Increase deep watering to flush salts and provide a temporary windbreak.
- Iron Deficiency: New growth appears pale yellow or white. This usually occurs when the pH exceeds 7.5. Solution: Apply chelated iron and incorporate elemental sulfur to lower the pH.
- Powdery Mildew: A white fungal coating on leaves, common in areas with poor airflow. Solution: Prune for better air circulation and use a potassium bicarbonate spray.
Maintenance:
A durable pergola requires rigorous upkeep of both the wood and the surrounding biology. Deliver 1.5 inches of water per week at the drip line, rather than at the base of the post, to encourage wide root distribution. Use a soil moisture meter to verify that the moisture has penetrated 8 inches deep.
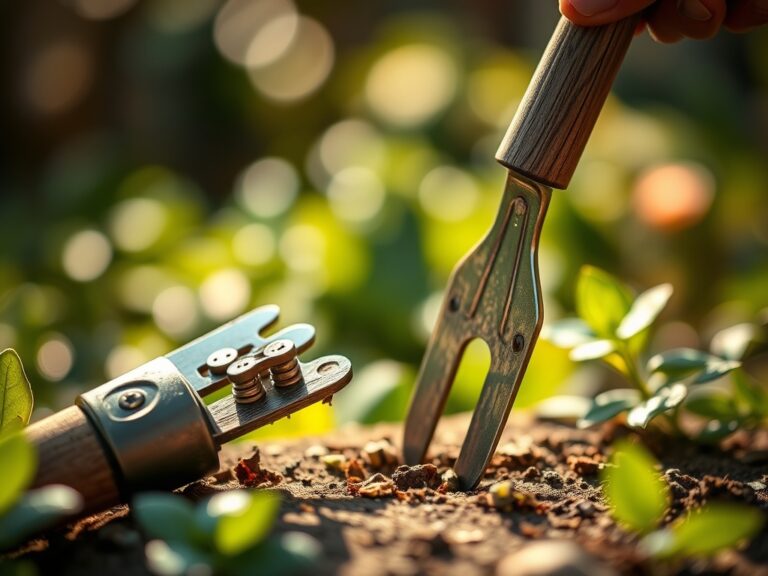
Prune your climbers annually using sharp bypass pruners to make clean cuts that heal quickly. Use a hori-hori knife to remove invasive weeds that compete for nutrients in the rhizosphere. Inspect the timber-to-soil contact points for signs of fungal decay or subterranean insect activity, ensuring the wood remains structurally sound for the weight of the mature canopy.
The Yield:
If your pergola supports fruiting vines like grapes or hardy kiwi, harvest timing is critical. Use a refractometer to measure the Brix levels (sugar content) of the fruit. For grapes, a Brix reading of 18 to 22 is ideal.
Harvest during the cool of the morning when turgor pressure is highest. This prevents the fruit from shriveling. Use sterilized snips to cut the clusters, leaving a small portion of the stem attached to maintain freshness. Post-harvest, prune the vines back to two or three buds per spur to ensure the plant remains productive for the following season.
FAQ:
How deep should pergola posts be buried?
Posts must reach 36 inches deep or at least 6 inches below your local frost line. This depth prevents structural shifting during freeze-thaw cycles and provides enough leverage to support the weight of heavy mature vines and wind loads.
What is the best NPK ratio for climbing plants?
Use an NPK ratio of 10-10-10 for general maintenance. During the first year of establishment, switch to a 5-10-5 formula. The higher phosphorus content is essential for developing a robust root system capable of supporting vertical growth.
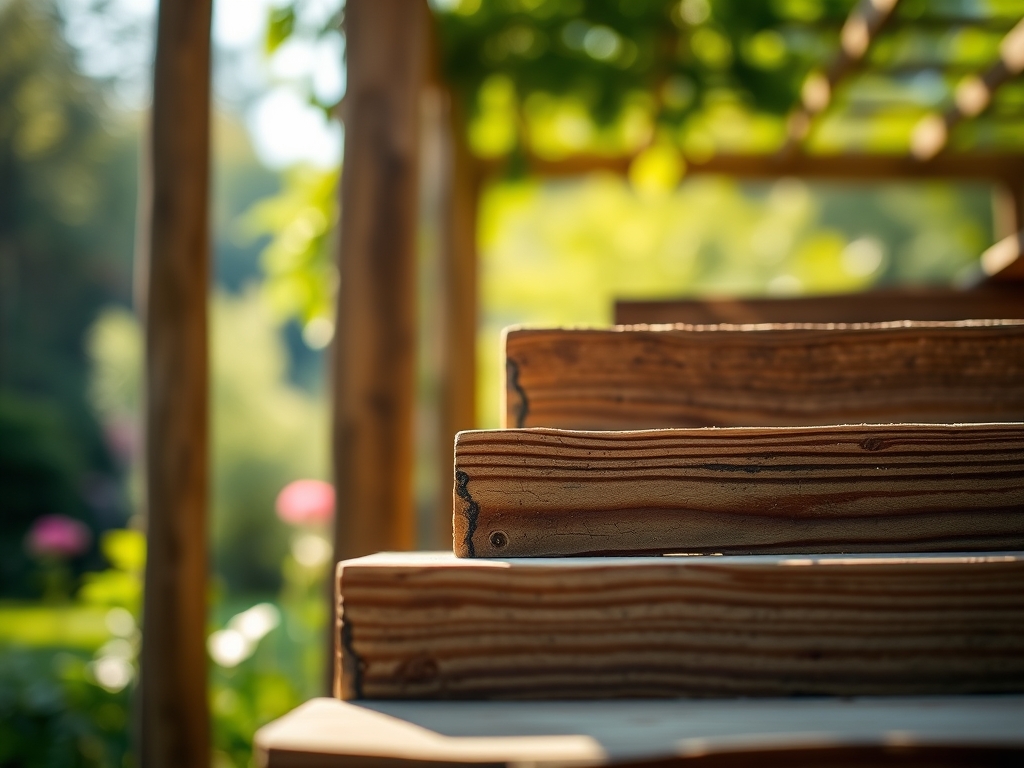
How do I prevent wood rot in garden soil?
Use Pressure-Treated (UC4B grade) lumber rated for direct ground contact. Additionally, ensure the soil has a low organic matter percentage directly against the post and maintain a slope away from the timber to prevent water pooling.
Why are my pergola plants turning yellow?
Yellowing, or chlorosis, usually indicates a Nitrogen deficiency or a pH imbalance. Test your soil; if the pH is above 7.0, the plant cannot uptake iron or manganese, leading to a loss of chlorophyll in new foliage.
When is the best time to prune pergola climbers?
Prune in late winter or early spring while the plant is dormant. This timing prevents the loss of sap and reduces the risk of pathogen entry. Always prune before the spring "sap flow" begins to maximize the plant's recovery.