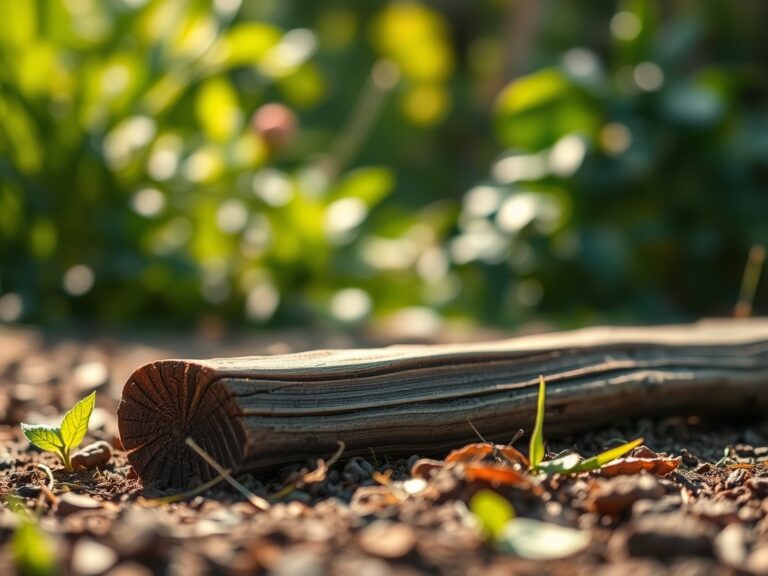
7 Steps to Clean a Garden Hoe for Better Performance
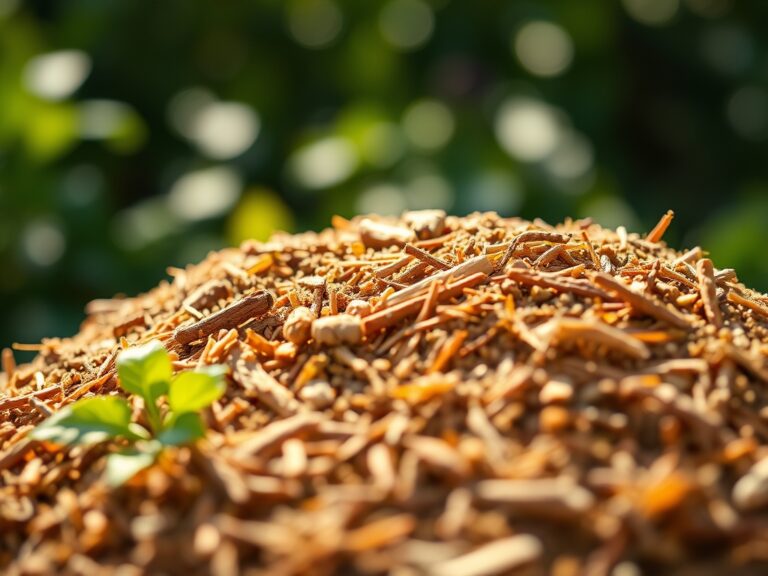
Damp earth clings to the forged steel of a Dutch hoe; its weight increases as clay particles bind to the metal surface. This residue increases friction and compromises the efficiency of every stroke through the rhizosphere. Maintaining a sharp edge and a sterile surface is not a matter of aesthetics; it is a requirement for preventing the transmission of soil borne pathogens. Following specific steps for cleaning a garden hoe after use ensures the longevity of the tool and the health of your crops. A neglected blade harbors fungal spores that thrive in the moisture trapped against the steel. By removing organic debris and neutralizing contaminants, you preserve the structural integrity of the metal and maintain the turgor pressure of your plants by ensuring clean, precise cuts that heal rapidly.
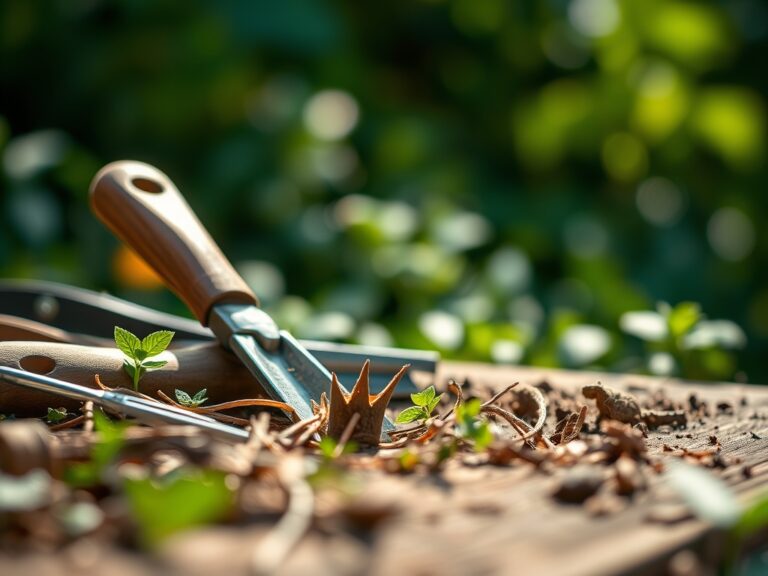
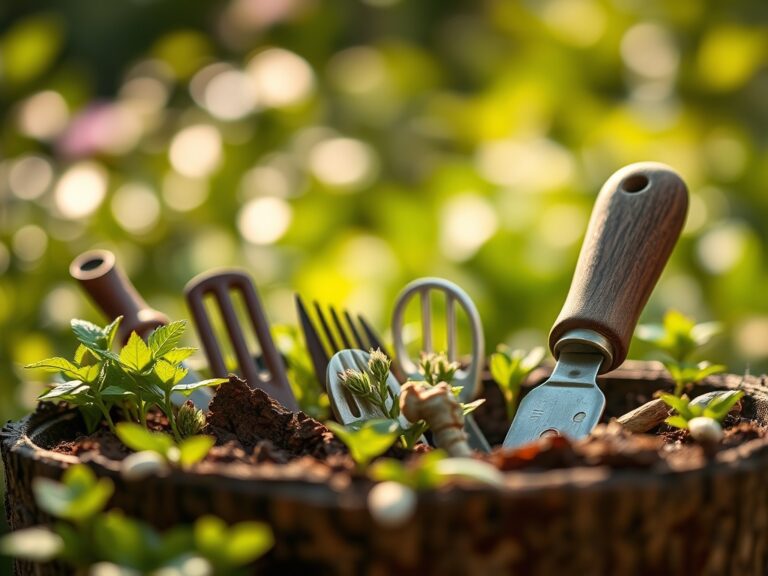
Materials:
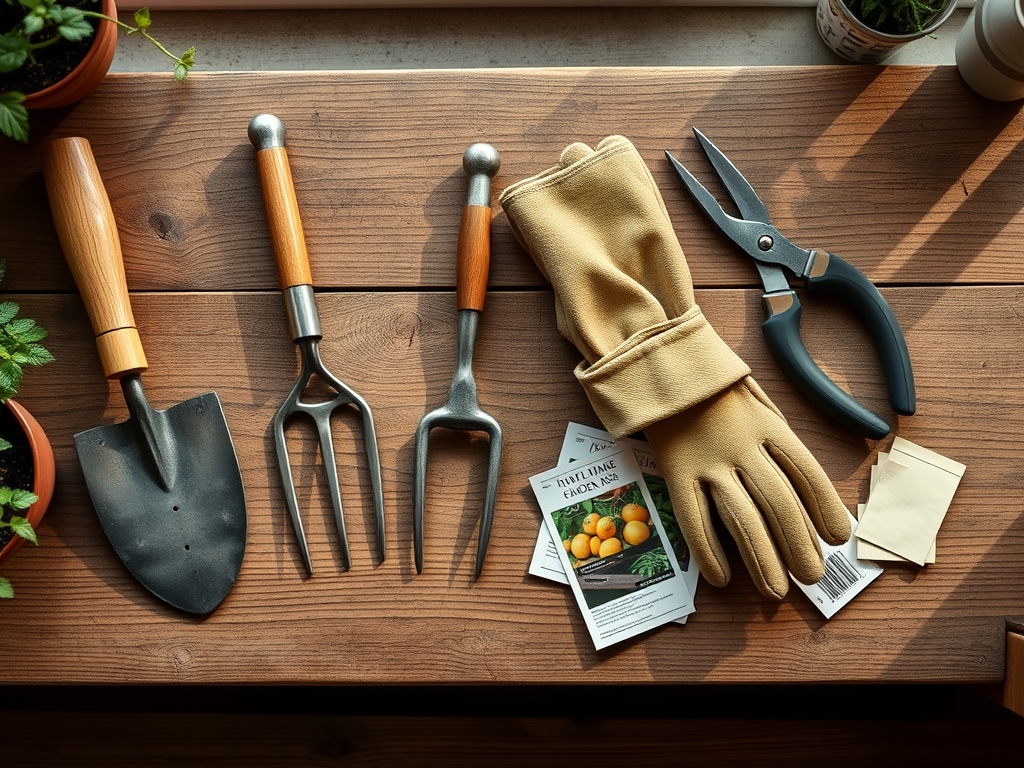
To maintain a hoe effectively, one must understand the environment it inhabits. The ideal substrate for most garden crops is a **friable loam** with a **pH between 6.0 and 7.0**. This texture allows for high **Cation Exchange Capacity (CEC)**, ensuring that essential nutrients like **Nitrogen (N), Phosphorus (P), and Potassium (K)** are available to the root system. When cleaning, you will need a stiff wire brush, linseed oil, and a 10 percent bleach solution. If you are amending soil during the cleaning process, aim for an **NPK ratio of 10-10-10** for general maintenance or **5-10-10** for root development. The physical texture of the soil dictates the level of abrasion the tool faces; sandy soils act as a constant grit that strips protective coatings, while heavy clays require chemical solvents to remove stubborn films.
Timing:
Hardiness Zones 3 through 9 dictate the seasonal windows for tool maintenance and soil preparation. In colder zones, the cleaning process must be completed before the first hard frost, typically when soil temperatures drop below 40 degrees Fahrenheit. This prevents the freezing of moisture within the wooden handle grain, which causes structural splintering. The biological clock of the garden transitions from the vegetative stage to the reproductive stage as photoperiods shorten. During this senescence phase, tools must be sterilized to prevent the carryover of pathogens into the following season. Cleaning should occur immediately after use to prevent the oxidation of the steel, which begins within hours of exposure to high-moisture soils.
Phases:
Sowing and Initial Scouring
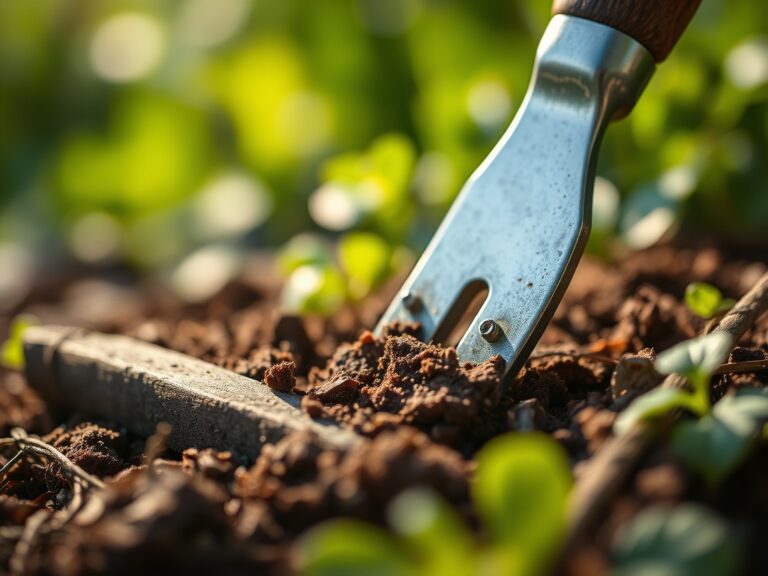
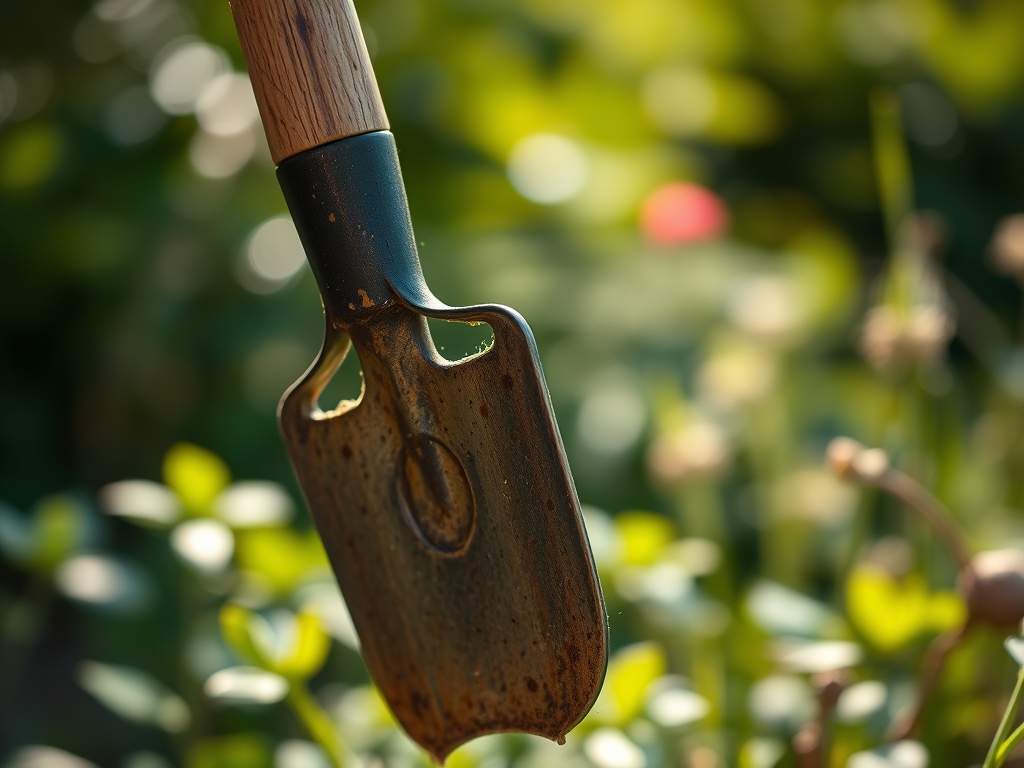
The first step involves removing bulk soil from the blade using a hori-hori knife or a stiff brush. This prevents the buildup of anaerobic bacteria that thrive in compacted mud. Dry the tool thoroughly to prevent the formation of ferric oxide.
Pro-Tip: Removing soil prevents the accidental transfer of weed seeds. This protects the mycorrhizal symbiosis in your beds by ensuring that only desired species are competing for the available phosphorus in the soil.
Transplanting and Disinfection
Submerge the blade in a disinfectant solution for ten minutes. This is critical when moving between different areas of the garden to avoid cross-contamination of fusarium wilt or other systemic pathogens.
Pro-Tip: Sterilization prevents the disruption of auxin suppression in young transplants. Pathogens can trigger a stress response that halts the production of growth hormones, leading to stunted development or transplant shock.
Establishing and Sharpening
Use a mill file to restore the 45-degree bevel on the leading edge of the hoe. A sharp tool requires less force, which reduces soil compaction around the base of established plants. Finish by rubbing the metal and wood with linseed oil to create a hydrophobic barrier.
Pro-Tip: A sharp blade ensures clean cuts on weed roots rather than tearing them. Tearing causes the release of ethylene gas, which can signal a stress response in neighboring plants and negatively impact their phototropism or light-seeking efficiency.
The Clinic:
Physiological disorders often manifest when tools are neglected or soil chemistry is imbalanced.
- Symptom: Interveinal chlorosis in young leaves. Solution: This indicates Nitrogen deficiency. Apply a high-nitrogen fertilizer (NPK 21-0-0) to restore chlorophyll production.
- Symptom: Blossom end rot in fruit. Solution: This is a Calcium transport issue often caused by inconsistent moisture. Use a soil moisture meter to maintain uniform hydration.
- Symptom: Purple tinting on the underside of leaves. Solution: This suggests Phosphorus deficiency, common in cold soils where the CEC is inhibited. Increase the soil temperature using black plastic mulch.
- Symptom: Marginal leaf scorch. Solution: This is typically Potassium deficiency. Amend the soil with sulfate of potash to improve water regulation within the plant cells.
Fix-It: For general nutrient lockout, check the soil pH. If the pH is below 5.5, nutrients become chemically bound to soil particles and unavailable to the plant. Add lime to raise the pH and restore nutrient mobility.
Maintenance:
Precision is the hallmark of a professional horticulturist. Plants require 1.5 inches of water per week delivered at the drip line to ensure deep root penetration. Use bypass pruners for woody stems to avoid crushing the vascular tissue. Monitor the soil daily with a soil moisture meter to ensure the moisture levels remain between 60 and 80 percent of field capacity. If the soil feels gritty and falls apart, the water tension is too high; if it forms a slick ball, the oxygen levels in the rhizosphere are likely depleted.
The Yield:
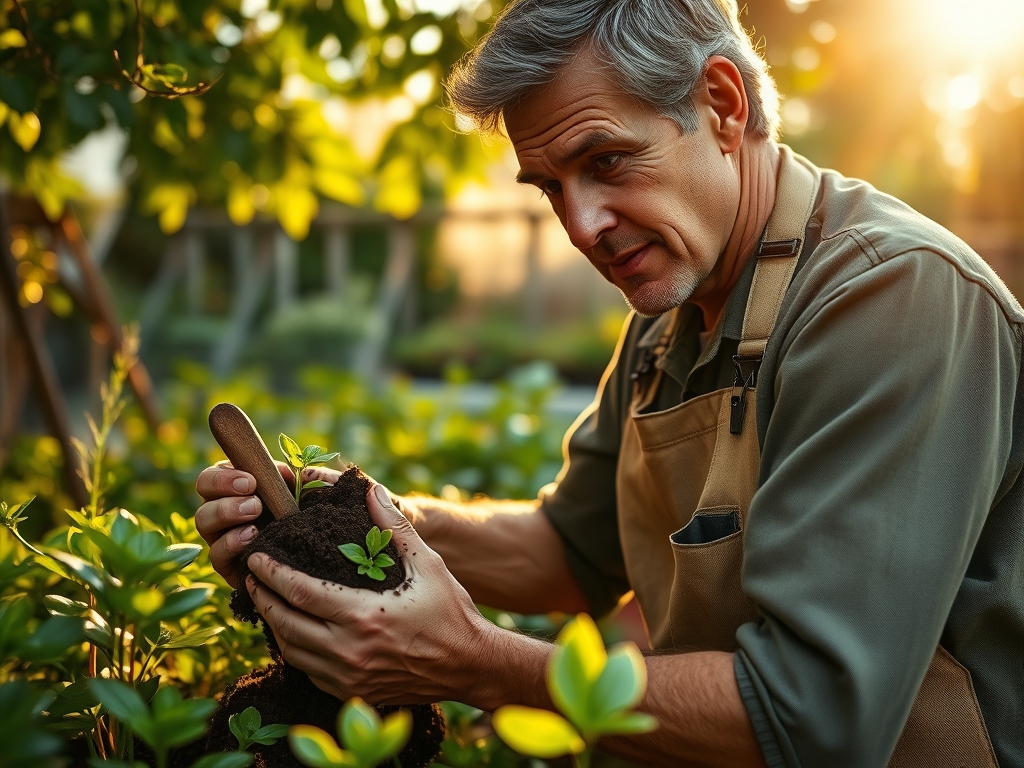
Harvesting is the culmination of rigorous maintenance. For leafy greens, harvest in the early morning when turgor pressure is at its peak. This ensures the cell walls are fully hydrated, providing a crisp texture. For root crops, use your cleaned hoe to gently loosen the soil two inches away from the crown to avoid mechanical damage. Post-harvest, submerge produce in 40-degree Fahrenheit water to remove field heat rapidly. This process slows the metabolic rate and prevents early senescence, maintaining "day-one" freshness for a longer duration.
FAQ:
How often should I sharpen my garden hoe?
Sharpen the blade every 8 to 10 hours of active use. Use a mill file to maintain a 45-degree angle. Sharp tools reduce physical strain and prevent the tearing of plant tissues, which minimizes the risk of infection.
What is the best oil for tool handles?
Use boiled linseed oil for wooden handles. It penetrates the grain and hardens to create a water-resistant seal. Avoid petroleum-based oils, as they can leach into the soil and disrupt the delicate microbial balance in the rhizosphere.
Can I use soap to clean my hoe?
Yes, use a mild biodegradable soap and a stiff brush to remove organic residues. Ensure the tool is 100 percent dry before storage. Residual moisture leads to pitting and oxidation, which weakens the structural integrity of the steel.
Why is disinfecting garden tools necessary?
Disinfection kills soil-borne pathogens like Verticillium and Phytophthora. These organisms can survive on metal surfaces for months. Sterilizing your tools with a 10 percent bleach solution prevents the spread of disease across different zones of your garden.