9 Steps to Clean a Garden Trowel for Better Longevity
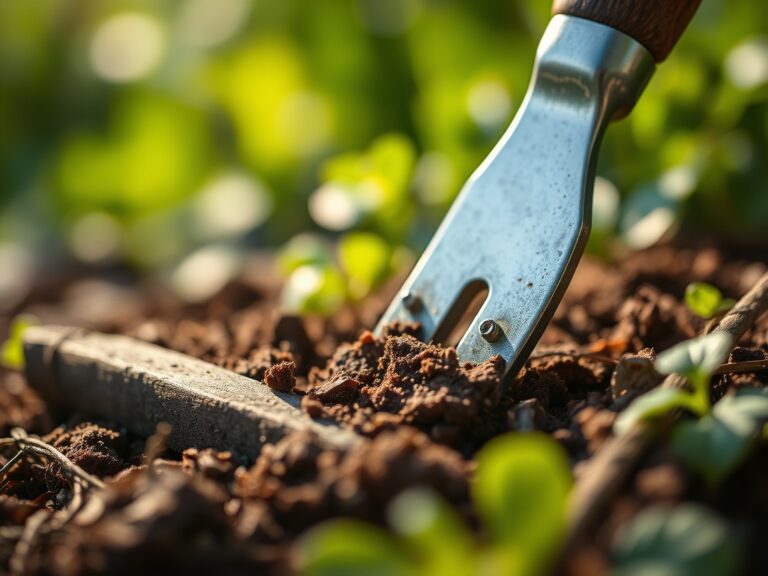
Damp earth clinging to a high-carbon steel blade triggers an immediate chemical reaction; moisture and oxygen initiate oxidation, while soil microbes begin a slow degradation of the metal surface. Neglecting the essential steps for cleaning a garden trowel after use compromises the structural integrity of the tool and risks the cross-contamination of soil-borne pathogens across your garden beds. Proper maintenance ensures the blade maintains its factory edge and prevents the transfer of fungal spores between the rhizosphere of different plant species.
A neglected trowel becomes a vector for disease. When you move from a bed containing Fusarium wilt to a sterile nursery flat, the microscopic spores residing in dried mud can decimate a seedling population in hours. Maintaining your tools is not about aesthetics; it is a fundamental component of integrated pest management and soil health. By adhering to a rigorous cleaning protocol, you extend the life of your equipment and protect the delicate balance of your growing environment.
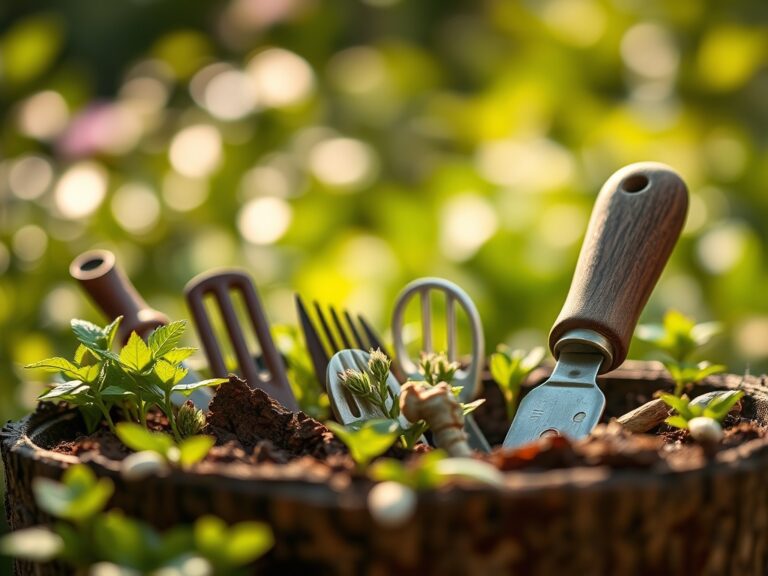
Materials:
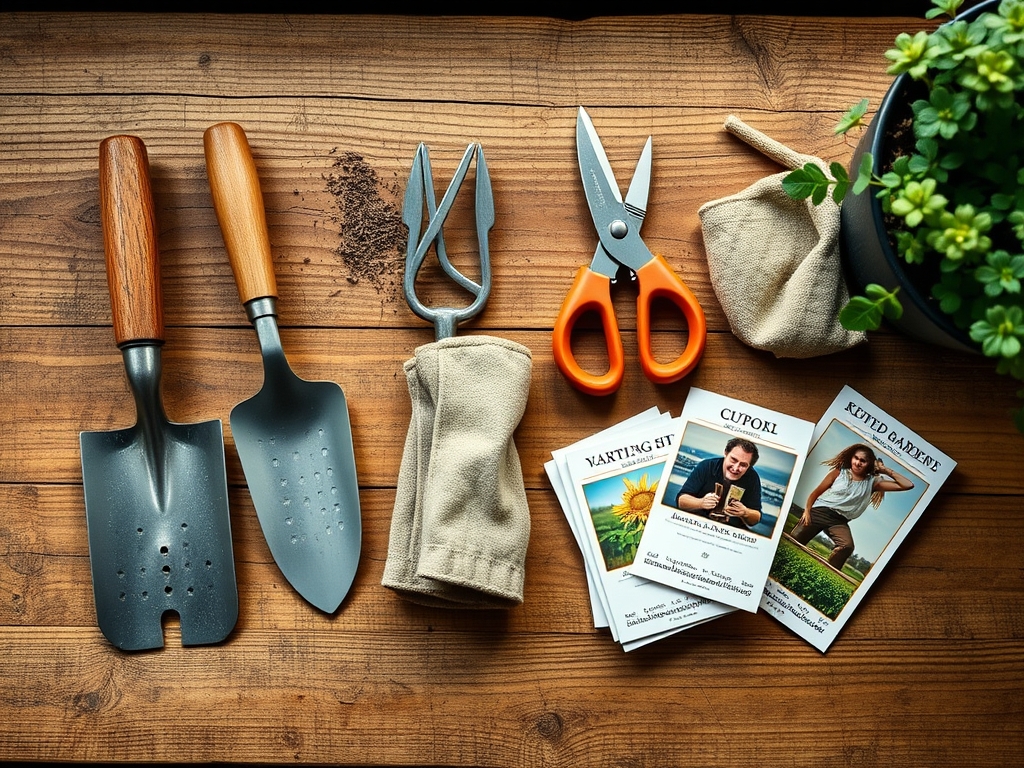
The efficiency of your cleaning process depends on the substrate your trowel has encountered. A **friable loam** with a **pH of 6.5** and an **NPK ratio of 10-10-10** is less corrosive than high-clay soils that trap moisture against the steel. To clean effectively, you require a five-gallon bucket filled with coarse silica sand saturated with **mineral oil or linseed oil**. This abrasive medium physically scours the metal while leaving a protective hydrophobic film. You will also need a stiff-bristled nylon brush, a solution of **70 percent isopropyl alcohol** for sterilization, and a clean microfiber cloth. For tools showing signs of advanced oxidation, a **100-grit sanding block** or a wire brush is necessary to restore the surface before the final oiling.
Timing:
The maintenance cycle must align with the biological clock of your garden. In Hardiness Zones 5 through 7, the primary cleaning window occurs during the transition from the vegetative stage to late-season senescence, typically following the first frost when the soil temperature drops below 45 degrees Fahrenheit. During the spring transplanting window, cleaning must occur between every distinct planting area to prevent the spread of dormant pathogens. As plants move into their reproductive stages, their energy is diverted from root defense to fruit and seed production, making them more susceptible to infections introduced by dirty tools. Perform a deep-clean and sharpening during the dormant winter months when the soil is frozen and the risk of disrupting the mycorrhizal symbiosis in the garden is at its lowest.
Phases:

Sowing
Before the first seed hits the soil, the trowel must be clinically clean. Residual organic matter from the previous season can harbor Pythium, the primary agent of "damping off" in young seedlings. Submerge the blade in a 10 percent bleach solution or wipe with alcohol to ensure a sterile interface with the seed starting mix.
Pro-Tip: Sterilizing tools prevents the interruption of auxin suppression in young stems. When pathogens attack a seedling, the plant redirects energy from vertical growth to cellular repair, resulting in stunted, non-productive specimens.
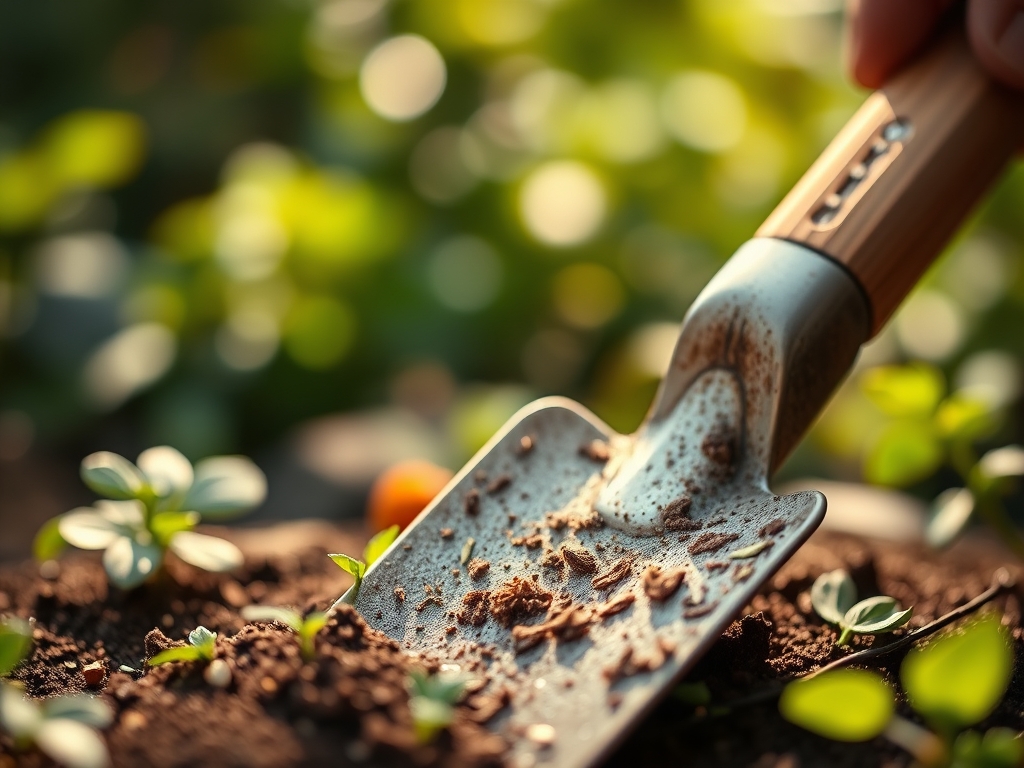
Transplanting
During the transplant phase, the trowel interacts directly with the rhizosphere. This is the critical zone where roots and soil microbes exchange nutrients. Use a clean hori-hori knife or trowel to create a hole exactly twice the width of the root ball. Ensure the tool is free of oils that could coat the root hairs and inhibit water uptake.
Pro-Tip: Maintaining a sharp edge on your trowel ensures clean cuts of circling roots. A clean cut triggers a rapid wound-response mechanism, encouraging the plant to produce new lateral roots through mycorrhizal symbiosis, which increases the surface area for nutrient absorption.
Establishing
As the plant establishes itself, use the trowel to incorporate soil amendments like compost or bone meal (0-12-0 NPK) at the drip line. After each use, the tool must be wiped dry to prevent the buildup of salts from fertilizers, which can accelerate metal pitting.
Pro-Tip: Frequent cleaning prevents the mechanical transmission of viruses. Many viral pathogens rely on small abrasions in the plant cuticle caused by dull or dirty tools to enter the vascular system, where they disrupt turgor pressure and nutrient transport.
The Clinic:
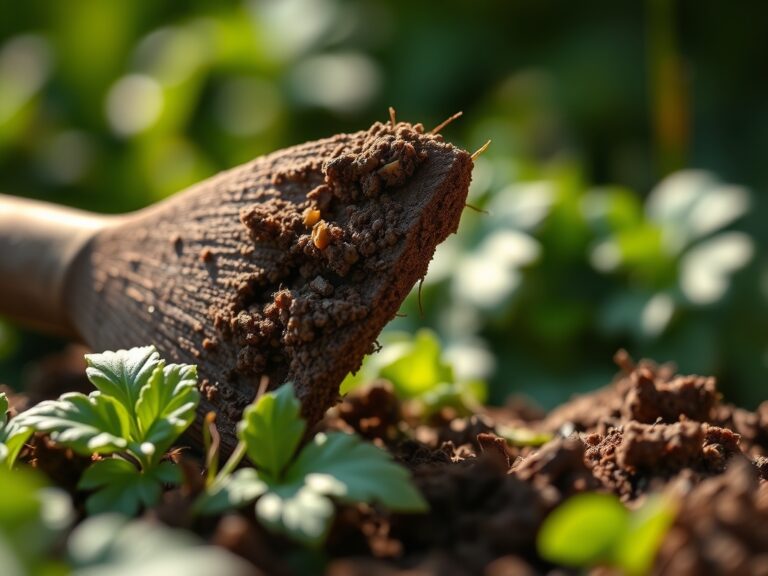
Symptom: Blade Pitting and Rust
Solution: This is caused by prolonged exposure to acidic soils (pH below 5.5) and moisture. Use a wire brush to remove all surface rust.
Fix-It: Apply a thin coat of boiled linseed oil. Unlike petroleum-based products, linseed oil is plant-derived and will not contaminate the soil biology during future use.
Symptom: Plant Chlorosis Following Transplant
Solution: If plants show yellowing leaves despite adequate nitrogen, you may have introduced a pathogen via your trowel.
Fix-It: Immediately drench the soil with a beneficial microbe solution to outcompete the pathogen and sterilize all tools used in that specific zone before moving to other plants.
Symptom: Dull Blade Edge
Solution: A dull blade requires more force, which compacts the soil and reduces cation exchange capacity by collapsing pore spaces.
Fe-It: Use a mill bastard file at a 20-degree angle to restore the bevel. A sharp tool slices through soil aggregates rather than crushing them.
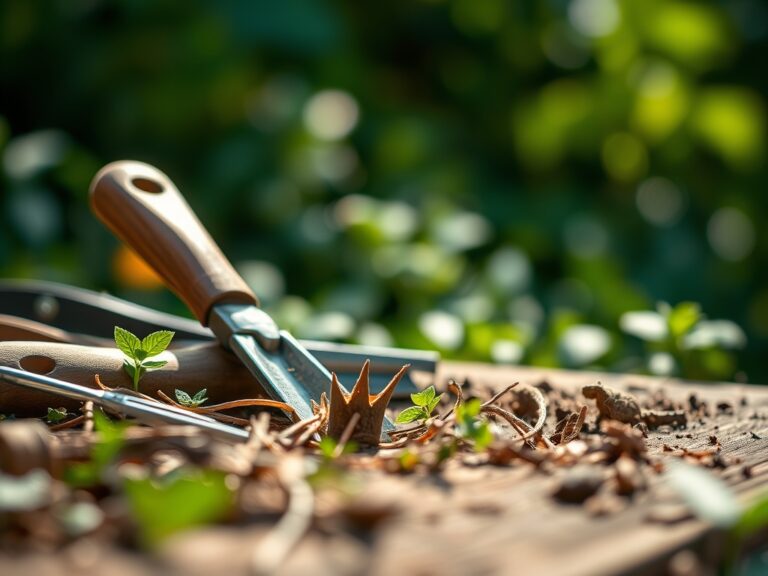
Maintenance:
Consistency is the hallmark of a professional horticulturist. After every session, remove bulk soil using a wooden spatula to avoid scratching the steel. Rinse the tool and dry it immediately; never leave a trowel in a bucket of water. For daily maintenance, plunge the tool three times into a bucket of oiled sand. Use a soil moisture meter to ensure your storage area maintains a humidity level below 50 percent to prevent ambient moisture from triggering rust. If using a bypass pruner or hori-hori knife alongside your trowel, apply the same sterilization standards to maintain a biosecure gardening environment.
The Yield:
While a trowel is primarily a pre-harvest tool, its role in the yield phase involves the careful lifting of root crops like carrots or garlic. To ensure "day-one" freshness and long-term storage viability, the tool must not bruise the epidermis of the vegetable. Any nick in the skin of a potato or bulb provides an entry point for soft-rot bacteria. Use the trowel to loosen the soil 4 to 6 inches away from the base of the plant, then lift manually. This preserves the integrity of the harvest and prevents the premature onset of senescence caused by physical trauma.
FAQ:
How often should I sanitize my garden trowel?
Sanitize your trowel after every use, especially when moving between different garden beds. This prevents the spread of soil-borne pathogens like Verticillium wilt and ensures the long-term health of your rhizosphere.
What is the best oil for garden tool maintenance?
Boiled linseed oil is the professional standard. It creates a durable, water-resistant barrier that protects the steel from oxidation without introducing synthetic chemicals or heavy metals into your organic soil profile.
Can I use soap and water to clean my trowel?
Yes, but you must dry the tool immediately. Residual moisture trapped in the handle or on the blade surface will cause rust within hours. Always follow a wash with an oil-based protective coating.
Why is my trowel blade turning black?
Blackening is often a sign of tannin reaction or surface oxidation from contact with highly organic, acidic soils. It is generally harmless but indicates that the tool requires a thorough cleaning and re-oiling to prevent deep pitting.