6 Steps to Prepare a Tool Organization Blog Post
The smell of damp earth and the distinct turgor of a healthy leaf signify a garden in peak physiological condition. To showcase your workspace effectively, you must learn how to prepare a garden for a tool organization post by aligning horticultural excellence with aesthetic order. A garden serves as the laboratory for your equipment; therefore, the background must reflect rigorous maintenance and biological health. Achieving this requires a deep understanding of soil chemistry and plant physiology to ensure every specimen in the frame exhibits maximum vigor. You are not merely tidying a yard. You are calibrating an ecosystem to serve as a high-contrast backdrop for your shears, spades, and irrigation components. Every plant must be at its peak photoperiodic expression. This preparation involves managing nitrogen levels to prevent chlorosis and ensuring the rhizosphere is adequately hydrated. By the time you position your first rake for the camera, the surrounding flora should demonstrate optimal cellular structure and flawless leaf margins.
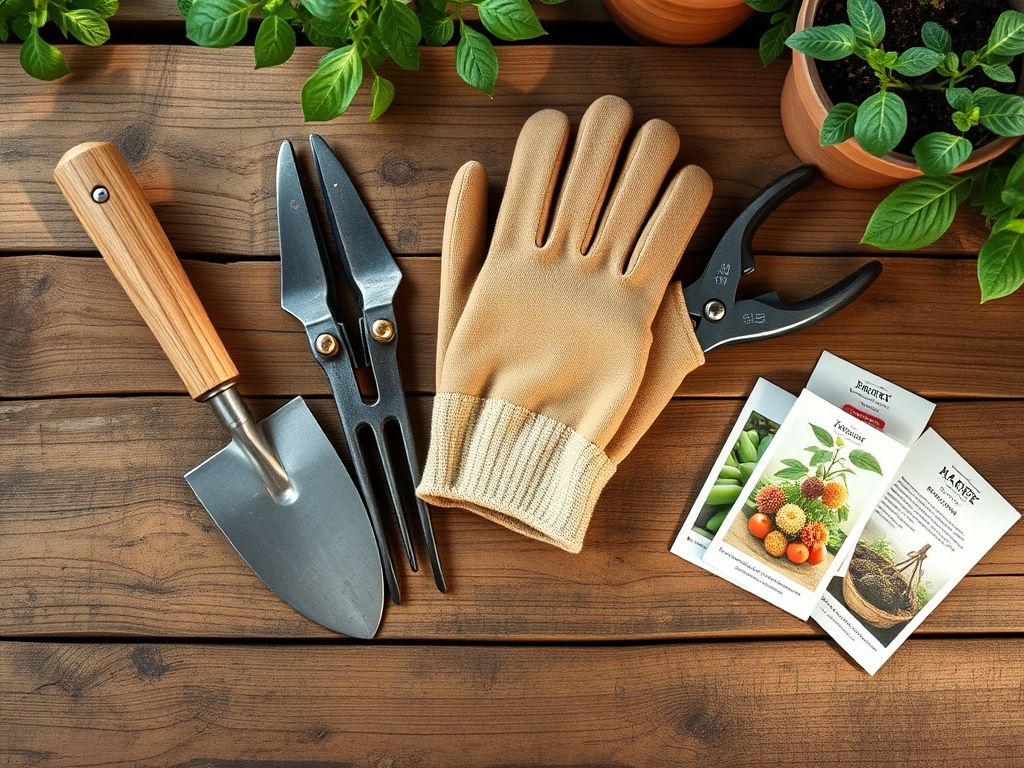
Materials:
The foundation of a visually striking garden is the substrate. You require a **friable loam** with a Cation Exchange Capacity (CEC) above **15 milliequivalents per 100 grams**. This ensures the soil can hold onto essential nutrients rather than letting them leach during heavy irrigation. For the vegetative stage, utilize a fertilizer with an NPK ratio of **10-5-5** to promote lush, deep green foliage. If your goal is to showcase tools alongside flowering perennials, transition to a **5-10-10** ratio to stimulate bud development without overextending the stems.
Target a soil pH between 6.2 and 6.8 for most temperate garden plants. This range ensures that micronutrients like iron and manganese remain bioavailable. Use a digital probe to verify these levels. Your mulch should consist of triple-shredded hardwood or cedar, which provides a neutral, dark background that makes stainless steel tools pop in high-resolution photography. Avoid dyed mulches that can leach synthetic chemicals into the topsoil and disrupt the delicate microbial balance.
Timing:
Successful garden preparation depends on your USDA Hardiness Zone. In Zones 5 through 7, your primary window for peak aesthetics opens 14 to 21 days after the last frost date. This period captures the transition from vegetative growth to reproductive stages when the plant's "Biological Clock" is most active. Monitor the photoperiod; most long-day plants require at least 14 hours of sunlight to reach the structural density needed for a professional backdrop.
Timing your post also requires an understanding of senescence. You must photograph your tools before the plants begin their annual decline. For spring-blooming bulbs, this means capturing the scene before the foliage yellows. For summer annuals, the window is mid-morning when turgor pressure is at its highest, preventing the wilted look that occurs during afternoon transpiration peaks.
Phases:

Sowing
Direct sow seeds into finely raked soil, ensuring a depth of exactly twice the seed diameter. This precision guarantees uniform germination rates across the bed. Consistent spacing prevents overcrowding, which can lead to fungal pathogens due to poor airflow.
Pro-Tip: Proper seed depth management utilizes geotropism, the plant's internal sensing of gravity. This ensures the radicle moves downward while the plumule finds the light, creating a straight, photogenic stem.
Transplanting
When moving starts into the display garden, dig a hole twice as wide as the root ball but no deeper. This prevents the crown from sinking, which can lead to stem rot. Ensure the soil temperature is at least 60 degrees Fahrenheit to prevent transplant shock and stunted growth.
Pro-Tip: Inoculate the roots with mycorrhizal fungi. This symbiotic relationship extends the root system's reach, increasing water uptake and ensuring the plant remains turgid even under the heat of photography lights.
Establishing
During the first 14 days, maintain consistent moisture to allow the root system to integrate with the native soil. Use a liquid seaweed extract to provide trace minerals that bolster the plant's immune system. This phase is about building the structural integrity of the plant.
Pro-Tip: Practice auxin suppression by pinching back the terminal buds of leggy plants. This redirects growth hormones to lateral buds, resulting in a bushier, fuller plant that fills the camera frame more effectively.
The Clinic:
Physiological disorders can ruin the visual impact of your tool organization post. Identify these symptoms early to implement corrective measures.
- Nitrogen Chlorosis: Observe the older leaves. If they turn a uniform pale yellow while the veins remain light, the plant lacks nitrogen. Fix this by applying a high-nitrogen water-soluble fertilizer like blood meal or a 20-0-0 solution.
- Interveinal Chlorosis: If the leaf is yellow but the veins remain dark green, this indicates an iron or magnesium deficiency. Check the pH first; if the pH is above 7.0, the iron is locked in the soil. Lower the pH with elemental sulfur.
- Blossom End Rot: This appears as a sunken, leathery spot on the bottom of fruit. It is caused by a calcium transport issue, often triggered by inconsistent watering. Maintain a steady moisture level to ensure calcium moves through the xylem.
- Leaf Scorch: Brown, crispy edges on leaves suggest excessive transpiration or salt buildup. Increase irrigation and flush the soil with clear water to leach excess salts away from the root zone.
Maintenance:
A professional garden requires disciplined maintenance. Provide exactly 1.5 inches of water per week, delivered at the drip line rather than over the foliage. Overhead watering increases the risk of powdery mildew and leaf spot. Use a soil moisture meter to verify that the moisture has penetrated at least 6 inches deep.
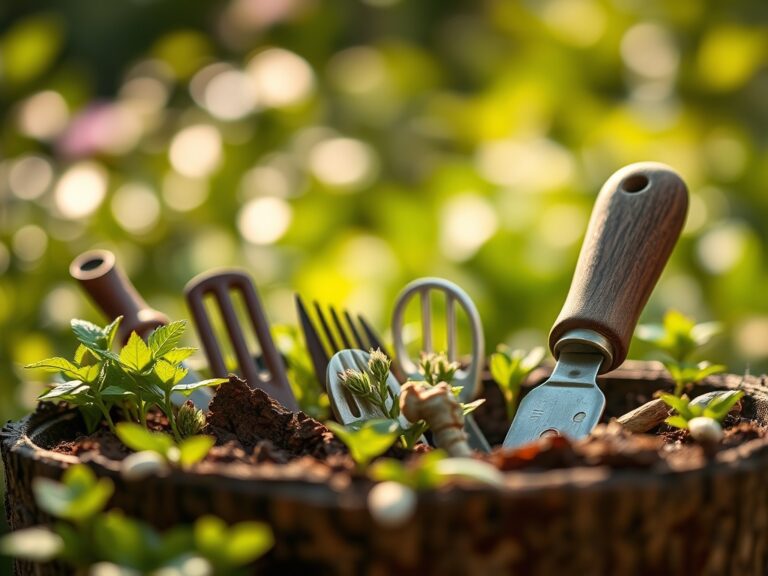
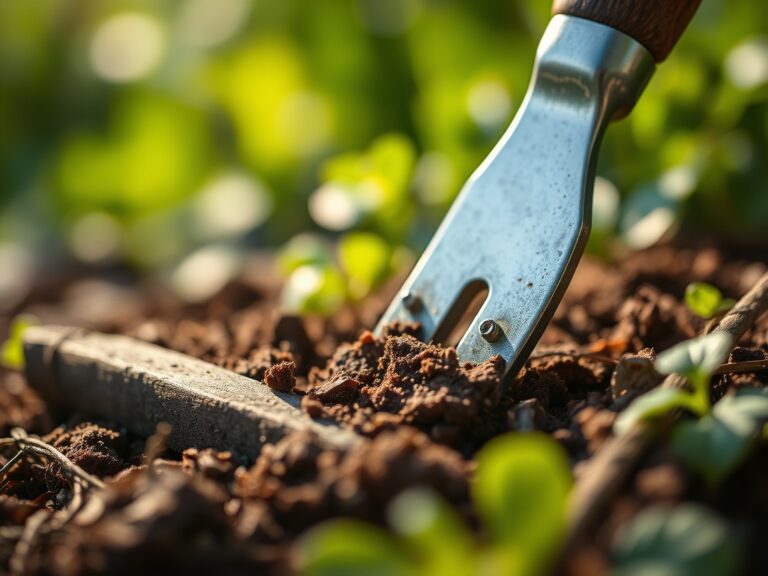
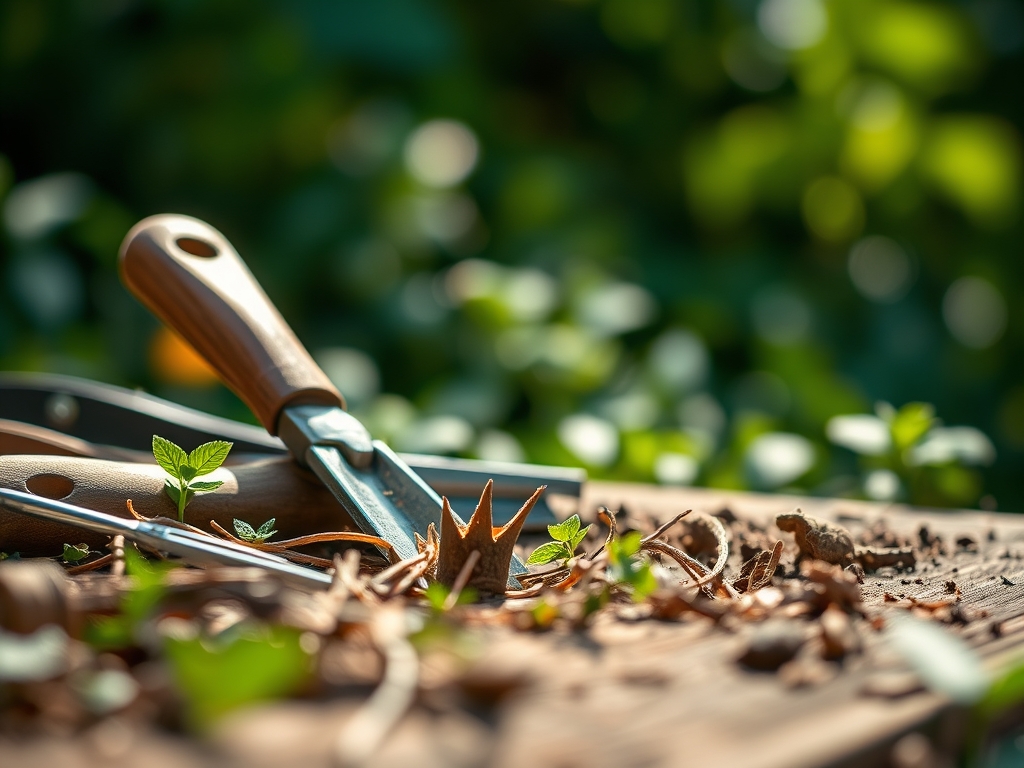
Keep your bypass pruners sharp to ensure clean cuts that heal quickly. Ragged edges are entry points for pathogens. Use a hori-hori knife to remove weeds by the root, preventing regrowth that could clutter your photo composition. For precision work around delicate perennials, use a small hand rake to maintain the smooth texture of the mulch. Every tool used in the preparation should be cleaned with 70 percent isopropyl alcohol between plants to prevent the spread of tobacco mosaic virus or other systemic issues.
The Yield:
If your tool post features an edible garden, harvest timing is critical for both aesthetics and flavor. Harvest leafy greens like kale or Swiss chard in the early morning when the sugar content is highest and the leaves are crisp. Use a sharp knife to cut the outer leaves, allowing the center to continue growing.
For flowers, cut when the buds are just beginning to show color but have not fully opened. This stage, known as the "marshmallow stage" in peonies, ensures the longest vase life. Immediately plunge the stems into 110-degree Fahrenheit water to remove air bubbles from the xylem. This technique, known as conditioning, ensures the blooms remain upright and "day-one" fresh for the duration of your photoshoot.
FAQ:
What is the best soil pH for a display garden?
Most garden plants thrive in a pH range of 6.2 to 6.8. This acidity level ensures that essential nutrients like phosphorus and iron are chemically available for root uptake, preventing unsightly yellowing or stunted growth in your photos.
How do I prevent my plants from wilting during a shoot?
Hydrate your plants deeply 24 hours before the shoot. High turgor pressure keeps leaves upright. If shooting in heat, a light foliar mist can temporarily reduce transpiration rates, but avoid direct sunlight on wet leaves to prevent burning.
Which fertilizer ratio is best for green foliage?
Use a high-nitrogen fertilizer with an NPK ratio like 10-5-5. Nitrogen is the primary driver of chlorophyll production. This results in the deep, dark green leaves that provide a professional contrast for your garden tools.
How much water do my garden beds actually need?
Standard garden beds require 1 to 1.5 inches of water per week. Use a rain gauge to track precipitation. Ensure the water reaches the root zone by irrigating slowly at the base of the plant rather than spraying the leaves.
When is the best time to prune for a photoshoot?
Prune your plants 3 to 5 days before the post. This allows the plant time to recover from the stress of the cut and for any minor "bleeding" of sap to stop, ensuring the plant looks natural and healthy.