9 Best Mulch Types for Finishing a Garden Renovation
The smell of damp earth and decomposing lignin marks the final stage of a successful landscape overhaul. When a plant achieves full turgor pressure, its cells are rigid with water; this state is only sustainable if the soil surface is protected from evaporative loss. Selecting the best mulch for garden renovation requires more than aesthetic preference. It is a technical decision that influences the rhizosphere temperature and the rate of nutrient cycling. A poorly chosen mulch can sequester nitrogen or alter soil pH to the point of nutrient lockout. Proper application ensures that the soil moisture remains consistent, preventing the physiological stress that leads to stunted growth or premature senescence. This guide focuses on the chemical and physical properties of the nine most effective mulching materials, ensuring your renovation concludes with a stable, high-functioning ecosystem. Each selection is evaluated based on its carbon-to-nitrogen ratio and its ability to facilitate gas exchange between the soil and the atmosphere.
Materials:
The ideal substrate for a renovation is a friable loam with a Cation Exchange Capacity (CEC) between 15 and 25 meq/100g. The following mulch materials interact with this substrate differently based on their chemical composition:
- Double-Shredded Hardwood Bark: This material has a high lignin content and a high C:N ratio (approx. 400:1). It is best for permanent woody perennials.
- Pine Bark Nuggets: Maintains an acidic pH (4.0 to 5.0). Ideal for ericaceous plants like azaleas.
- Arborist Wood Chips: A diverse mix of sapwood and leaf matter. It provides a balanced NPK release as it decomposes.
- Pine Straw: High in resin; it resists compaction and maintains a pH of 5.0 to 6.0.
- Leaf Mold: Partially decomposed deciduous leaves. It has a near-neutral pH and is rich in fulvic acids.
- Composted Manure: High nutrient density with an NPK ratio typically around 1-1-1. Use sparingly to avoid phosphorus runoff.
- Straw (Wheat or Oat): Best for vegetable renovations. High albedo reflects sunlight to keep soil cool.
- Buckwheat Hulls: Fine texture with neutral pH; allows for superior water infiltration.
- Crushed Pea Gravel: Inorganic mulch for xeric designs. It provides zero nutrients but offers maximum drainage for succulents.
Timing:
Timing is dictated by USDA Hardiness Zones and the biological clock of the specific cultivars. In Zones 5 through 7, the primary mulching window occurs after the first hard frost when the ground has cooled but not yet frozen. Applying mulch too early in the autumn can trap heat, delaying the plant's entry into dormancy and risking crown rot. Conversely, spring application should occur after the soil temperature reaches a consistent 55 degrees Fahrenheit. This ensures that soil microbes are active enough to process the organic matter. For reproductive stages, mulch must be established before the photoperiod shifts trigger flowering. This prevents moisture fluctuations that cause blossom end drop or split fruit.
Phases:

Sowing
When sowing seeds, mulch must be fine-textured to avoid smothering the emerging hypocotyl. Use a 0.25-inch layer of screened compost or vermiculite.
Pro-Tip: Maintaining high moisture at the seed coat triggers the synthesis of gibberellic acid, which breaks dormancy and initiates the germination sequence.
Transplanting
During the transition from nursery pot to garden soil, the root ball is vulnerable to desiccation. Apply mulch up to the drip line but keep it 3 inches away from the main stem or trunk.
Pro-Tip: Proper spacing prevents the suppression of auxins at the base of the plant; excess mulch against the bark can induce adventitious rooting in species not adapted for it, leading to structural instability.
Establishing
As the plant enters its vegetative growth phase, the mulch layer should be maintained at a depth of 2 to 3 inches. This depth is sufficient to suppress weed seed germination by blocking the light required for photosynthesis.
Pro-Tip: A stable mulch layer encourages mycorrhizal symbiosis. These fungi extend the root system's reach, increasing the uptake of immobile nutrients like phosphorus and zinc.
The Clinic:
Physiological disorders often stem from improper mulching techniques or material choices.
- Symptom: Interveinal chlorosis in new growth.
- Solution: This is often Nitrogen Chlorosis. High-carbon mulches like fresh sawdust can "tie up" nitrogen.
- Fix-It: Apply a liquid fertilizer with a high N-value (e.g., 10-0-0) to compensate for the microbial demand during decomposition.
- Symptom: Fungal gnats or "Slime Mold" on mulch surface.
- Solution: This indicates anaerobic conditions and excessive moisture.
- Fix-It: Rake the mulch to break up the "mat" and improve gas exchange. Reduce irrigation frequency.
- Symptom: Hydrophobic soil (water beads on the surface).
- Solution: Dry organic mulch can develop a waxy coating that repels water.
- Fix-It: Integrate a surfactant or lightly incorporate the mulch into the top 0.5 inch of soil to break the surface tension.
Maintenance:
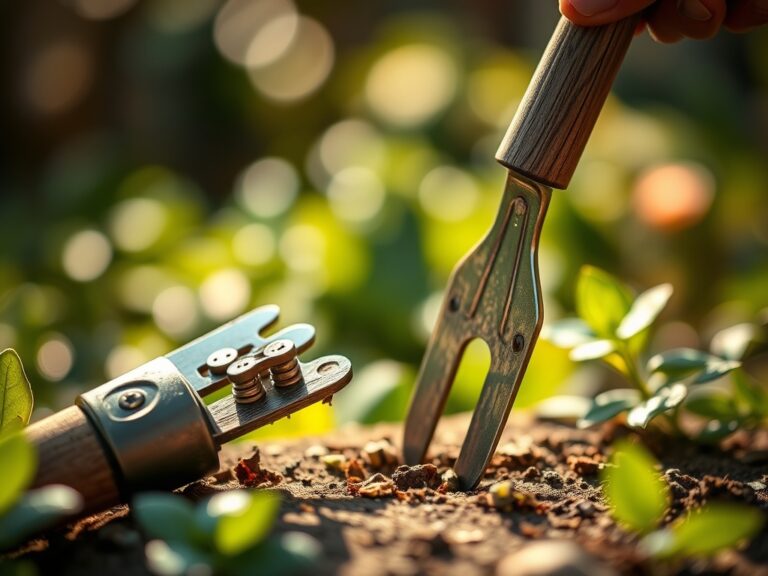
Precision maintenance is the difference between a surviving garden and a thriving one. Use a soil moisture meter to verify that the root zone maintains 60% to 80% field capacity. Most renovated gardens require 1.5 inches of water per week delivered via drip irrigation beneath the mulch layer to minimize evaporation. Use a hori-hori knife to slice through any perennial weeds that penetrate the mulch, ensuring you remove the entire taproot. Every spring, pull back the existing mulch to inspect the soil surface for compaction. If the soil feels dense, use a garden fork to aerate the top 4 inches before topping off the mulch layer. Use bypass pruners to remove any dead or crossing branches (senescent tissue) that fall onto the mulch, as these can harbor pathogens.
The Yield:
For those renovating edible or floral gardens, the harvest marks the culmination of the process. Harvest flowers when the first two petals begin to unfurl to ensure maximum vase life and turgor. For fruiting crops, monitor the brix level (sugar content) using a refractometer if precision is required. Post-harvest, immediately move the produce to a cool, shaded area to reduce field heat. This slows the rate of respiration and preserves the cellular structure. If the plant is a perennial, leave the mulch in place after harvest to protect the crown during the winter dormancy period.
FAQ:
Which mulch is best for vegetable gardens?
Clean wheat straw or shredded leaves are superior. They decompose quickly, adding organic matter to the soil while maintaining a neutral pH. Avoid hay, which contains weed seeds that compete for nitrogen and water in the rhizosphere.
How deep should I apply mulch?
Maintain a depth of 2 to 3 inches for most organic materials. Applying more than 4 inches can limit oxygen availability to the roots, leading to anaerobic conditions and root rot. Stone mulches should be limited to 1 to 2 inches.
Can mulch change my soil pH?
Yes. Pine-based mulches can lower pH over several years, making soil more acidic. Conversely, hardwood mulches tend to be more alkaline as they break down. Always conduct a soil test every two years to monitor these shifts.
Does mulch attract termites?
Mulch does not "attract" termites from long distances, but it provides the cool, moist environment they prefer. To mitigate risk, keep all wood-based mulches at least 6 to 12 inches away from your home's foundation or wooden structures.