7 Steps to Prepare a Level Backyard Garden Bench Site
Damp earth releases geosmin as the spade cuts through the rhizosphere; the scent is a chemical signal of active microbial life. A garden bench is more than a seat. It is a structural intervention in the landscape that requires precise engineering to prevent subsidence. Learning how to prepare a site for a garden bench involves managing soil compaction and drainage to ensure the bench remains level despite seasonal freeze-thaw cycles. Proper site preparation prevents the sinking of heavy cast iron or teak legs into the soft A-horizon of the soil profile. This process demands an understanding of soil mechanics and hydraulic conductivity. Without a stable foundation, the bench will tilt; this puts uneven stress on the joinery and leads to structural failure. By following a scientific approach to excavation and substrate layering, you create a permanent anchor point in the garden that resists the natural shifting of the earth.
Materials:
The success of the site depends on the substrate. You must analyze the soil texture. Ideal conditions involve a **friable loam** with a balanced particle size distribution of sand, silt, and clay. If the site is located within a planting bed, the soil should maintain a **pH between 6.0 and 7.0** to support surrounding flora.
For the foundation, you require crushed limestone (3/4-inch minus) for the base layer. This material provides high Cation Exchange Capacity (CEC) if it leaches into the surrounding soil, though its primary role is structural. If you are planting around the bench, ensure your soil has an NPK ratio of 10-10-10 for general maintenance or 5-10-5 to encourage root development without excessive vegetative surge. You will also need a hand tamper, a four-foot carpenter level, and landscape fabric with a flow rate of at least 10 gallons per minute per square foot to ensure rapid drainage.
Timing:
Site preparation should occur during periods of low soil moisture to avoid compaction. In Hardiness Zones 4 through 7, the ideal window is late spring after the final frost date when the soil has reached a consistent temperature of 55 degrees Fahrenheit. This timing aligns with the "Biological Clock" of most temperate perennials; they are transitioning from winter dormancy to the vegetative stage.
Avoid excavation during the reproductive stage of nearby plants (flowering), as root disturbance can trigger senescence or premature fruit drop. If you are working in Zones 8 through 11, schedule your site prep in the autumn. This allows the ground to settle during the rainy season before the high-intensity photoperiod of summer puts maximum evaporative stress on the surrounding landscape.
Phases:
Sowing the Foundation
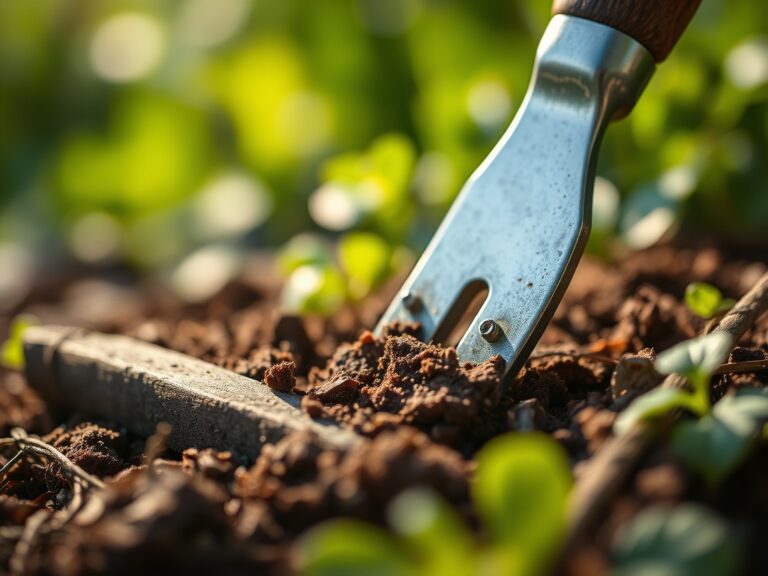
Excavate the site to a depth of 6 inches. Remove all organic matter, including sod and roots. The "floor" of your pit must be sloped at a 2 percent grade away from any permanent structures to facilitate drainage.
Pro-Tip: Removing the "O" soil horizon prevents the decomposition of organic matter under the bench. This avoids the release of methane and hydrogen sulfide, gases that can inhibit mycorrhizal symbiosis in the roots of nearby specimen trees.
Transplanting the Substrate
Fill the excavation with 4 inches of compacted gravel. Use a tamper to compress the material until it reaches a 95 percent Proctor density. This creates a stable platform that resists the downward force of the bench.
Pro-Tip: Compaction reduces the macropores in the soil. This is necessary for the bench site but deadly for plants. Keep the compaction zone strictly limited to the bench footprint to prevent hypoxia (oxygen deprivation) in the surrounding root zones.
Establishing the Surface
Lay the final pavers or flagstones on a 1-inch bed of coarse sand. Use a level to ensure the surface is perfectly flat. The height of the finished site should be 0.5 inches above the surrounding grade to prevent the accumulation of standing water.
Pro-Tip: Elevating the site prevents water from pooling around the bench feet. Standing water reduces turgor pressure in nearby plants by drowning root hairs and encourages the growth of anaerobic pathogens like Phytophthora.
The Clinic:
Physiological disorders in the garden often manifest near hardscaping due to altered microclimates.
Symptom: Interveinal Chlorosis
This appears as yellowing between leaf veins while veins remain green.
Solution: This is often Iron (Fe) deficiency caused by high pH levels from the concrete or limestone base.
Fix-It: Apply chelated iron and sulfur to lower the pH to a range of 6.0 to 6.5.
Symptom: Marginal Leaf Burn
The edges of leaves turn brown and brittle.
Solution: This indicates Salt Toxicity or drought stress.
Fix-It: Flush the soil with 2 inches of water to leach accumulated salts from the root zone.
Symptom: Anthocyanin Accumulation
Leaves turn a distinct purple or reddish hue.
Solution: This is a Phosphorus (P) deficiency, often occurring when soil temperatures are below 50 degrees Fahrenheit.
Fix-It: Increase soil temperature using organic mulch or wait for the seasonal shift; apply a 0-20-0 fertilizer if the condition persists in warm weather.
Maintenance:
A prepared site requires ongoing monitoring. Use a soil moisture meter twice weekly to ensure the area around the bench maintains a moisture level of 25 to 35 percent. Provide 1.5 inches of water per week at the drip line of surrounding plants using a soaker hose.
Keep a hori-hori knife sharpened to remove any deep-taproot weeds that attempt to penetrate the gravel base. Use bypass pruners to maintain a 12-inch clearance between the bench and any foliage. This prevents the transfer of fungal spores via "splash-back" during rain events and ensures adequate airflow to prevent powdery mildew.
The Yield:
If your bench site is integrated into a cutting garden or edible landscape, the "yield" is the harvest of nearby flora. Harvest flowers in the early morning when turgor pressure is at its peak. Use a sharp blade to make a 45-degree cut through the xylem.
Immediately plunge the stems into 100-degree Fahrenheit water to prevent air embolisms in the vascular system. This technique ensures "day-one" freshness by maintaining the plant's hydraulic integrity. For herbs, harvest no more than 30 percent of the biomass to avoid triggering a stress response that could lead to bolting.
FAQ:
How deep should I dig for a garden bench base?
Excavate to a minimum depth of 6 inches. This allows for 4 inches of compacted aggregate and 2 inches of leveling sand or pavers. Removing the organic layer prevents settling as the material decomposes over time.
Can I put a bench directly on the grass?
No. Placing a bench on turf leads to soil compaction and inhibits gas exchange in the rhizosphere. The lack of oxygen causes root necrosis in the grass and allows the bench to sink unevenly during rain events.
What is the best base material for drainage?
Crushed limestone or granite (3/4-inch minus) is superior. Unlike rounded pea gravel, angular crushed stone interlocks when compacted. This creates a stable surface while maintaining a high void ratio for efficient water percolation into the subsoil.
How do I prevent weeds from growing under the bench?
Install a heavy-duty geotextile fabric between the subsoil and the gravel base. This barrier prevents weed seeds in the soil from reaching the surface while allowing water to pass through. Maintain a clean gravel surface to prevent organic debris accumulation.