9 Steps to Prepare a Professional Tool Care Social Post
The smell of damp earth after a cold rain signifies a shift in the microbial activity of the rhizosphere. When the soil reaches a consistent 55 degrees Fahrenheit, the turgor pressure in perennial stems begins to stabilize; this creates the perfect backdrop for documenting maintenance routines. Learning how to prepare a garden for a tool care post requires more than a clean backdrop. It demands a site where the soil is managed and the botanical specimens exhibit peak physiological health to contrast with the sharpened steel of your equipment.
Professional horticultural photography relies on the interplay between well-maintained steel and the organic textures of the landscape. A garden riddled with chlorotic leaves or compacted soil detracts from the authority of the message. By focusing on soil health and plant vigor, you ensure the environment reflects the same precision as the tools you are demonstrating. This process involves stabilizing the nitrogen levels in the soil and ensuring that the structural integrity of the plants provides a crisp, high-contrast environment for your digital content.
Materials:
The foundation of a visually professional garden is a friable loam with a high Cation Exchange Capacity (CEC). This substrate should consist of roughly 40 percent sand, 40 percent silt, and 20 percent clay. For the purpose of a high-quality visual post, the soil surface must be uniform and dark to provide maximum color contrast.
Target a soil pH of 6.2 to 6.8 to ensure maximum nutrient bioavailability. Use a balanced NPK ratio of 10-10-10 for general maintenance; however, if you are showcasing pruning tools on woody perennials, shift to a 5-10-10 formula to encourage lignification over soft, green vegetative growth. High nitrogen levels (above 15 percent) can lead to succulent growth that bruises easily during tool demonstrations. Ensure the organic matter content is at least 5 percent to maintain the dark, rich appearance of the ground plane.
Timing:
Timing is dictated by the USDA Hardiness Zones and the specific biological clock of your specimens. In Zones 5 through 7, the ideal window for a tool care post is the transition from dormancy to the early vegetative stage. This typically occurs between the last frost date and the surge of spring growth. Documenting tool use during the "silver tip" or "green tip" stages of bud development provides the most technical value.
The biological clock of the plant determines the success of the shot. Avoid filming during the reproductive stage (flowering) unless the tool is specific to deadheading. During the vegetative stage, auxin levels are high at the apical meristems; this ensures that any cuts made during a demonstration will trigger a rapid healing response through callus tissue formation. Schedule your work during the "Golden Hour" when the solar angle is low, reducing harsh shadows on the bypass pruners or hori-hori knife.
Phases:
Sowing
Direct sow cover crops like crimson clover or winter rye at a rate of 2 pounds per 1,000 square feet to create a uniform green floor for your shots. These legumes fix nitrogen through a symbiotic relationship with Rhizobium bacteria.
Pro-Tip: Mycorrhizal symbiosis is essential here; inoculating seeds with fungal spores increases the surface area of the root system, leading to higher turgor pressure and more photogenic, rigid foliage.
Transplanting
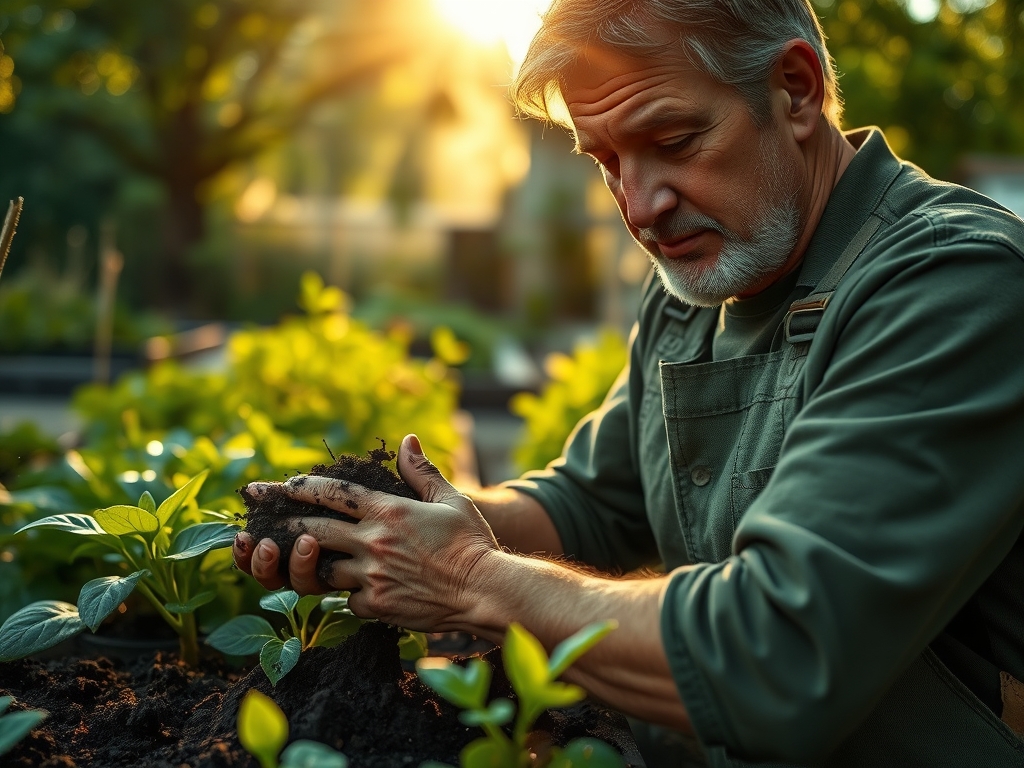
When moving specimens into the frame, ensure the root ball is set at the exact depth of the surrounding grade. Air pockets in the soil can lead to root desiccation within 30 minutes of exposure.
Pro-Tip: Use a soil moisture meter to verify that the root zone is at 70 percent field capacity before filming. This prevents wilting under hot studio or outdoor lights due to a lack of hydraulic lift in the xylem.
Establishing
Allow a minimum of 14 to 21 days for plants to overcome transplant shock before featuring them. This allows the root system to re-establish the capillary pull necessary for nutrient transport.
Pro-Tip: Practice apical dominance suppression by pinching back early growth. This redirects auxins to lateral buds, creating a bushier, more dense plant that fills the camera frame more effectively than a leggy specimen.
The Clinic:
Physiological disorders can ruin the professional aesthetic of a garden post. Identify and correct these issues 10 days prior to your scheduled content creation.
- Nitrogen Chlorosis: Symptoms include the yellowing of older, lower leaves while the veins remain slightly green.
Fix-It: Apply a fast-acting liquid fertilizer with a 20-0-0 ratio or blood meal to boost chlorophyll production rapidly. - Interveinal Chlorosis (Iron Deficiency): Yellowing between the veins on new growth, often caused by high pH (above 7.5).
Fix-It: Apply chelated iron foliar spray or lower the pH using elemental sulfur at a rate of 5 pounds per 1,000 square feet. - Blossom End Rot: Sunken, black leathery spots on the base of fruit, indicating a calcium transport issue.
Fix-It: Maintain consistent soil moisture; calcium is immobile and requires a steady stream of water through the transpiration pull to reach the fruit. - Leaf Scorch: Brown, necrotic edges on leaves caused by excessive transpiration or salt buildup.
Fix-It: Flush the soil with 3 inches of water to leach excess salts and provide temporary shade to reduce the vapor pressure deficit (VPD).
Maintenance:
Precision maintenance is the hallmark of a master horticulturist. Deliver 1.5 inches of water per week at the drip line of your plants; avoid overhead irrigation which can promote fungal pathogens on the leaf surface. Use a soil moisture meter daily to ensure the substrate remains between 10 and 30 centibars of tension.
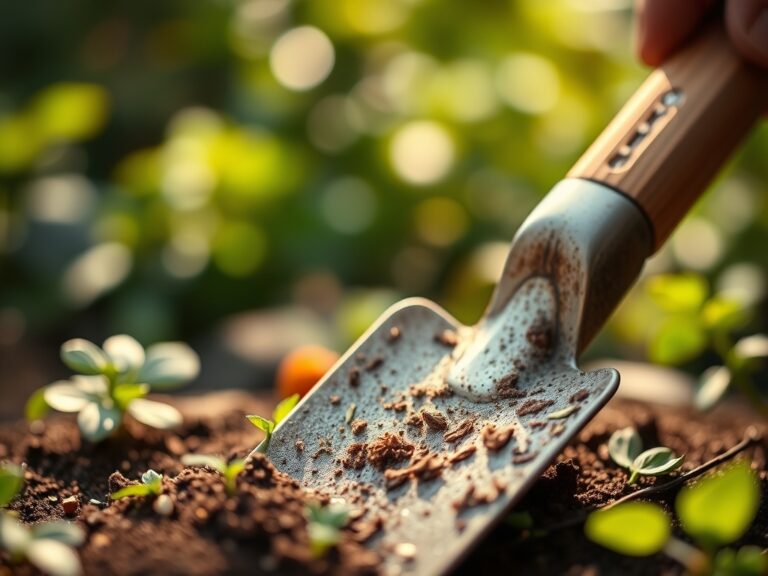
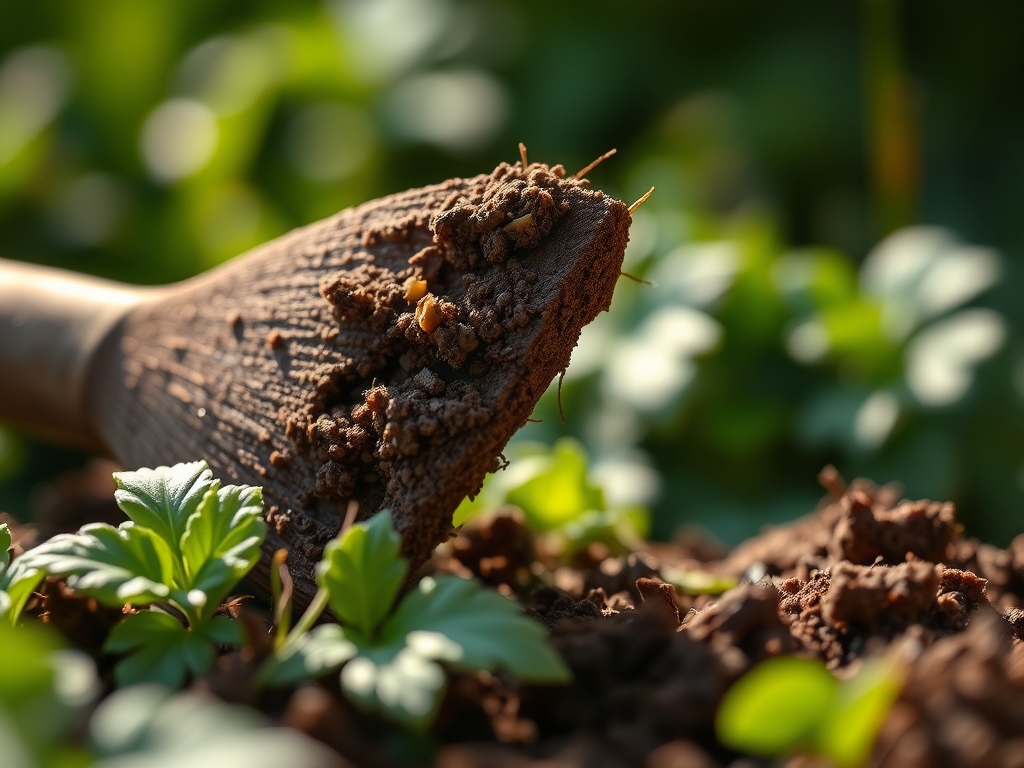
When preparing the area for the camera, use a hori-hori knife to extract weeds by the taproot to prevent regrowth during a multi-day shoot. Sharpen your bypass pruners to a 20-degree angle to ensure clean, surgical cuts that do not crush the vascular cambium. If the soil appears light or dusty, top-dress with 0.5 inches of screened compost to darken the surface and provide a professional, high-contrast finish for your tool demonstrations.
The Yield:
If your post involves harvesting, timing is everything. Harvest leafy greens and herbs at 06:00, before the sun triggers heavy transpiration. This ensures the cells are at maximum turgidity. Use a sharp hori-hori knife to make a single, clean pass.
To maintain "day-one" freshness for the camera, immediately plunge the cut ends into 40-degree Fahrenheit water. This process, known as "conditioning," slows down the rate of senescence and metabolic decay. For woody stems, a 45-degree angle cut increases the surface area of the xylem, allowing for maximum water uptake while the plant is being handled for photos.
FAQ:
What is the best soil for garden photography?
A dark, friable loam with 5 percent organic matter provides the best visual contrast. Ensure the pH is between 6.2 and 6.8 to prevent leaf discoloration that could distract from the tool care demonstration.
How do I prevent plants from wilting during a shoot?
Maintain soil at 70 percent field capacity using a soil moisture meter. High turgor pressure is essential. If shooting in high heat, use a foliar anti-transpirant to close stomata and reduce water loss through the leaves.
Why are my plant leaves turning yellow in photos?
Yellowing is often nitrogen chlorosis or iron deficiency. Test your soil pH; if it is above 7.0, iron becomes unavailable. Use chelated iron or a high-nitrogen supplement to restore a deep green color within 48 hours.
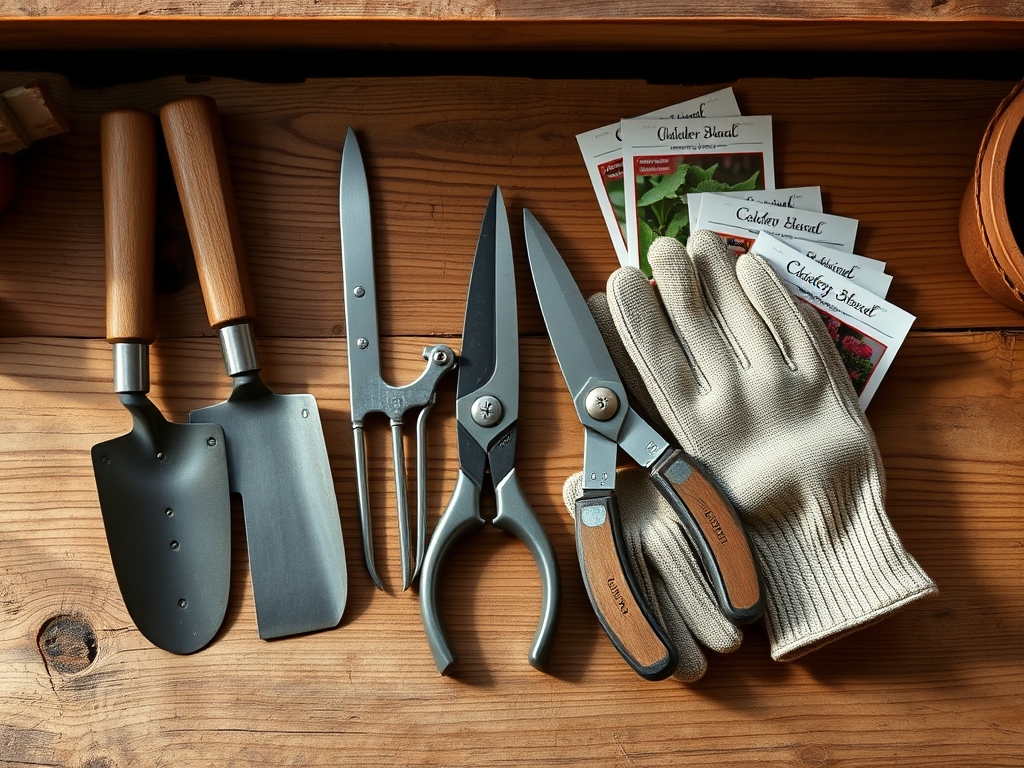
What tools are essential for garden prep?
A hori-hori knife for deep weeding, bypass pruners for clean vascular cuts, and a soil moisture meter for hydration tracking. Clean tools with 70 percent isopropyl alcohol between plants to prevent the spread of soil-borne pathogens.