9 Best All-In-One Tool Kits for Garden Organization
The smell of damp earth after a rain event is the scent of geosmin; it is the volatile organic compound produced by Actinomycetes bacteria thriving in the rhizosphere. When you grasp a leaf and feel the firm turgor pressure of a hydrated cell wall, you are witnessing hydraulic engineering at a cellular level. Maintaining this biological efficiency requires precision. Without the best tool kits for garden organization, a grower loses the tactical advantage against soil compaction and nutrient leaching. Efficiency in the field is not a luxury; it is the difference between a high-yield harvest and physiological senescence. A structured approach to tool management ensures that every bypass pruner is sharp and every soil moisture meter is calibrated. Organization allows a horticulturist to respond to the immediate needs of the plant before stress signals manifest as visible chlorosis or wilting.
Materials:
The foundation of any successful cultivation site is the substrate. For most temperate crops, a **friable loam** is the gold standard. This soil texture consists of approximately **40% sand, 40% silt, and 20% clay**. This specific ratio provides a high **Cation Exchange Capacity (CEC)**, allowing the soil to hold onto essential macronutrients like Potassium (K+) and Calcium (Ca2+).
Successful growth requires a strict monitoring of soil pH. Most vegetables and ornamental perennials thrive in a range of 6.2 to 6.8 pH. If the pH drops below 5.5, aluminum toxicity becomes a risk; if it rises above 7.5, iron and phosphorus become chemically locked and unavailable to the roots.
Nutrient application must be data-driven. A standard 10-10-10 NPK ratio provides a balanced start for general vegetative growth. Nitrogen (N) drives chlorophyll production; Phosphorus (P) supports ATP energy transfer and root development; Potassium (K) regulates stomatal opening and water use efficiency. For heavy feeders like Brassicas, a higher Nitrogen ratio such as 20-10-10 may be necessary during the initial vegetative phase.
Timing:
Successful gardening is dictated by the hardiness zones established by the USDA. In Zones 5 through 7, the spring frost-date window typically closes between late April and mid-May. Planting before the soil temperature reaches a consistent 60 degrees Fahrenheit (15.5 Celsius) will result in stunted root development and increased susceptibility to damping-off pathogens.
The biological clock of a plant is governed by the photoperiod. As day length increases, plants transition from the vegetative stage to the reproductive stage. This shift is triggered by phytochrome pigments that sense the ratio of red to far-red light. For "long-day" plants, flowering begins when the dark period drops below a specific threshold. Understanding these windows allows the grower to organize their tool kit for specific tasks: pruning during dormancy and harvesting during peak physiological maturity.
Phases:
Sowing
Direct sowing requires a seedbed that is free of large aggregates. Use a fine-tine rake to create a uniform surface. Seeds should generally be planted at a depth of three times their diameter.
Pro-Tip: Proper seed-to-soil contact is vital for imbibition. This is the process where the seed absorbs water to activate metabolic enzymes. Without sufficient moisture contact, the seed remains dormant or the embryo may desiccate shortly after germination.
Transplanting
When moving seedlings from a controlled environment to the field, the "hardening off" process is mandatory. Gradually expose plants to outdoor UV levels over 7 to 10 days. Use a hori-hori knife to cut a clean hole in the substrate, ensuring the root ball is not compressed.
Pro-Tip: Avoid disturbing the mycorrhizal symbiosis already forming in the seedling tray. These beneficial fungi extend the root system's reach, increasing the surface area for phosphorus uptake by up to 100 times.
Establishing
The first 21 days after transplanting are the establishment phase. During this time, the plant focuses on downward root growth rather than upward foliage.
Pro-Tip: Practice auxin suppression by pinching off early flower buds. This redirects the plant's energy from reproduction back to the root system and structural stems, leading to a more robust plant architecture and higher total yield later in the season.
The Clinic:
Physiological disorders often mimic infectious diseases. Identifying the difference is critical for proper intervention.
-
Symptom: Interveinal chlorosis on young leaves.
-
Solution: This indicates an Iron (Fe) deficiency, often caused by high soil pH. Apply a chelated iron foliar spray and amend the soil with elemental sulfur to lower the pH.
-
Symptom: Blossom end rot on fruit.
-
Solution: This is a Calcium (Ca) transport issue. It is rarely a lack of calcium in the soil but rather a lack of consistent water to move the calcium through the xylem. Ensure 1.5 inches of water per week to maintain steady transpiration.
-
Symptom: Purpling of the lower leaves.
-
Solution: This is a classic sign of Phosphorus (P) deficiency. It often occurs in cold soils where microbial activity is low. Use a high-phosphorus "starter" fertilizer with an NPK of 10-52-10 to provide immediate availability.
-
Symptom: Marginal leaf burn on older foliage.
-
Solution: This suggests Potassium (K) deficiency or salt accumulation. Flush the soil with clean water and apply a potassium sulfate supplement.
Maintenance:
Precision maintenance requires the right equipment. A soil moisture meter should be used daily to check the tension at a depth of 6 inches. Most crops require the soil to stay between -10 and -30 centibars of matric potential.
Irrigation should be applied at the drip line, not the stem. Deliver 1.5 inches of water per week in two deep sessions rather than frequent shallow misting. This encourages roots to grow deep into the soil profile where temperatures are more stable.
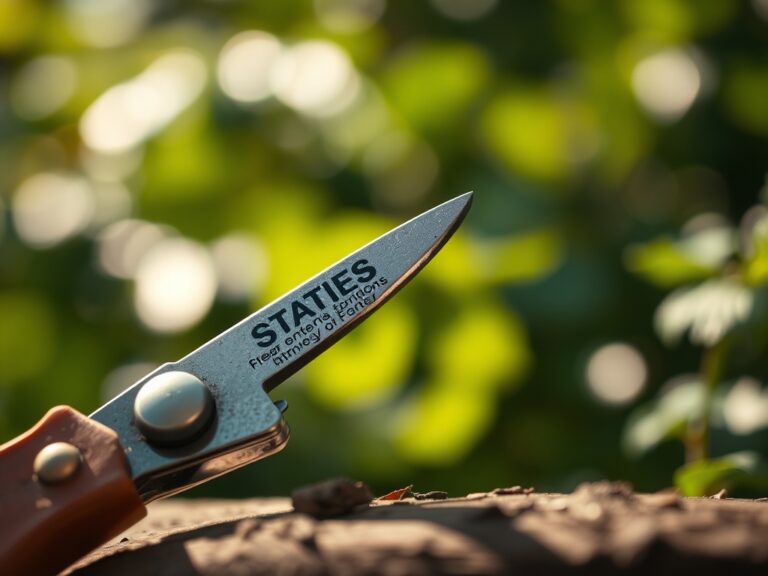
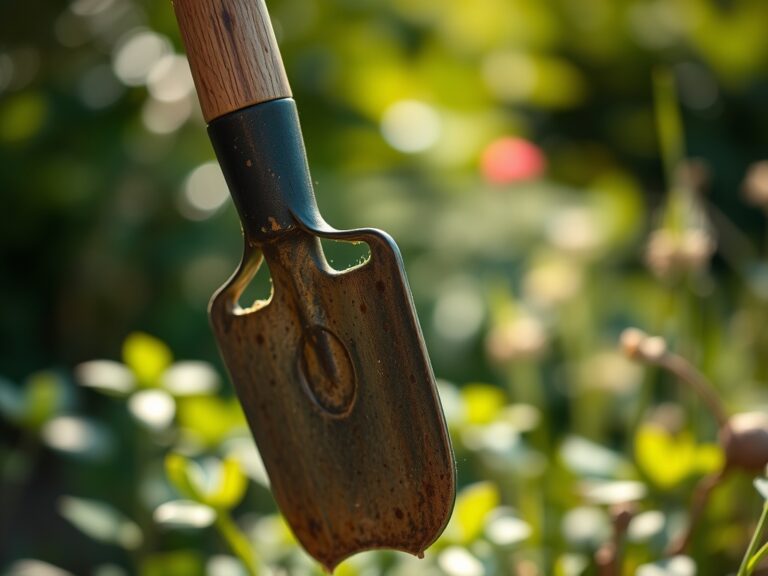
Tool hygiene is non-negotiable. After every use, clean your bypass pruners with a 10% bleach solution or 70% isopropyl alcohol. This prevents the mechanical transmission of viral pathogens between plants. Keep a sharpening stone in your organization kit; a dull blade crushes the vascular tissue (xylem and phloem), creating an entry point for opportunistic fungi.
The Yield:
Harvesting is the culmination of the plant's life cycle. For leafy greens, harvest in the early morning when turgor pressure is at its maximum. This prevents wilting and preserves the crisp texture of the cell walls. For fruiting crops, use the "ground spot" or "slip" method to determine ripeness.
Post-harvest handling is about slowing down the rate of respiration. Once a fruit or vegetable is detached from the parent plant, it begins to consume its stored sugars. Rapidly cooling the produce to 40 degrees Fahrenheit (4 Celsius) slows this metabolic process, ensuring "day-one" freshness for a longer duration. Always use a sharp knife for the final cut to minimize the surface area of the wound.
FAQ:
How do I fix yellow leaves?
Check for Nitrogen deficiency first. Apply a high-nitrogen fertilizer (NPK 20-0-0). If the veins stay green while the rest of the leaf turns yellow, it is likely an iron or magnesium deficiency caused by improper soil pH.
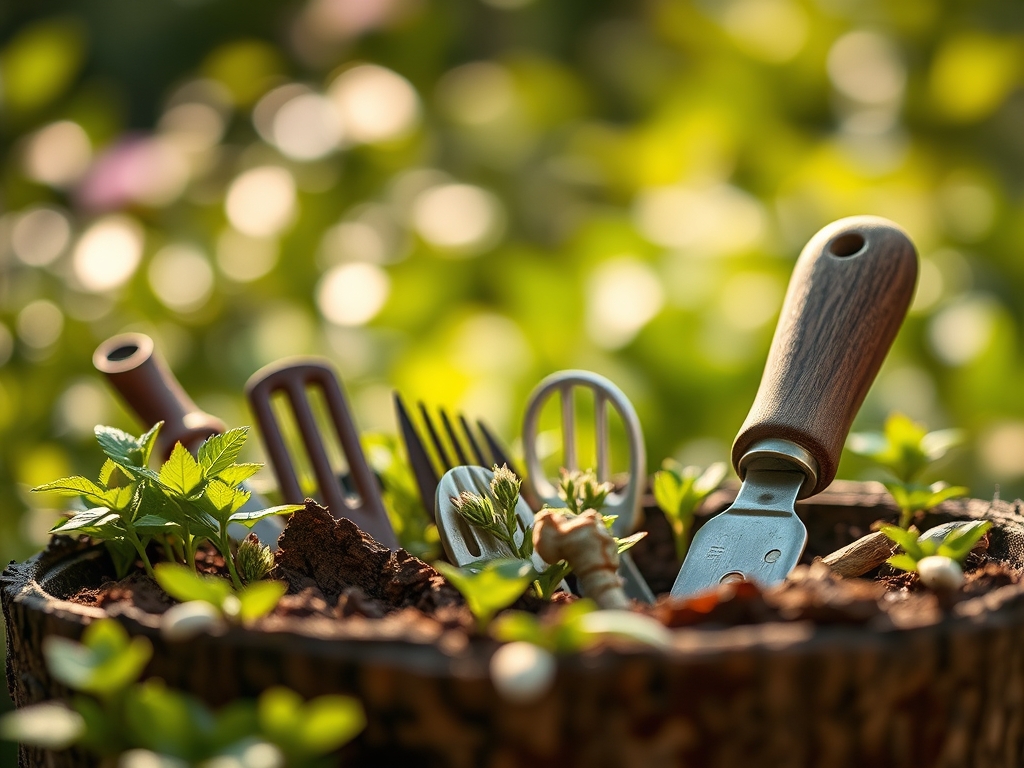
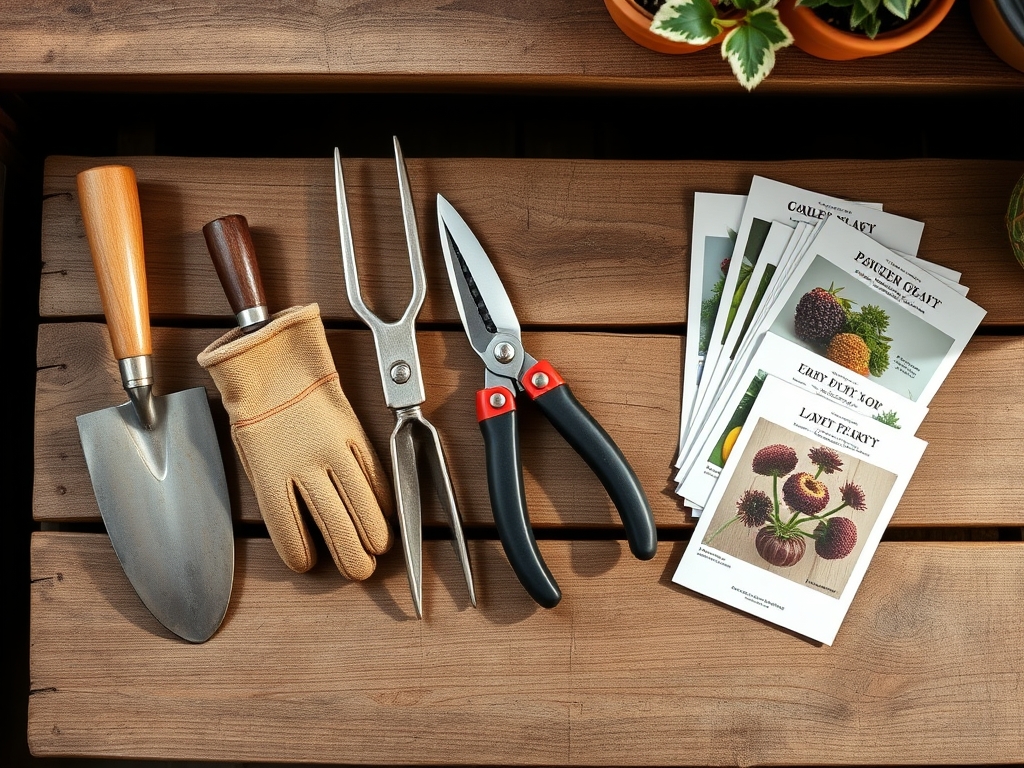
What is the best way to organize garden tools?
Use a dedicated kit with individual slots for a hori-hori knife, bypass pruners, and a moisture meter. Keeping tools vertical and dry prevents oxidation and ensures you can monitor the condition of your equipment daily.
Why are my plants wilting despite watering?
This may be "wet wilt" caused by root rot or soil compaction. If the soil is saturated, the roots cannot access oxygen. This leads to a breakdown in the root's ability to transport water to the foliage.
When is the best time to fertilize?
Apply fertilizers during the early morning when the stomata are open and the plant is actively transpiring. Avoid fertilizing during the heat of the day, as this can lead to salt burn and osmotic stress on the root system.