8 Steps to Sharpen a Garden Pruner with a Precision File
The scent of crushed chlorophyll and damp humus signals the start of the pruning season; a time when the turgor pressure of woody perennials is at its peak. A dull blade does not cut; it crushes vascular bundles and invites pathogenic infiltration into the xylem. Mastering the steps for sharpening a garden pruner with a file ensures a surgical interface between steel and cellulose. Precise cuts allow the plant to seal wounds through the rapid development of callus tissue; preventing the desiccation of the cambium layer. This technical maintenance is not merely about tool longevity. It is a fundamental requirement for maintaining the structural integrity of your orchard or ornamental beds. When the bevel is honed to a factory edge; the effort required for each bypass stroke decreases by forty percent. This reduces physical fatigue and ensures that every lateral bud remains intact for the coming spring flush. A sharp tool is the primary defense against systemic infection and the first step toward a high-yield growing season.
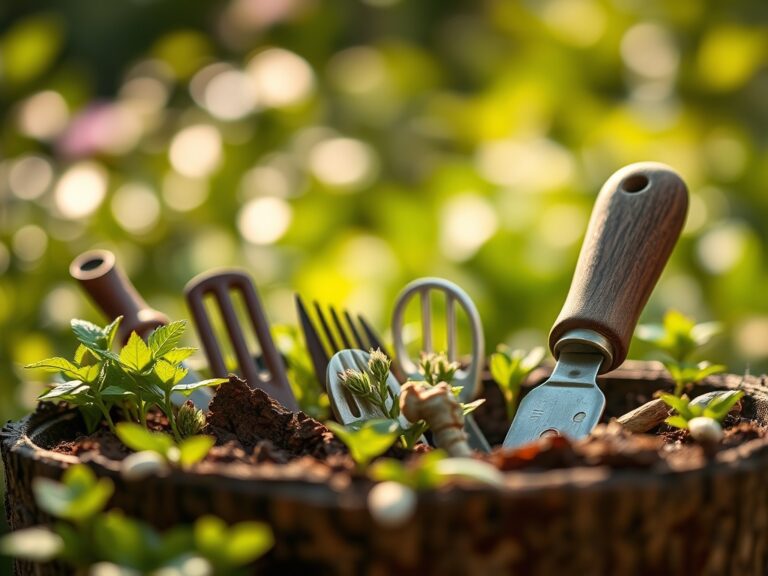
Materials:
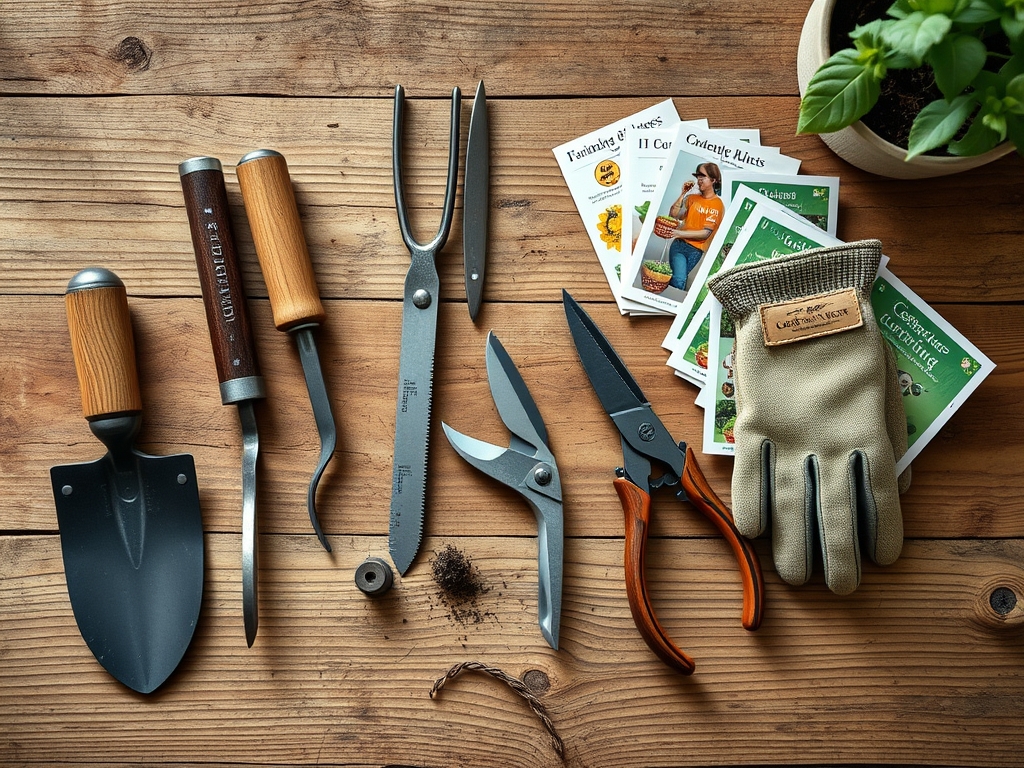
While tool maintenance occurs in the workshop; the result is seen in the rhizosphere. Healthy plant tissue requires a substrate with a **Cation Exchange Capacity (CEC) of 15 to 25**. For optimal recovery after pruning; the soil should be a **friable loam** with a **pH between 6.2 and 6.8**. Before you begin sharpening; ensure you have a **fine-tooth mill file** or a **diamond-encrusted tapered file**. You will also need **70 percent isopropyl alcohol** for sterilization; **3-in-1 tool oil**; and a **medium-grit scouring pad**. If your plants show signs of stress; supplement the soil with an **NPK ratio of 5-10-5** to encourage root development over excessive vegetative growth. This balanced approach ensures that the energy redirected by your precise cuts is utilized by the plant effectively.
Timing:
Maintenance must align with the biological clock of the garden. In Hardiness Zones 5 through 7; the primary window for heavy pruning and tool preparation is late winter; specifically four to six weeks before the last predicted frost. This coincides with the end of the endodormancy phase. Sharpening your tools during this window ensures they are ready for the transition from the vegetative rest of winter to the reproductive surge of spring. Pruning during the "bleeding" phase of maples or birches; when sap flow is highest; requires the sharpest possible edge to minimize fluid loss. Avoid sharpening and pruning during periods of high humidity or active rain to prevent the spread of fungal spores through the open vascular system of the plant.
Phases:
Sowing: Preparing the Blade
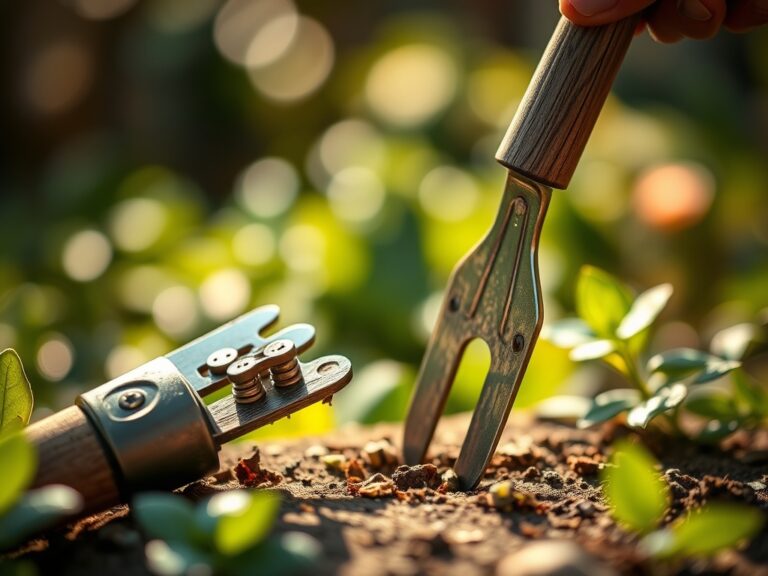
The first step involves cleaning the bypass pruners to expose the raw steel. Use the scouring pad to remove oxidized metal and dried sap. This sap often contains lignins that can gum up a file. Sterilize the blade with alcohol to ensure no dormant pathogens are transferred.
Pro-Tip: Sterilization prevents the transfer of Agrobacterium tumefaciens. This is critical because bacteria can survive on steel surfaces for weeks; bypassing the plant's natural dermal defenses during the next cut.
Transplanting: Setting the Angle
Identify the factory bevel; typically between 20 and 23 degrees. Place the file against the beveled edge of the cutting blade. Use single; unidirectional strokes moving away from your body. Do not saw back and forth. Follow the curve of the blade from the base to the tip.
Pro-Tip: Maintaining a consistent angle preserves the mechanical advantage of the tool. A consistent bevel ensures that the shear force is distributed evenly across the cell walls; preventing the crushing of the phloem.
Establishing: Honing and Oiling
After five to ten strokes; check for a "burr" on the flat backside of the blade. Use a fine-grit whetstone or the file to lightly remove this metal lip. Finish by applying a thin layer of tool oil to prevent oxidation. Test the sharpness on a piece of paper; it should slice without tearing.
Pro-Tip: Removing the burr is essential for auxin suppression. A clean cut allows the plant to properly distribute auxins to lower lateral buds; whereas a jagged cut can cause hormonal confusion and erratic regrowth patterns.
The Clinic:
Physiological disorders often stem from poor tool maintenance or soil imbalances.
- Symptom: Dieback at the pruning site.
- Solution: The blade was likely dull; causing tissue necrosis. Re-sharpen and make a clean cut 0.25 inches above a node.
- Symptom: Nitrogen Chlorosis (yellowing of older leaves).
- Fix-It: Apply a high-nitrogen fertilizer with an NPK of 20-10-10 to stimulate chlorophyll production.
- Symptom: Ragged bark stripping.
- Solution: This indicates the pivot bolt on your pruners is loose. Tighten until the blades bypass each other with minimal friction.
- Symptom: Interveinal Chlorosis (yellowing between leaf veins).
- Fix-It: This suggests a magnesium deficiency. Apply Epsom salts (magnesium sulfate) at a rate of 1 tablespoon per gallon of water to the root zone.
Maintenance:
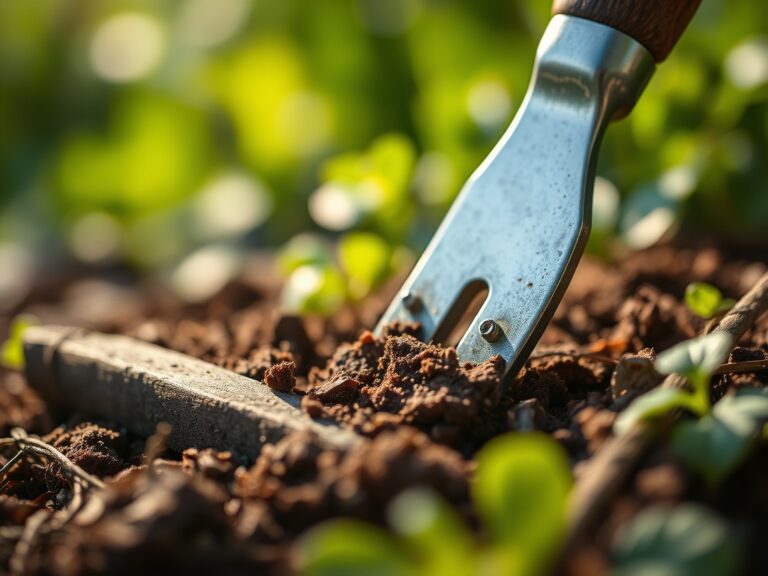
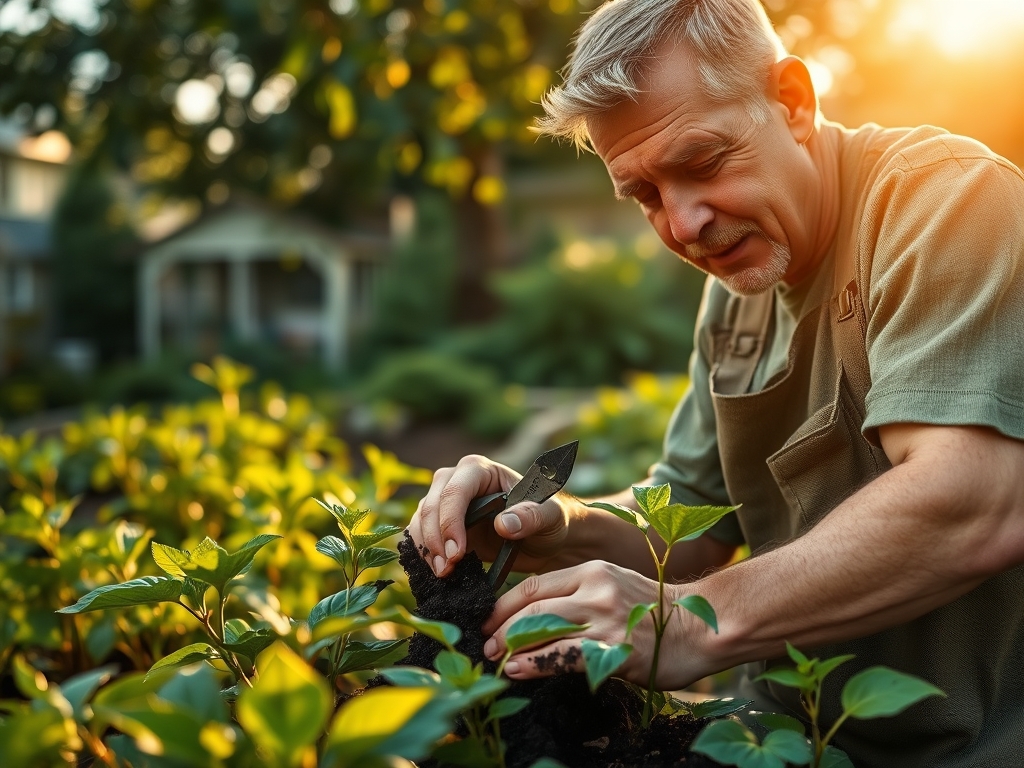
A sharpened tool is only as effective as the gardener's technique. When using your bypass pruners; always cut at a 45-degree angle away from the bud to facilitate water runoff. For larger tasks; utilize a hori-hori knife to clear soil away from the crown before making low cuts. Monitor the hydration of your plants using a soil moisture meter. Most woody ornamentals require 1.5 inches of water per week at the drip line to maintain the turgor pressure necessary for rapid wound healing. If the soil feels compacted; use a garden fork to aerate the top 3 inches; improving oxygen availability to the aerobic bacteria in the rhizosphere.
The Yield:
For fruit-bearing trees; the precision of your sharpen determines the quality of the harvest. Clean cuts in the late winter result in a more open canopy; increasing light penetration and photosynthetic efficiency. Harvest fruit when the "ground color" shifts from green to yellow or red; indicating the conversion of starches to sugars. Use your sharpened pruners to clip the pedicel rather than pulling the fruit; which can damage the fruiting spur. For "day-one" freshness; harvest in the early morning when the plant is at maximum hydration and immediately move the yield to a cool; shaded environment to slow the rate of senescence.
FAQ:
What is the best file for sharpening pruners?
A 10-inch mill bastard file or a fine diamond file is ideal. These tools provide the necessary abrasion to remove hardened steel while allowing for the precision required to maintain a 20-degree bevel without removing excessive material.
How often should I sharpen my garden pruners?
Sharpen every 500 to 1,000 cuts or whenever you notice the blade "pinching" the wood rather than slicing it. High-tannin woods like oak will dull a blade faster than softer species like pine or willow.
Can I use a power grinder to sharpen pruners?
No. Power grinders generate excessive heat that can draw the temper out of the steel. This makes the metal brittle and unable to hold an edge. Stick to manual files to maintain the structural integrity of the blade.
Why is my pruner tearing the bark?
Tearing is caused by either a dull blade or a gap between the cutting blade and the anvil. Sharpen the blade and tighten the pivot nut to ensure the two surfaces pass closely enough to shear the fibers cleanly.