7 Steps to Install a Garden Arbor to Refresh Your Space
The scent of damp, mineral-rich earth signals a high Cation Exchange Capacity (CEC), indicating a substrate ready to support structural load and vegetative growth. Mastering the steps for installing a garden arbor requires more than basic carpentry; it demands an understanding of soil mechanics and the physiological needs of the climbing taxa that will eventually colonize the frame. A successful installation anchors the structure against wind shear while ensuring the rhizosphere remains undisturbed for future planting.
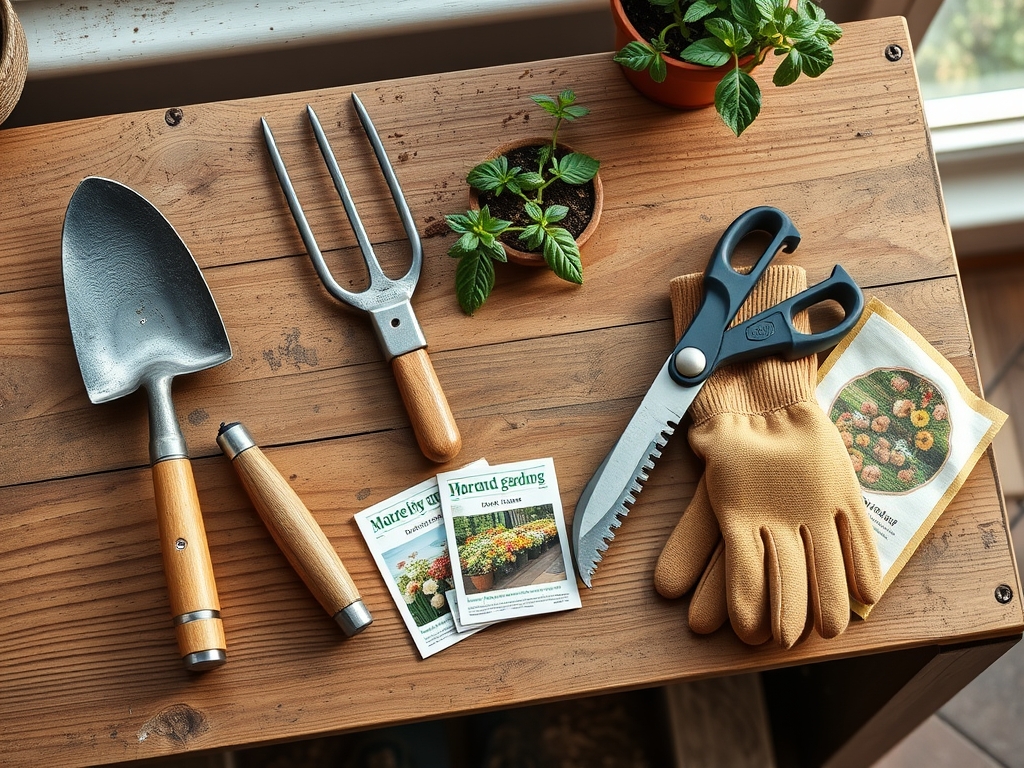
Materials:
Structural stability begins with the substrate. The ideal environment for an arbor is a **friable loam** with a bulk density of approximately **1.33 g/cm3**. This allows for adequate drainage while maintaining the friction necessary to hold post footings. Before digging, verify your soil pH. Most climbing perennials, such as *Clematis* or *Wisteria*, thrive in a **pH range of 6.0 to 7.0**.
For the planting phase surrounding the arbor, prepare a nutrient-dense backfill. Use a balanced NPK ratio of 10-10-10 for initial establishment. If you are planting heavy-flowering woody vines, transition to a 5-10-10 formula to prioritize phosphorus for root development and bud set over excessive foliar nitrogen. Ensure the soil has a high organic matter content to facilitate moisture retention near the structural posts without causing anaerobic conditions that lead to timber rot.
Timing:
Installation should occur during the dormant season or early spring to minimize compaction of the surrounding soil during the active growing phase. In USDA Hardiness Zones 4 through 7, the window opens as soon as the frost line recedes and the soil temperature reaches a consistent 45 degrees Fahrenheit.
The biological clock of the garden dictates that structural work must be completed before the "bud break" or the transition from vegetative dormancy to active growth. Installing an arbor in mid-summer risks damaging the turgor pressure of nearby established plants through root disturbance. Aim for the "Goldilocks" window where the soil is moist enough to be workable but not so saturated that digging destroys the soil structure and pore space.
Phases:
Sowing the Foundation
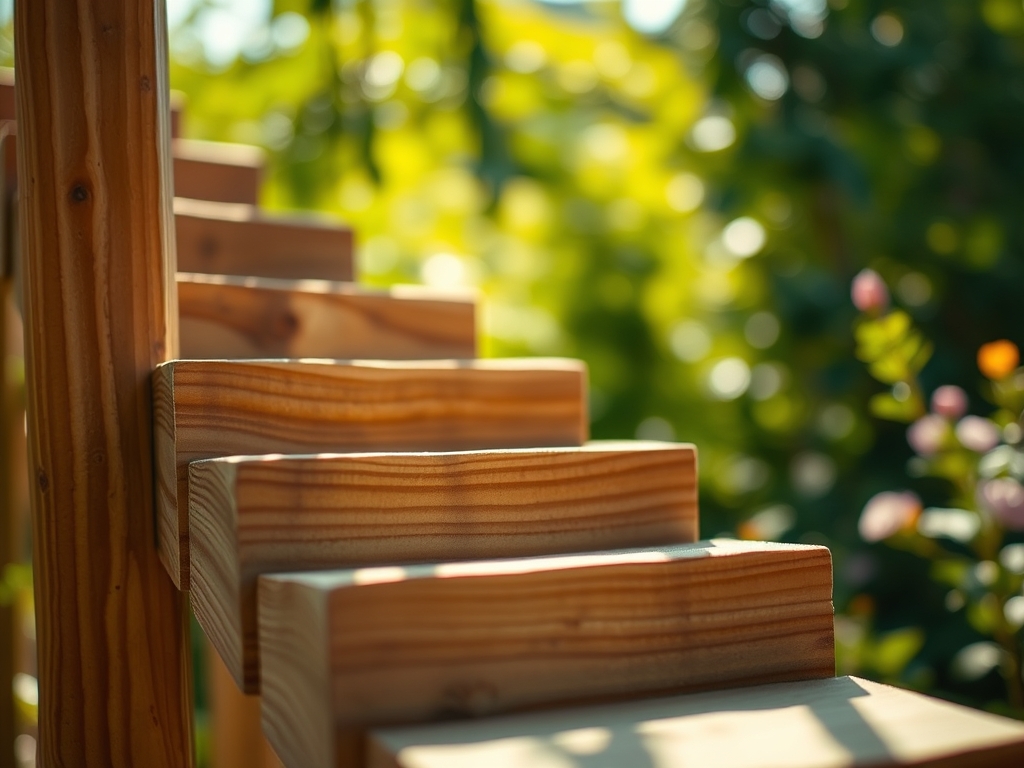
Excavate post holes to a depth of at least 24 to 36 inches, or below the local frost line to prevent heaving. The diameter of the hole should be three times the width of the post. Level the bottom with 3 inches of crushed stone to facilitate drainage away from the wood or metal base.
Pro-Tip: Proper drainage at the base prevents anaerobic pathogens from attacking the plant's crown. By using gravel, you maintain high oxygen levels in the upper rhizosphere, preventing root rot caused by Phytophthora.
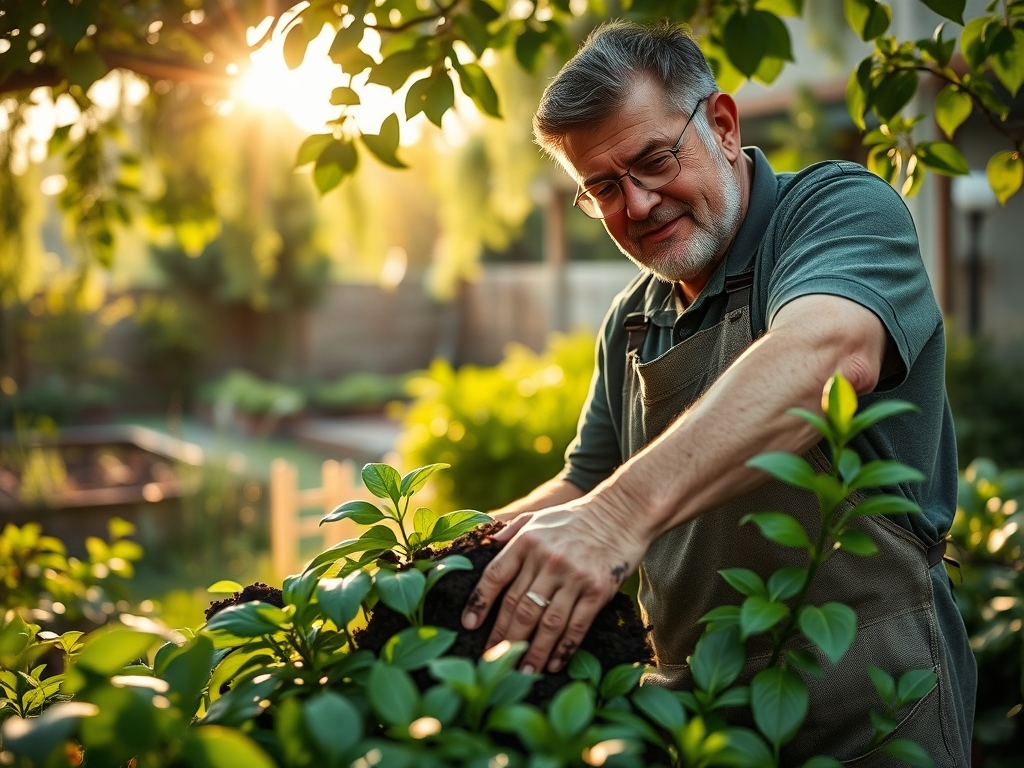
Transplanting and Anchoring
Set the arbor posts and secure them with fast-setting concrete or compacted gravel. Once the structure is plumb and the footings have cured for 48 hours, begin the planting process at the base. Dig planting holes 18 inches away from the posts to allow for secondary root thickening.
Pro-Tip: Position the root ball at a slight angle toward the arbor. This encourages positive phototropism, where the plant's auxins migrate to the shaded side of the stem, causing the cells on that side to elongate and naturally curve the plant toward the support structure.
Establishing the Canopy
As the plants begin to climb, use soft ties to secure the primary leaders to the arbor. Avoid tight wire that can girdle the vascular cambium. Monitor the turgor pressure of the leaves; drooping foliage during the first six weeks indicates a failure in the hydraulic lift system of the newly moved plant.
Pro-Tip: Use a mycorrhizal inoculant during transplanting. This establishes a mycorrhizal symbiosis, effectively increasing the root surface area by 100 to 1,000 times and improving the uptake of immobile nutrients like phosphorus.
The Clinic:
Physiological disorders often manifest shortly after the stress of a new installation.
- Symptom: Interveinal chlorosis (yellowing between green veins) on new growth.
- Solution: This indicates an iron deficiency, often caused by high pH. Lower the pH using elemental sulfur to a range of 6.0 to 6.5.
- Symptom: Necrosis of leaf margins on older foliage.
- Solution: This is a classic sign of Potassium (K) deficiency. Apply a high-K fertilizer or kelp meal to restore osmotic regulation within the plant cells.
- Symptom: Stunted growth and pale green leaves.
- Solution: Nitrogen (N) chlorosis. Apply a quick-release organic nitrogen source like blood meal to boost chlorophyll production and vegetative vigor.
Fix-It: If the plant shows signs of "wet feet" (wilting despite wet soil), the soil around the arbor base is likely compacted. Use a garden fork to gently aerate the soil 12 inches deep around the drip line without severing major lateral roots.
Maintenance:
A precision irrigation schedule is vital. Most climbing perennials require 1.5 inches of water per week delivered at the drip line, not the base of the arbor. Use a soil moisture meter to ensure the root zone stays between 40% and 60% field capacity.
Pruning is the most critical maintenance task for arbor-grown plants. Use sharp bypass pruners for clean cuts that heal quickly. For woody vines, prune in late winter to remove deadwood and "thin out" the canopy, allowing for increased airflow and light penetration. This reduces the risk of fungal pathogens like powdery mildew. Use a hori-hori knife to remove invasive weeds or suckers competing for nutrients at the base of the structure.
The Yield:
If your arbor supports fruiting vines like grapes or hops, harvest timing is determined by the Brix level (sugar content). For grapes, harvest when the fruit is firm and the seeds have turned from green to brown. Use bypass pruners to snip the entire cluster, leaving a 1-inch peduncle attached.
Handle the harvest with care to preserve the "bloom" or the natural waxy coating on the fruit. For flowers like climbing roses, harvest in the early morning when turgor pressure is at its peak. Immediately submerge the stems in 100-degree Fahrenheit water to remove air bubbles from the xylem, ensuring "day-one" freshness for the longest possible duration.
FAQ:
How deep should arbor posts be buried?
Posts must reach below the local frost line, typically 24 to 36 inches deep. This prevents soil heaving from displacing the structure during freeze-thaw cycles. Proper depth ensures the arbor can withstand the weight of a mature, water-heavy canopy.
What is the best soil for climbing plants?
Climbing plants require a friable loam with a pH between 6.0 and 7.0. The soil should have a high Cation Exchange Capacity to retain essential nutrients like Nitrogen and Potassium while providing enough macropores for oxygen to reach the rhizosphere.
How do I prevent my arbor from rotting?
Use pressure-treated lumber or rot-resistant species like cedar. Ensure the base sits on 3 inches of crushed stone for drainage. Keep the soil line 2 inches below the wooden junction to prevent constant moisture contact and fungal decay.
When should I prune plants on an arbor?
Prune most woody climbers in late winter or early spring during dormancy. This timing prevents sap loss and allows the plant to direct energy into new growth as temperatures rise. Always use sterilized bypass pruners for clean vascular recovery.