9 Tips to Use a Border Spade for Precise Renovation Edging
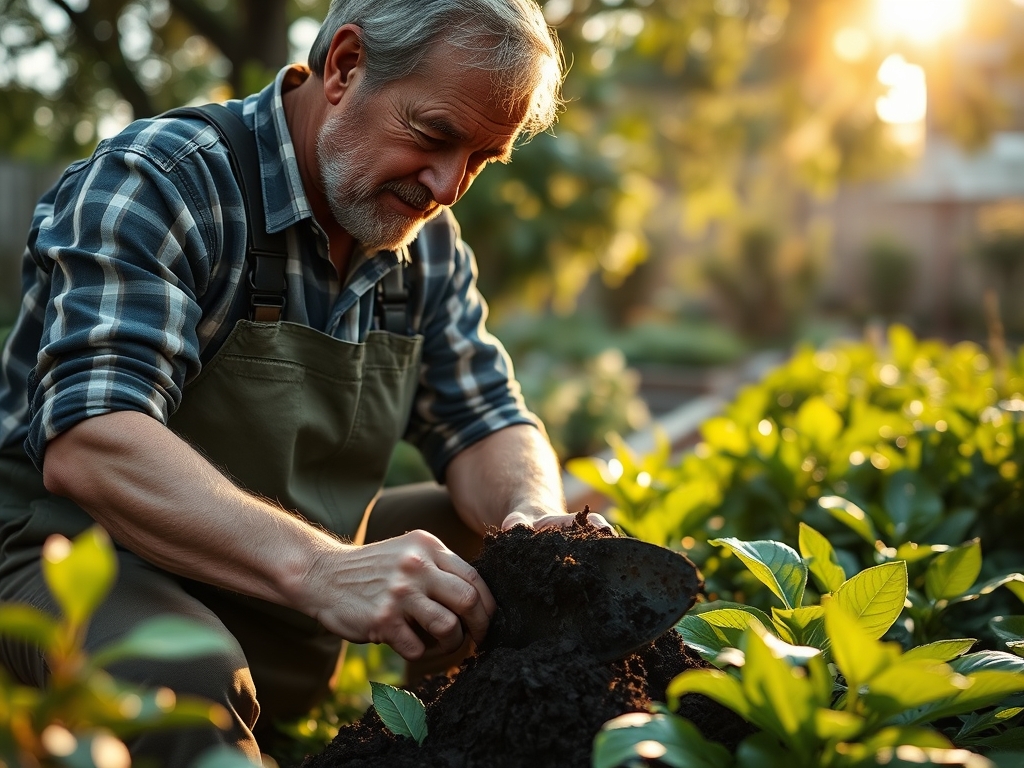
Damp earth releases a sharp, geosmin-heavy scent when the steel blade pierces the surface; this is the smell of a healthy rhizosphere being recalibrated. Precision in the garden is not a matter of aesthetic preference but a requirement for maintaining proper gas exchange and root containment. Using a spade for garden renovation allows for the mechanical severance of aggressive stolons and the re-establishment of clear boundaries between turfgrass and ornamental beds. A border spade, smaller and more maneuverable than a standard digging spade, provides the leverage needed to maintain vertical integrity in the soil profile. This process prevents the encroachment of shallow-rooted grasses into high-value perennials while simultaneously aerating the immediate edge. Success depends on the moisture content of the soil and the sharpness of the tool. Dry, compacted clay will shatter rather than slice; saturated silt will smear and collapse. The goal is to achieve a clean, 90-degree cut that exposes the soil layers without disrupting the structural integrity of the root zones.
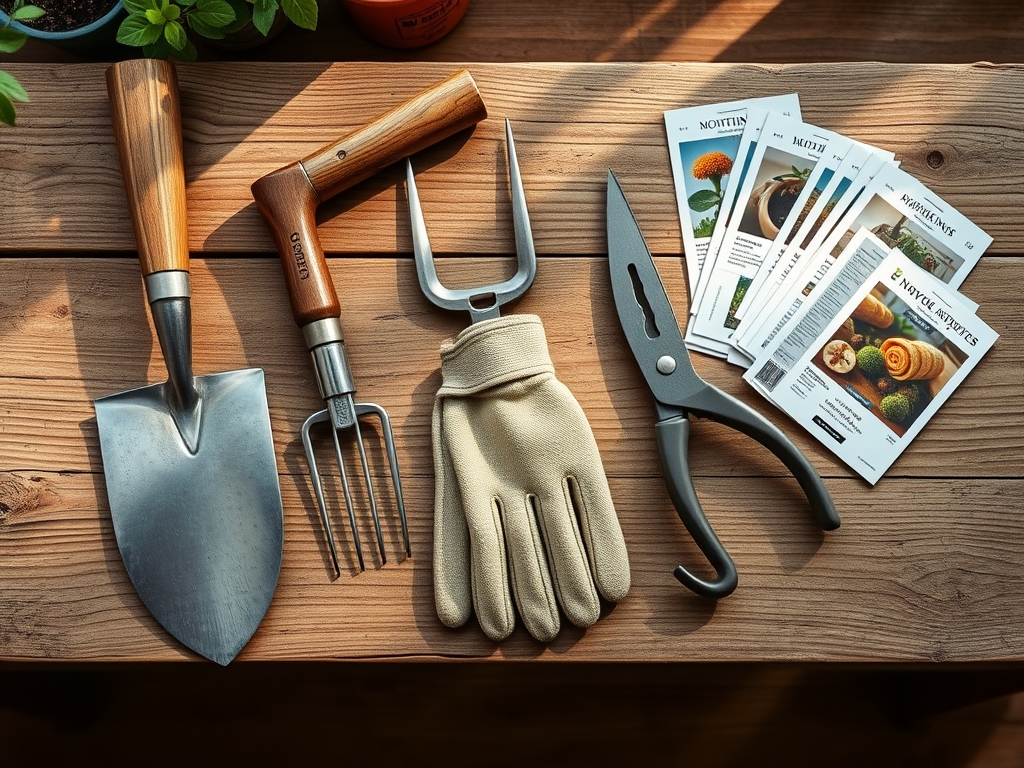
Materials:
The ideal substrate for renovation is a **friable loam** with a **pH range of 6.2 to 6.8**. This acidity level ensures optimal bioavailability of phosphorus and potassium. Before edging, test the soil for its Cation Exchange Capacity (CEC); a higher CEC indicates a better ability to hold onto essential nutrients like calcium and magnesium. For renovation areas, incorporate a balanced **10-10-10 NPK** granular fertilizer if the soil shows signs of depletion. If you are working in sandy soils with low organic matter, top-dress the edge with a composted mulch possessing a **carbon-to-nitrogen ratio of 30:1**. This prevents nitrogen immobilization while improving the water-holding capacity of the newly exposed soil face.
Timing:
Renovation edging should occur during the dormant or early vegetative stages to minimize transplant shock and water loss through transpiration. In Hardiness Zones 5 through 7, the primary window opens after the first spring thaw but before the soil temperature reaches 55 degrees Fahrenheit. This timing aligns with the biological clock of cool-season grasses, which begin active root elongation before significant blade growth. In Zones 8 and 9, perform these tasks in late autumn when the photoperiod shortens and the plant shifts energy from foliage production to carbohydrate storage in the root system. Avoid edging during the heat of the day to prevent the desiccation of exposed fine-hair roots; work during the early morning when turgor pressure is at its peak.
Phases:
### Sowing
When establishing a new edge after renovation, sow seed at a rate of **6 to 8 pounds per 1,000 square feet**. Ensure seed-to-soil contact by lightly tamping the area with the flat of the spade.
**Pro-Tip:** Maintaining a consistent depth of **0.25 inches** for grass seed is vital because of photoblastism; many seeds require specific light exposure or darkness to trigger the germination hormone, gibberellin.
Transplanting
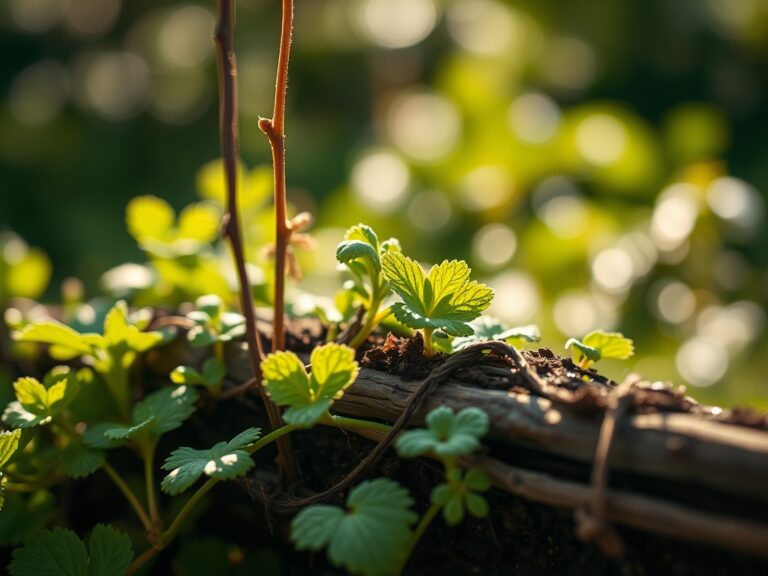
When moving perennials to the new edge, use the border spade to cut a circular root ball that is twice the width of the plant's canopy. This ensures that the lateral roots remain intact.
Pro-Tip: Minimize the time roots are exposed to air to prevent the death of mycorrhizal fungi. These symbiotic organisms extend the root system's reach for phosphorus through a network of hyphae.
Establishing
After cutting the edge, backfill the trench with an organic mulch to a depth of 2 inches. This suppresses weed seeds that have been brought to the surface during the renovation process.
Pro-Tip: Avoid "volcano mulching" against the stems of plants. Excessive mulch creates a moist environment that encourages adventitious roots to grow into the mulch layer rather than the soil; this makes the plant susceptible to drought.
The Clinic:
Physiological disorders often manifest at the garden edge due to mechanical damage or environmental stress.
-
Symptom: Leaf margins turning yellow while veins remain green (Interveinal Chlorosis).
Solution: This is often a sign of Iron or Magnesium deficiency, frequently caused by high soil pH. Apply chelated iron or Epsom salts to lower the pH and increase nutrient uptake. -
Symptom: Wilted foliage despite moist soil.
Solution: This indicates Root Rot (Phytophthora) or extreme soil compaction. Use the border spade to slice into the soil 8 inches deep around the plant to improve oxygen diffusion to the roots. -
Symptom: Stunted growth and purplish tint on older leaves.
Solution: This is a classic Phosphorus deficiency. Phosphorus is immobile in the soil; use a hori-hori knife to incorporate a high-phosphate fertilizer directly into the root zone at a depth of 4 inches.
Fix-It: For Nitrogen chlorosis (general yellowing of the entire plant), apply a quick-release 21-0-0 Ammonium Sulfate fertilizer. This provides an immediate nitrogen boost and slightly acidifies the rhizosphere.
Maintenance:
A renovated edge requires consistent monitoring to prevent the re-invasion of turf. Maintain a "V-trench" that is 3 to 4 inches deep and 2 inches wide. Use a soil moisture meter to ensure the edge plants receive 1.5 inches of water per week at the drip line. If the soil moisture drops below 25 percent, the plants will reach their permanent wilting point. Use bypass pruners to remove any dead or senescing foliage at the start of the season. This prevents the spread of fungal pathogens that thrive in decaying organic matter. Keep the blade of your border spade sharp using a mill file; a dull blade crushes the vascular tissue (xylem and phloem) of the roots, leading to slow recovery and increased vulnerability to pests.
The Yield:
For those renovating edges in herb or cutting gardens, harvest timing is critical for essential oil concentration. Harvest leafy herbs like basil or mint just as the flower buds form but before they open. This is the point of maximum potency. Use sharp snips to cut just above a node to stimulate the release of auxins, which promote lateral branching and a bushier habit. For cut flowers, harvest in the early morning when the stems are fully turgid. Immediately plunge the stems into 40-degree Fahrenheit water to remove field heat and slow the rate of respiration. This post-harvest handling ensures "day-one" freshness for up to seven days.
FAQ:
How deep should I cut a garden edge?
Aim for a depth of 3 to 4 inches. This depth is sufficient to sever the rhizomes of most common turfgrasses, such as Kentucky Bluegrass or Bermuda grass, preventing them from migrating into the ornamental garden beds.
What is the best tool for edging?
A stainless steel border spade is the professional choice. The flat blade creates a cleaner vertical cut than a curved shovel, and the smaller head allows for precise movement around delicate perennial root systems without causing unnecessary soil disturbance.
When is the best time to edge?
The most effective time is early spring when the soil is moist but not saturated. This allows you to define the beds before the spring growth flush and ensures that the mulch remains in place throughout the growing season.
How do I fix a collapsed edge?
Re-cut the edge using a string line for a straight guide. Remove the slumped soil and incorporate it back into the bed. Ensure the new cut is at a 90-degree angle to provide structural stability to the turf side.