6 Steps to Install a Decorative Fountain During an Overhaul
Crushed basalt under your fingernails and the smell of anaerobic decomposition in waterlogged soil signify the start of a serious landscape overhaul. Installing a water feature is not merely an aesthetic choice; it is a structural intervention into the local microclimate that alters humidity and soil moisture levels. Following precise steps for installing a garden fountain ensures that the heavy masonry does not compact the rhizosphere or interfere with the cation exchange capacity of the surrounding substrate.
Materials:

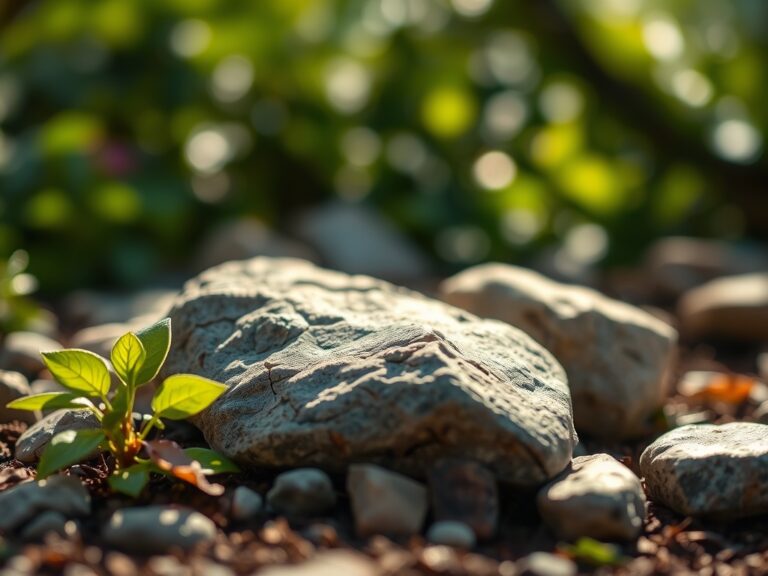
The foundation of a fountain requires a stable, non-shifting base. Begin with a **4 inch layer of compacted 3/4 inch minus crushed rock**. Above this, use a **friable loam** for any surrounding planting beds. This loam should ideally consist of **40 percent sand, 40 percent silt, and 20 percent clay**.
The soil chemistry must be balanced before the fountain is set. Aim for a pH between 6.0 and 7.0 to ensure nutrient availability for perimeter plantings. Incorporate a slow-release fertilizer with an NPK ratio of 5-10-5 into the top 6 inches of soil. High phosphorus levels encourage strong root development, which is necessary for plants adjusting to the increased moisture of a splash zone. Avoid high nitrogen (N) counts immediately around the fountain, as excess runoff into the basin can trigger rapid algal blooms through eutrophication.
Timing:
In Hardiness Zones 4 through 7, fountain installation must occur after the final hard frost but before the heat of mid-summer. The ideal window is when soil temperatures consistently reach 55 degrees Fahrenheit. This timing aligns with the biological clock of most temperate perennials, allowing them to move from winter dormancy into the vegetative stage without the stress of extreme heat.
Installing during the transition from vegetative to reproductive stages (late spring) allows the root systems to establish before the plant directs energy toward flowering. For those in Zones 8 through 10, autumn installation is preferred. This avoids the high evapotranspiration rates of summer, ensuring that new plantings in the fountain's vicinity do not suffer from sudden turgor loss.
Phases:

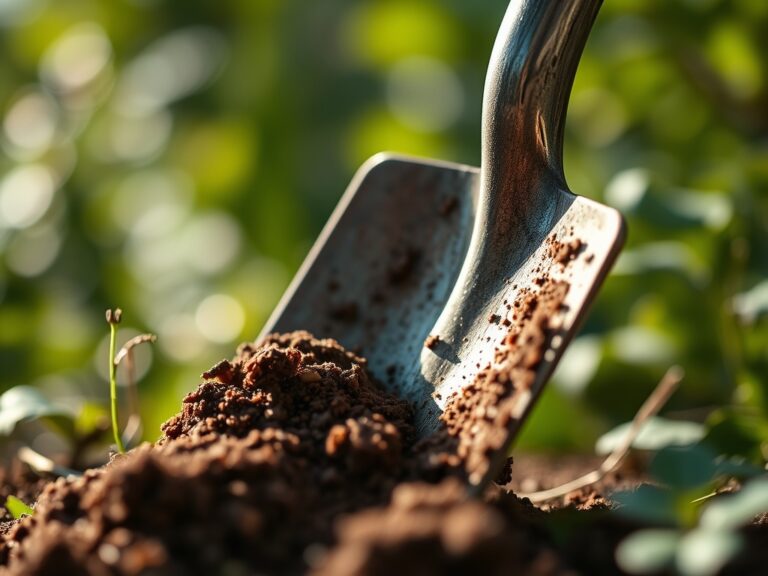
Sowing the Foundation
Excavate the site to a depth of 12 inches deeper than the fountain basin. Level the subsoil using a spirit level. A deviation of even 1/8 inch across the diameter of the basin will result in uneven water flow and mechanical strain on the pump. Fill the excavation with grade-A crushed stone and compact it using a power tamper.
Pro-Tip: Proper compaction prevents soil settling, which can shear irrigation lines. This protects the mycorrhizal symbiosis in the surrounding soil by preventing the catastrophic shifting of the fungal hyphae that support plant nutrient uptake.
Transplanting Peripheral Flora
When placing plants around the fountain, dig holes twice the width of the root ball. Ensure the crown of the plant sits 0.5 inches above the soil line to prevent crown rot. Use a hori-hori knife to score any circling roots, encouraging lateral growth into the new friable loam.
Pro-Tip: Scoring the roots disrupts auxin suppression. This hormonal shift triggers the plant to initiate new root hairs, increasing the surface area for water absorption and stabilizing the plant against the increased wind resistance near water features.
Establishing the Hydrology
Fill the basin with dechlorinated water. Submerge the pump completely, ensuring it sits on a small brick to keep it away from settling sediment. Connect the pump to a GFCI-protected outlet. Monitor the water level for 48 hours to check for leaks or excessive evaporation.
Pro-Tip: Maintaining consistent water levels prevents the pump from running dry and overheating. This stability supports phototropism in surrounding plants, as they will grow toward the reflected light of the water surface without being stressed by fluctuating humidity.
The Clinic:
Physiological disorders often arise when the water feature alters the local environment.
Symptom: Interveinal chlorosis (yellowing leaves with green veins).
Solution: This indicates iron deficiency, often caused by high pH levels from lime leaching out of new concrete fountains. Apply chelated iron and sulfur to lower the pH to 6.5.
Symptom: Marginal leaf burn or necrosis.
Solution: This suggests sodium toxicity from softened water used to fill the fountain. Flush the soil with 2 inches of rainwater or distilled water to leach salts from the root zone.
Symptom: Edema (small bumps or blisters on the undersides of leaves).
Solution: This is caused by high humidity and over-saturation of the soil. Reduce irrigation by 20 percent and improve airflow around the fountain base.
Fix-It for Nitrogen Chlorosis: If older leaves turn pale green or yellow, the plant lacks nitrogen. Apply a liquid kelp emulsion at a rate of 1 tablespoon per gallon of water to provide an immediate, bioavailable nitrogen boost.
Maintenance:
Effective fountain maintenance requires precision. Use a soil moisture meter twice weekly to monitor the root zone. Most peripheral plants require 1.5 inches of water per week at the drip line, accounting for fountain splash.
Every 30 days, scrub the pump intake with a stiff brush to remove biofilm. Use bypass pruners to remove any foliage that touches the water surface; this prevents organic matter from decaying in the basin and spiking ammonia levels. During the winter in cold climates, drain the fountain completely and cover it with a heavy-grade waterproof tarp to prevent freeze-thaw cracking of the masonry.
The Yield:
If your fountain surround includes edible aquatic plants like watercress or decorative lotus, harvest timing is critical. Harvest watercress before the plant reaches the reproductive stage and begins flowering to avoid a bitter flavor profile.
Cut the stems using sharp shears in the early morning when turgor pressure is at its peak. Immediately submerge the cut ends in 40 degree Fahrenheit water. This rapid cooling slows down senescence and cellular respiration, preserving the crisp texture and nutrient density for "day-one" freshness.
FAQ:
How deep should the fountain base be?
The base should be excavated to a depth of 12 to 18 inches. This allows for 4 to 6 inches of compacted gravel and a thick concrete pad, preventing shifting during frost heaves or soil expansion.
Can I use tap water in my fountain?
Tap water is acceptable but often contains chlorine and minerals. These can cause calcium buildup on the pump. Treat the water with a dechlorinator or let it sit for 24 hours before running the pump to protect mechanical parts.
How do I prevent algae without chemicals?
Maintain a biological balance by adding floating aquatic plants to cover 50 percent of the water surface. This limits the light available for photosynthesis in algae and consumes excess nutrients like nitrates and phosphates that fuel algal growth.
What is the best pump flow rate?
Choose a pump that can cycle the total volume of the fountain at least once per hour. For a 50-gallon basin, a pump rated for 75 to 100 gallons per hour (GPH) provides the necessary head pressure.