6 Steps to Prepare a Garden Deck Site During a Remodel
Crushed basalt and the smell of damp, anaerobic clay signal the start of a structural landscape shift. Successful integration of timber and biology requires more than a level surface; it demands an understanding of the rhizosphere beneath the boards. Learning how to prepare a site for a garden deck involves managing soil compaction and drainage to prevent root rot in surrounding specimen plants. You must ensure the substrate maintains its structural integrity while allowing for the movement of water and gas.
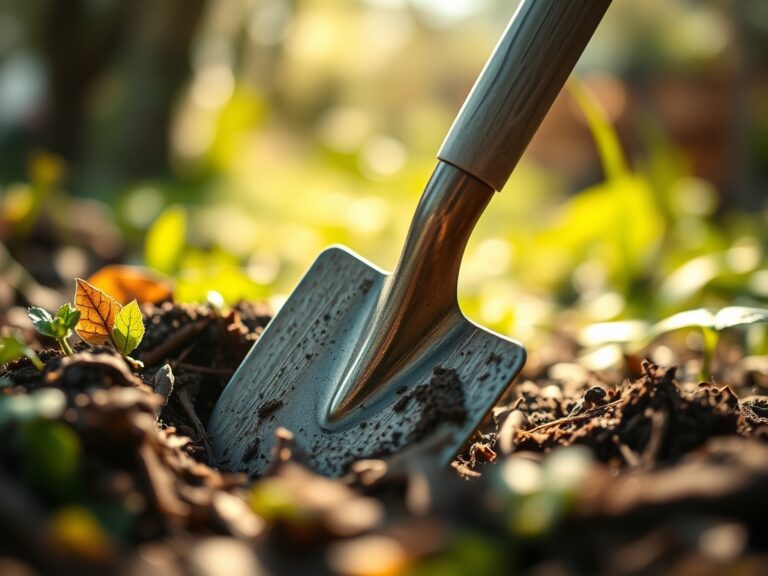
Proper site preparation prevents the accumulation of stagnant moisture that leads to fungal pathogens. When you strip the turf, you expose the O-horizon of the soil. This layer is rich in organic matter but lacks the load-bearing capacity required for deck footings. You must excavate down to the denser B-horizon, where the Cation Exchange Capacity (CEC) is often lower but the mineral stability is significantly higher. This process ensures that the heavy pressure of the deck does not crush the delicate pore spaces needed for local flora to maintain turgor pressure.
Materials:

The foundation of a garden deck site requires a specific geological profile to prevent subsidence and biological decay. For the areas immediately adjacent to the deck where you intend to plant, the substrate must be a friable loam with a composition of approximately 40 percent sand, 40 percent silt, and 20 percent clay. This balance ensures a high CEC, allowing the soil to hold onto essential cations like Calcium (Ca2+) and Magnesium (Mg2+).
The chemical profile of the site should be adjusted based on the specific flora being integrated into the remodel. Aim for a soil pH between 6.2 and 6.8 for general ornamental health. If the soil is too acidic, incorporate calcitic lime; if too alkaline, use elemental sulfur. For the initial establishment phase, utilize a balanced NPK ratio of 10-10-10 to provide immediate bioavailability of Nitrogen for leaf production, Phosphorus for root development, and Potassium for cellular wall strength. Beneath the deck itself, use a non-woven geotextile fabric topped with three inches of clean, 3/4-inch crushed stone to suppress weed growth and facilitate rapid drainage.
Timing:
Site preparation must align with your local USDA Hardiness Zone to avoid the risks of frost heave and soil saturation. In Zones 5 through 7, the ideal window for excavation is late spring after the final frost date when the soil moisture content has dropped enough to prevent compaction. Working in "plastic" or muddy soil destroys the soil structure, collapsing the macropores essential for oxygen diffusion.
Understand the biological clock of your garden. If you are transplanting shrubs to accommodate the deck, do so during the dormant stage (late winter or early spring) before the plant enters the vegetative stage. This timing minimizes transplant shock by ensuring the plant is not actively diverting energy toward foliage or reproductive stages. For Zones 8 and 9, autumn is the preferred window, as it allows for root establishment during the cooler months without the stress of high evapotranspiration rates common in summer.
Phases:

Sowing and Soil Stabilization
Once the site is cleared, sow a low-growing fescue or clover around the perimeter to stabilize the soil. Use a broadcast spreader to ensure a density of 6 to 8 seeds per square inch. Lightly rake the seeds into the top 0.25 inches of the friable loam.
Pro-Tip: Maintaining soil cover prevents the destruction of mycorrhizal symbiosis. These fungi form a mutualistic relationship with plant roots, extending the reach of the root system to scavenge for Phosphorus in exchange for carbohydrates.
Transplanting Specimen Plants
Move any existing perennials or shrubs at least four feet away from the primary construction zone. Dig a root ball that is two times the width of the current container or root spread. Ensure the root flare remains visible at the soil surface to prevent stem rot.
Pro-Tip: Use a sharp spade to make clean cuts on the roots. This stimulates auxin suppression at the tip, which triggers the plant to produce lateral roots, resulting in a more robust and fibrous root system after the move.
Establishing the Microclimate
As the deck frame is installed, monitor the changing light patterns. The new structure will create "rain shadows" and areas of permanent shade. Adjust your planting plan to include shade-tolerant species in areas where the deck obstructs the photoperiod.
Pro-Tip: Be aware of phototropism, where plants lean toward the light source. Position taller plants on the north side of the deck to ensure they do not become "leggy" or spindly as they reach around the structure for UV exposure.
The Clinic:
During a remodel, plants often exhibit physiological disorders due to environmental stress or soil disruption.
- Symptom: Interveinal chlorosis (yellowing leaves with green veins).
Solution: This is often a sign of Iron deficiency, common in high pH soils. Apply chelated iron to the rhizosphere. - Symptom: Leaf wilting despite moist soil.
Solution: This indicates root suffocation or "wet feet" caused by poor drainage under the deck. Increase the depth of your crushed stone layer to 4 inches. - Symptom: Stunted growth and purple-tinted foliage.
Solution: Phosphorus deficiency is the likely culprit. This often occurs in cold, wet soils. Apply a high-phosphorus starter fertilizer (5-20-10). - Symptom: Marginal leaf burn (browning edges).
Solution: This suggests Potassium deficiency or salt accumulation. Flush the soil with clean water and check the drainage path away from the deck footings.
Maintenance:
Post-construction maintenance requires precision. Use a soil moisture meter twice weekly to check the hydration levels at a depth of 6 inches. Most established garden beds near a deck require 1.5 inches of water per week delivered directly at the drip line. Avoid overhead watering, which increases the risk of powdery mildew on the foliage.
Keep a hori-hori knife sharpened for weeding and minor root pruning. Use bypass pruners to remove any branches damaged during the construction process; make your cuts at a 45-degree angle just above a lateral bud to encourage outward growth. Monitor the deck footings for any signs of soil erosion or "piping," where water carves channels beneath the concrete.
The Yield:
If your garden deck site includes edible borders, timing the harvest is a matter of chemistry. For leafy greens, harvest in the early morning when turgor pressure is at its peak. This ensures the cells are fully hydrated, providing a crisp texture. For fruiting plants like peppers or tomatoes, wait until the fruit has reached full color saturation, indicating that the sugars have concentrated.
After harvesting, plunge the produce into an ice-water bath to remove field heat. This process slows down the respiration rate and delays senescence, keeping the yield fresh for a longer duration. Use a clean, sterilized knife to prevent the transmission of pathogens from the soil to the plant tissue.
FAQ:
How deep should I dig for deck footings?
Excavate footings to at least 12 inches below the frost line for your specific zone. This prevents the deck from shifting during freeze-thaw cycles which can damage the surrounding soil structure and plant root systems.
What is the best way to prevent weeds under a deck?
Install a heavy-duty non-woven geotextile fabric over the cleared soil. Cover this with 3 inches of inorganic mulch, such as gravel or crushed stone. This blocks light, preventing photosynthesis and weed germination.
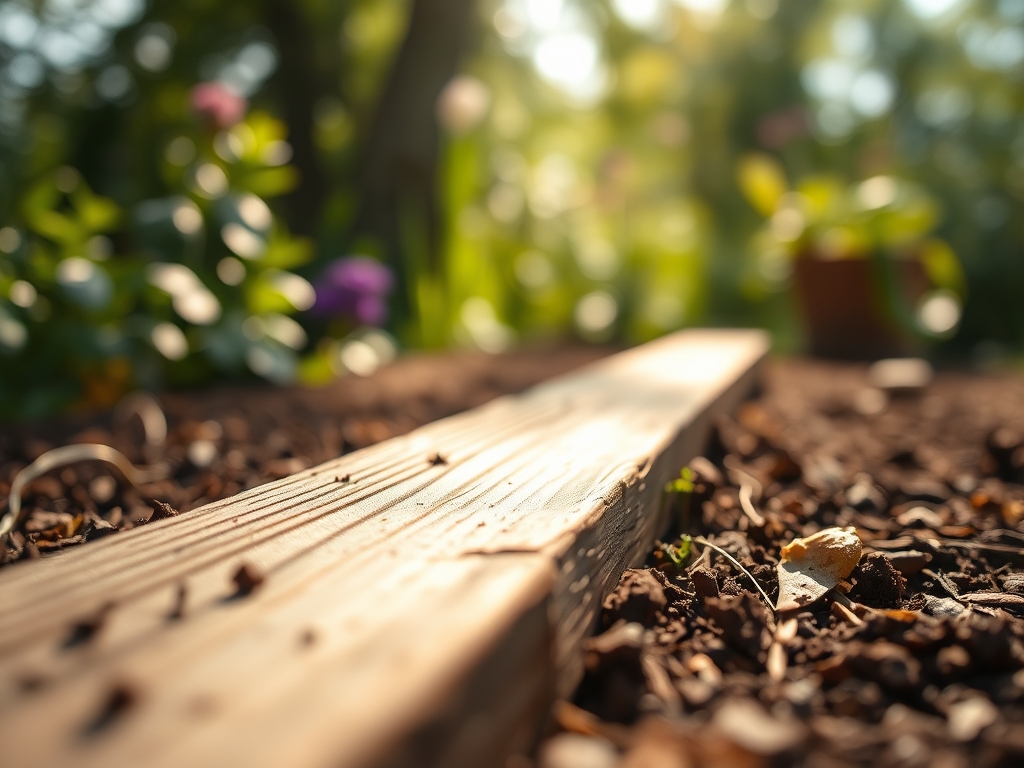
Can I plant directly against the deck boards?
Leave a 12-inch gap between the deck and any vegetation. This allows for essential airflow, preventing wood rot on the structure and fungal outbreaks like botrytis on the plants caused by trapped humidity.
How do I fix compacted soil after construction?
Use a broadfork to aerate the soil without inverting the layers. Incorporate 2 inches of organic compost into the top layer to improve the soil's porosity and increase the Cation Exchange Capacity for future plantings.