9 Steps to Prepare Your Backyard for a Custom Wildlife Pond
The smell of disturbed earth reveals the true state of your soil's health. When you break the surface, you should encounter the earthy scent of geosmin, indicating a high density of beneficial Actinobacteria. Successful pond construction requires more than digging a hole; it demands a total recalibration of the local hydrology and soil structure. Learning how to prepare a garden for a pond involves assessing the water table, calculating slope gradients, and ensuring the surrounding flora can withstand increased localized humidity without succumbng to fungal pathogens. You are moving from a terrestrial ecosystem to a hybrid riparian zone. This transition requires precision in soil stabilization and a deep understanding of the rhizosphere to prevent nutrient runoff from contaminating the water column.
Materials:
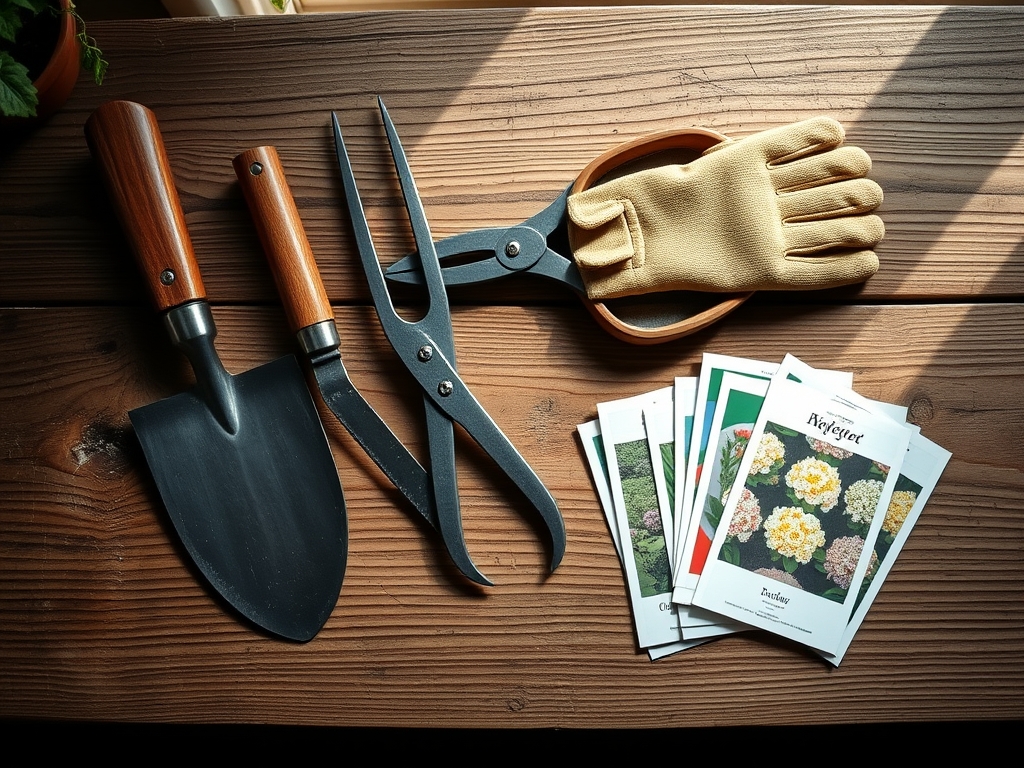
The success of your pond’s edge depends on the Cation Exchange Capacity (CEC) of the surrounding substrate. You require a **friable loam** with a **pH between 6.0 and 7.0** to support marginal plants. Avoid heavy clays that lack aeration or sandy soils that allow rapid nutrient leaching. For the surrounding terrestrial buffer, utilize a slow-release organic fertilizer with an **NPK ratio of 5-10-5**. High nitrogen (the first number) must be avoided near the water’s edge to prevent algal blooms caused by nitrate runoff. You will also need a **45-mil EPDM rubber liner**, a non-woven geotextile underlayment, and a high-quality **soil moisture meter** to monitor the saturation levels of the new embankment.
Timing:
Ground preparation should initiate when the soil temperature consistently reaches 50 degrees Fahrenheit (10 degrees Celsius). In Hardiness Zones 5 through 7, this window typically opens between late March and early May. You must complete heavy excavation before the "Biological Clock" of your existing garden shifts from the dormant phase to the active vegetative stage. Disrupting the root systems of established perennials during their peak spring growth surge causes immediate loss of turgor pressure and can lead to permanent vascular damage. Aim for a window at least three weeks before the last frost date to allow the soil to settle before planting aquatic species.
Phases:
Sowing the Perimeter
Begin by seeding the buffer zone with native sedges and grasses. These species develop deep fibrous root systems that anchor the soil. Ensure the seeds have direct contact with the mineral soil at a depth of 0.25 inches.
Pro-Tip: Focus on establishing mycorrhizal symbiosis by inoculating the soil with fungal spores. This biological partnership extends the root system's reach, allowing plants to pull phosphorus and water from the soil more efficiently, which stabilizes the pond bank against erosion.
Transplanting Marginals
When moving emergent plants like Iris pseudacorus into the pond shelves, ensure the crown sits exactly at the water line. Use heavy clay loam in planting baskets to prevent the media from floating away.
Pro-Tip: Minimize auxin suppression by avoiding heavy pruning during the transplant phase. Keeping the apical meristems intact allows the plant to send hormonal signals to the roots to initiate rapid growth in the new substrate.
Establishing the Ecosystem
The final phase involves the introduction of submerged oxygenators like Ceratophyllum demersum. These plants must be weighted down to the bottom to ensure they remain in the lower photic zone where they can effectively process dissolved CO2.
Pro-Tip: Monitor the photoperiod of your pond site. Aquatic plants require at least 6 hours of direct sunlight to maintain the rate of photosynthesis necessary to outcompete opportunistic algae for available nutrients.
The Clinic:
Physiological disorders in a new pond environment often manifest in the foliage of surrounding plants.
- Symptom: Interveinal chlorosis on new leaves.
- Solution: This indicates an Iron deficiency, often caused by a pH spike above 7.5. Lower the pH using elemental sulfur to increase iron bioavailability.
- Symptom: Yellowing of older, lower leaves while the rest of the plant remains green.
- Solution: This is Nitrogen chlorosis. The plant is scavenging mobile nitrogen from old tissue to support new growth. Apply a targeted dose of blood meal (12-0-0) at the base of the plant, away from the water.
- Symptom: Marginal leaf burn or browning edges.
- Solution: Likely Potassium deficiency or salt accumulation. Flush the soil with 2 inches of fresh water to leach excess salts and improve potassium uptake.
Maintenance:
Precision is the difference between a thriving pond and a stagnant pit. Use a soil moisture meter daily to ensure the transition zone maintains a consistent moisture level. Provide 1.5 inches of water per week at the drip line of any large shrubs near the pond to prevent them from extending their roots into the pond liner in search of hydration. Use a hori-hori knife to remove invasive weeds by the root, ensuring you do not leave rhizome fragments behind. For woody plants, use bypass pruners to make clean, slanted cuts that allow water to shed, preventing the entry of pathogens into the vascular system.
The Yield:
If you have integrated edible aquatic plants like Nasturtium officinale (Watercress), harvest the young shoots before the plant reaches the flowering stage. Post-harvest, immediately submerge the stems in 40-degree Fahrenheit water to maintain cell turgidity and prevent wilting. This rapid cooling halts the metabolic process of senescence, preserving the nutrient density and crisp texture for up to five days in cold storage.
FAQ:
What is the best soil for pond plants?
Use a heavy, fine-textured clay loam. Avoid standard potting mixes containing peat or perlite, as these materials float and will cloud the water or clog filtration systems. The high CEC of clay helps retain essential nutrients for aquatic roots.
How deep should a wildlife pond be?
A minimum depth of 24 to 36 inches is required in at least one section. This provides a thermal refuge for aquatic life, preventing the water from freezing solid in winter or overheating during peak summer solar radiation.
How do I stop my pond from leaking?
Install a 45-mil EPDM liner over a thick geotextile underlayment. Ensure the edges are buried in a "lock trench" at least 6 inches deep and backfilled with compacted soil to prevent the liner from slipping or wicking water.
Can I use tap water to fill my pond?
Tap water often contains chlorine or chloramines which are toxic to the rhizosphere. Treat the water with a dechlorinator or allow it to off-gas for 24 to 48 hours before introducing any biological components or sensitive plant species.