9 Steps to Prepare Your Garden for Modern Lighting Upgrades
The smell of damp earth and the firm turgor of a healthy leaf indicate a garden ready for technical advancement. When you learn how to prepare a garden for a light, you are not merely adding a fixture; you are altering the fundamental metabolic rate of your plants. This process requires a precise understanding of the rhizosphere and the physiological demands of increased photoperiods. Supplemental lighting accelerates photosynthesis, which in turn increases the demand for water and mineral uptake. Failure to calibrate your soil and plant health before installation leads to rapid nutrient depletion and cellular stress. You must ensure the substrate can handle the accelerated growth cycles that modern LED or HID systems induce. This guide provides the technical framework to transition your outdoor or semi-enclosed space into a high-performance botanical environment.
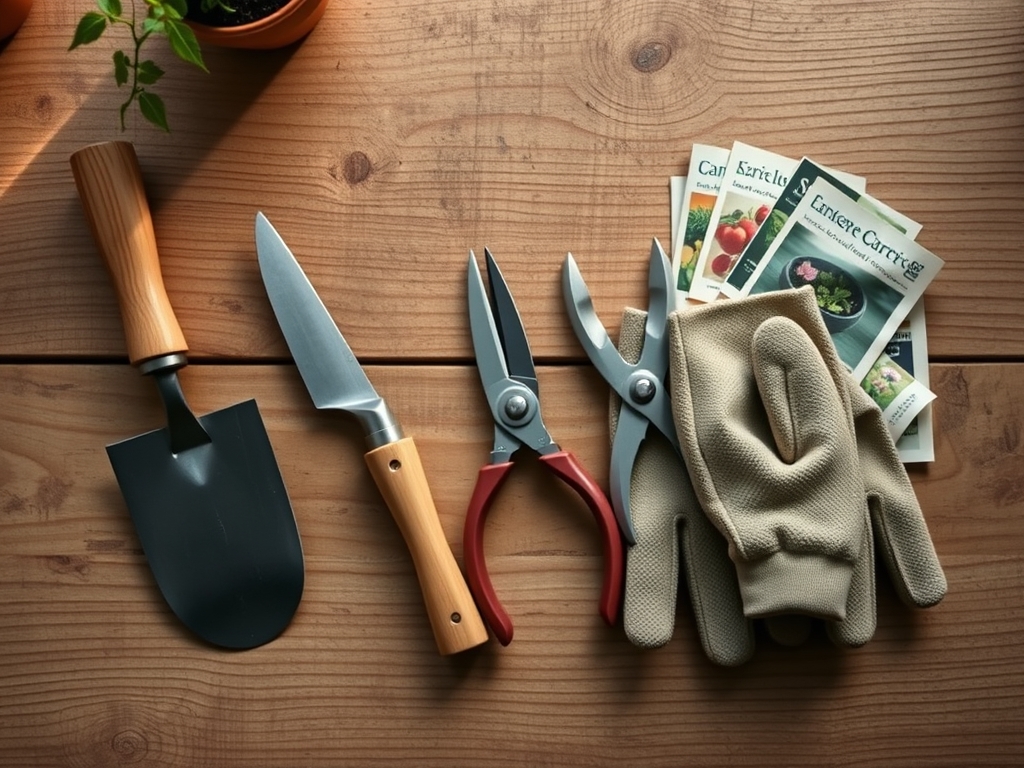
Materials:
Preparing for advanced lighting starts with the substrate. You require a **friable loam** with a high **Cation Exchange Capacity (CEC)** to hold the nutrients that the plants will consume under intense light. The ideal soil pH for most garden crops is **6.2 to 6.8**. At this range, micronutrients like iron and manganese remain bioavailable.
For the vegetative stage, utilize a fertilizer with an NPK ratio of 3-1-2. This provides the nitrogen necessary for chlorophyll production. As you transition to reproductive stages under your new lights, shift to a 1-3-2 ratio to support flower and fruit development. You will also need a digital soil moisture meter, a pH probe, and high-quality organic matter. Ensure your compost has a Carbon-to-Nitrogen (C:N) ratio of 25:1 to provide a steady release of nutrients without causing microbial nitrogen tie-up.
Timing:
The implementation of lighting must align with your local Hardiness Zone and the biological clock of your specific cultivars. In Zones 5 through 7, the window for preparing supplemental lighting often begins in late winter to extend the growing season. You must track your local last frost date with precision. Adding light too early in an unheated space can stimulate growth that the ambient temperature cannot support, leading to frost damage.
The "Biological Clock" refers to the transition from vegetative growth to senescence. Most plants are sensitive to the photoperiod. By understanding when your plants naturally shift their energy from leaf production to root or fruit development, you can time your light installation to maximize yield. For example, short-day plants require a reduction in light duration to trigger flowering; your preparation must include a way to control these cycles.
Phases:

Sowing and Site Preparation
Begin by clearing the area of all debris and weeds that might compete for the new light source. Measure the square footage to determine the Photosynthetic Photon Flux Density (PPFD) required. Dig the soil to a depth of 12 inches to ensure adequate aeration.
Pro-Tip: Proper aeration prevents anaerobic conditions in the rhizosphere. This is vital because increased light increases the rate of respiration in the roots; without oxygen, the plant cannot process the additional energy provided by the light.
Transplanting and Hardening
When moving plants into the lighted area, ensure they have a robust root system. Use a hori-hori knife to slice through any circling roots in pot-bound specimens. Space plants according to their mature width to prevent shading.
Pro-Tip: This spacing manages auxin suppression. When leaves overlap, the shade triggers a "shade avoidance response" where the plant stretches its stem, becoming weak. Proper spacing ensures light hits the lower nodes, maintaining a stocky, resilient structure.
Establishing the Light Cycle
Once the plants are in place, introduce the new light gradually. Start with lower intensity or shorter durations over a 7 to 10 day period. This prevents photoinhibition, where the photosynthetic machinery is overwhelmed by too much energy too quickly.
Pro-Tip: Gradual introduction supports mycorrhizal symbiosis. The fungi in the soil need time to adjust their nutrient delivery speed to match the plant's increased carbohydrate production from the new light source.
The Clinic:
Physiological disorders often manifest rapidly under intense lighting. Use this diagnostic guide to identify and correct issues.
Symptom: Interveinal chlorosis (yellowing between leaf veins) on new growth.
Solution: This indicates an Iron (Fe) deficiency. Check the soil pH immediately. If the pH is above 7.0, the iron is locked in the soil. Lower the pH using elemental sulfur or chelated iron foliar sprays.
Symptom: Leaf tip burn or "clawing" of the leaves.
Solution: This is often Nitrogen toxicity. High light levels can cause the plant to uptake too much nitrogen, leading to salt buildup in the tissue. Flush the soil with three times the volume of the container with plain, pH-balanced water.
Symptom: Purpling of the stems or underside of leaves.
Solution: This is a Phosphorus (P) deficiency. It often occurs in cold soils even if phosphorus is present. Ensure the root zone temperature is at least 65 degrees Fahrenheit to facilitate P uptake.
Fix-It for Nitrogen Chlorosis: If older leaves are turning a uniform pale yellow, apply a liquid fertilizer with a high first number (Nitrogen). A 5-1-1 fish emulsion provides a rapid source of bioavailable nitrogen to restore green color and photosynthetic capacity.
Maintenance:
Consistency is the hallmark of a professional garden. Use a soil moisture meter daily to ensure the substrate stays within the "moist but not saturated" range. Most plants under supplemental light require at least 1.5 inches of water per week delivered at the drip line. Avoid wetting the foliage to prevent fungal pathogens.
Keep your bypass pruners sharp and sanitized with 70 percent isopropyl alcohol. Prune away any yellowing or dead material to improve airflow. Check the light fixtures for dust buildup every 30 days; a thin layer of dust can reduce light output by up to 20 percent. Verify that your timers are functioning correctly to prevent disrupting the plant's circadian rhythm.
The Yield:
Harvesting is a science of timing. For most crops, harvest in the early morning when turgor pressure is at its peak. This ensures the cells are fully hydrated, providing the best texture and shelf life. Use a sharp knife or pruners to make clean cuts; jagged tears create entry points for pathogens.
Post-harvest handling is critical for "day-one" freshness. Immediately move the produce to a cool, shaded area to remove field heat. For leafy greens, a quick dip in 40 degree Fahrenheit water can "set" the crispness. For flowers, cut the stems at a 45 degree angle under water to prevent air embolisms in the xylem, ensuring continued hydration.
FAQ:
How do I know if my light is too close?
Observe the top leaves for "bleaching" or upward curling. If the leaf temperature exceeds the ambient air temperature by more than 5 degrees Fahrenheit, increase the distance between the light and the canopy.
Can I use any LED light for my garden?
No. Plants require specific wavelengths, primarily in the 400 to 700 nanometer range. Standard household LEDs lack the intensity and the specific blue and red peaks necessary to drive efficient photosynthesis and robust plant growth.
What is the best soil for lighted gardens?
A high-quality soilless mix or a sandy loam with added perlite is best. These substrates provide the high drainage and aeration needed to handle the frequent watering and fertilization cycles typical of high-intensity lighting environments.
How long should I leave the lights on?
Most vegetative plants require 14 to 18 hours of light. Flowering plants typically need a "12-12" cycle (12 hours of light and 12 hours of uninterrupted darkness) to trigger the hormonal shift required for reproductive growth.