7 Steps to Build a Winding Gravel or Stone Garden Path
The smell of damp, disturbed earth signals the beginning of any structural landscape intervention. When you break the surface tension of the soil, you expose the rhizosphere to oxygen, accelerating microbial activity and altering the local bulk density. Mastering the steps for building a garden path requires more than aesthetic intuition; it demands an understanding of soil mechanics and hydrological runoff. A winding path must respect the turgor pressure of flanking vegetation while providing a stable, non-compacted substrate for transit. Proper execution prevents the anaerobic conditions often caused by poor drainage in heavy clay soils. You are not merely laying stone; you are managing the interface between geological stability and botanical health.
Materials:
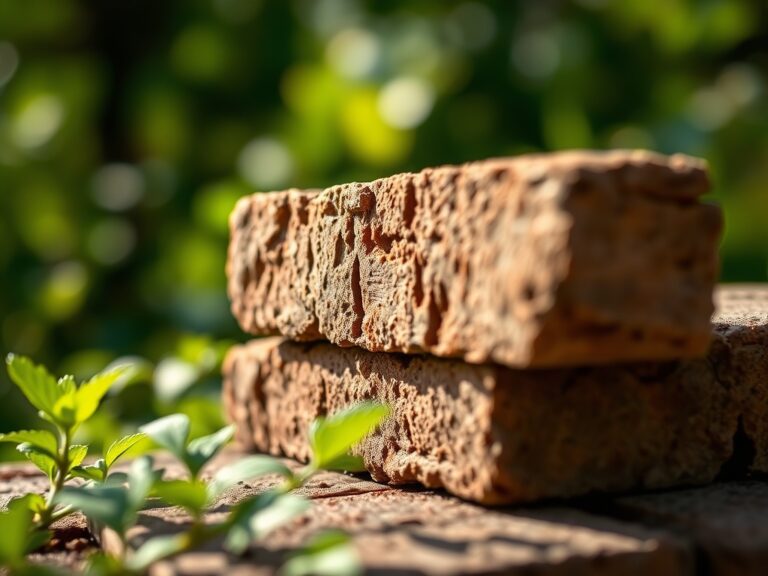
The success of a path depends on the friable loam or native soil surrounding the excavation site. Before digging, analyze the soil pH; a neutral range of 6.0 to 7.0 ensures that any runoff from limestone or concrete pavers does not cause excessive alkalinity in the root zones of adjacent perennials.
For the base material, utilize a crushed 3/4-inch minus aggregate. This material provides a high Cation Exchange Capacity (CEC) when integrated with organic fines, though for structural paths, we prioritize mechanical interlocking. If you are planting groundcovers like Thymus serpyllum between stones, ensure the infill mix maintains an NPK ratio of 5-10-5. This lower nitrogen content prevents leggy vegetative growth and encourages the high root density needed to withstand foot traffic. Avoid heavy peat mixes that hold excessive moisture, as this can lead to root rot in the surrounding rhizosphere.
Timing:
In Hardiness Zones 4 through 7, the window for path construction is dictated by the frost line. Excavation must occur when the soil is at field capacity but not saturated. Working saturated soil destroys its structure, leading to permanent compaction that inhibits the Biological Clock of nearby woody ornamentals.
Ideally, schedule construction during the transition from the vegetative to the reproductive stages of your garden plants, typically late spring or early autumn. This timing avoids the peak transpiration rates of mid-summer, reducing stress on any root systems pruned during the edging process. Ensure the ground temperature is at least 50 degrees Fahrenheit to allow for the settling of aggregates before the first hard freeze, which can cause frost heave and displace your stone alignment.
Phases:

Sowing the Foundation
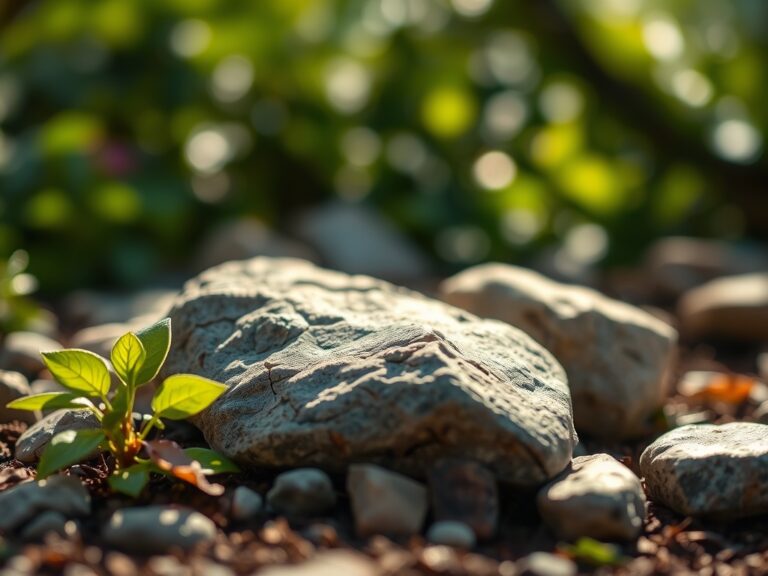
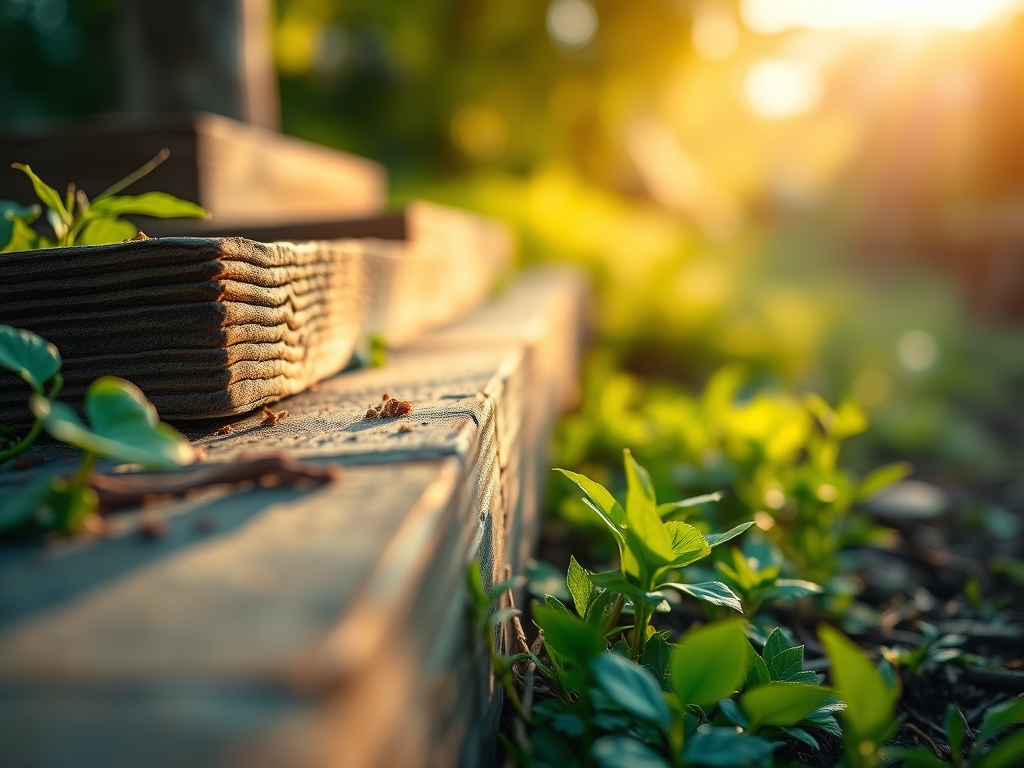
The first of the steps for building a garden path is the excavation of a 4 to 6-inch deep trench. Use a hori-hori knife to cleanly sever any lateral roots. Line the trench with a non-woven geotextile fabric to prevent the migration of fines from the subgrade into your clean aggregate.
Pro-Tip: Maintaining a slight 2 percent grade away from plant crowns prevents water pooling. This is critical because mycorrhizal symbiosis requires aerobic conditions; standing water creates a hypoxic environment that kills beneficial fungal networks.
Transplanting and Edging
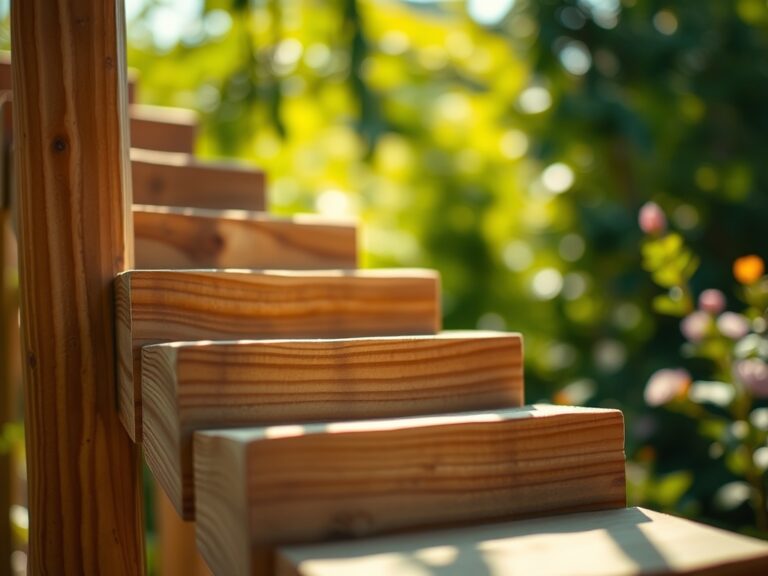
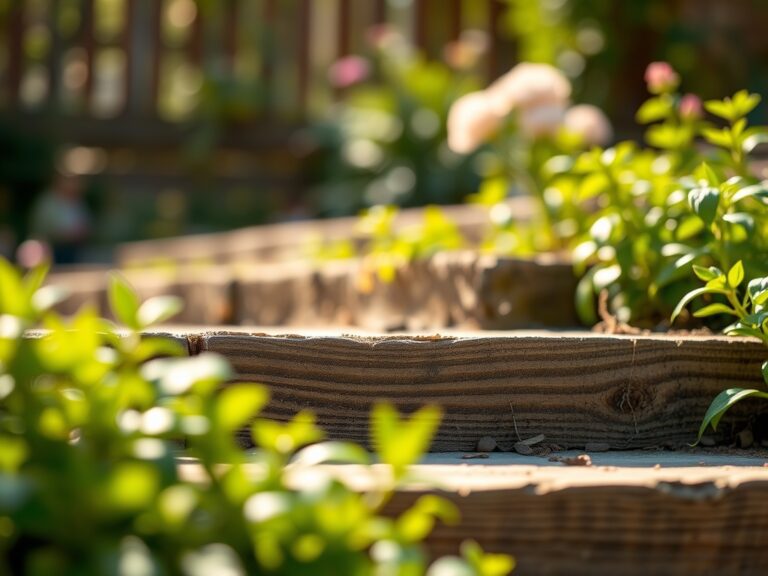
When placing large flagstones or pavers, "transplant" them into a 2-inch bed of coarse sand. This layer acts as a leveling medium and allows for micro-adjustments. Ensure stones are set 0.5 inches below the surrounding grade to allow for easy mowing and to prevent "tripping" the lateral growth of stoloniferous plants.
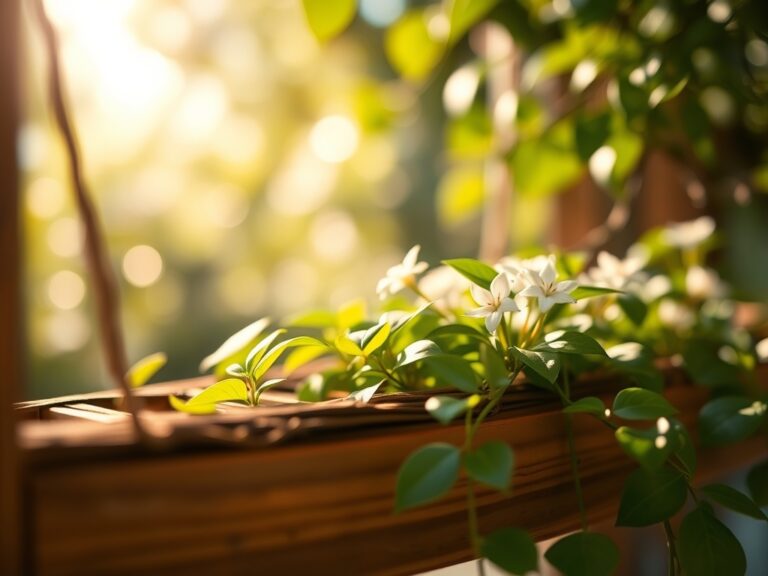
Pro-Tip: If planting between stones, use species that exhibit thigmotropism. These plants respond to the physical touch of the stone by growing more densely, which helps lock the pavers in place through root-mat reinforcement.
Establishing the Border
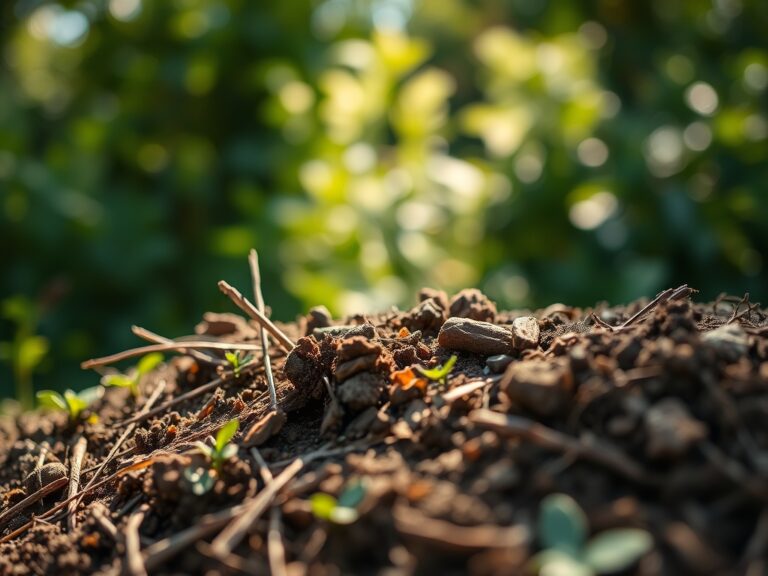
Backfill the edges with a mixture of native soil and finished compost. Tamp the edges firmly to eliminate air pockets that could cause root desiccation in adjacent flora. Apply a 1-inch layer of organic mulch to the transition zone to regulate soil temperature.
Pro-Tip: Suppress auxin production in nearby shrubs by pruning back encroaching branches during this phase. This redirects the plant's energy to root repair and lateral stabilization, ensuring the path and the garden coexist without competition for space.
The Clinic:
Physiological disorders often manifest in the vegetation bordering a new path due to altered drainage or soil compaction.
- Symptom: Interveinal Chlorosis. The leaves show yellowing while veins remain green.
- Solution: This often indicates a micronutrient deficiency caused by high pH runoff from stone materials. Apply chelated iron to restore chlorophyll production.
- Symptom: Leaf Scorch. Brown, crispy edges on leaves near the path.
- Solution: This is a sign of desiccation. The stone acts as a heat sink, increasing the evaporation rate. Increase irrigation frequency for plants within 12 inches of the path.
- Symptom: Stunted Growth.
- Solution: Check for soil compaction using a soil moisture meter probe. If the probe cannot penetrate 6 inches easily, use a garden fork to aerate the soil without overturning it.
Fix-It for Nitrogen Chlorosis: If plants appear pale green or stunted, apply a quick-release high-nitrogen fertilizer (20-0-0) at a rate of 0.5 pounds per 100 square feet to jumpstart vegetative recovery.
Maintenance:
A garden path requires active management to remain a functional part of the ecosystem. Provide exactly 1.5 inches of water per week at the drip line of all bordering plants to compensate for the heat retention of the stone. Use bypass pruners to maintain a clear "air gap" of 3 inches between the path surface and overhanging foliage to prevent fungal pathogens from migrating via moisture.
Check the path level annually using a 4-foot spirit level. If stones have shifted due to freeze-thaw cycles, lift them and add more sand to the base. Use a soil moisture meter to ensure the area under the stones is not becoming a subterranean water channel, which can erode the subgrade over time.
The Yield:
For paths lined with edible herbs like Creeping Rosemary or Thyme, harvest timing is essential for peak essential oil concentration. Harvest just as the photoperiod reaches its daily peak but before the heat of the afternoon. Use sharp snips to take only the top 20 percent of the plant. To maintain "day-one" freshness, immediately place the cuttings in a cool, shaded container with a damp cloth to maintain turgor pressure until they can be processed.
FAQ:
What is the best base for a gravel path?
A 4-inch layer of compacted 3/4-inch crushed stone topped with a 2-inch layer of fines provides the best structural integrity. This ensures proper drainage and prevents the path from sinking into the rhizosphere.
How do I prevent weeds without chemicals?
Install a heavy-duty geotextile fabric beneath the aggregate. This physical barrier prevents weed seeds in the soil from reaching the surface while allowing water and gas exchange to maintain soil health and cation exchange.
Can I build a path over tree roots?
Avoid cutting roots larger than 2 inches in diameter. Instead, use a "floating" path design by adding a 3-inch layer of wood chips or mulch over the roots before laying stones to prevent crushing the vascular cambium.
How do I calculate the amount of gravel needed?
Multiply the length by the width by the depth (in feet) and divide by 27 to find the cubic yardage. Always order 10 percent extra to account for compaction during the tamping process.