6 Handling Steps to Repot an Elephant Ear Root Bulb
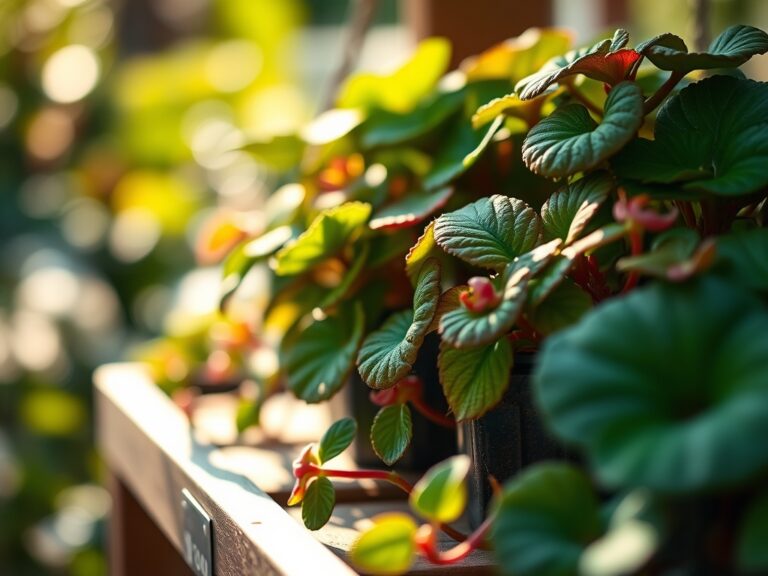
Damp earth smells of geosmin and fungal activity when you disturb the root zone of a mature Alocasia or Colocasia. A healthy specimen exhibits high turgor pressure; its petioles remain rigid and upright under the weight of massive, cordate leaves. When the container becomes a restrictive cage of circling roots, growth stalls and nutrient uptake diminishes. Mastering the steps for repotting an elephant ear ensures the specimen maintains its metabolic rate and structural integrity through the coming season.
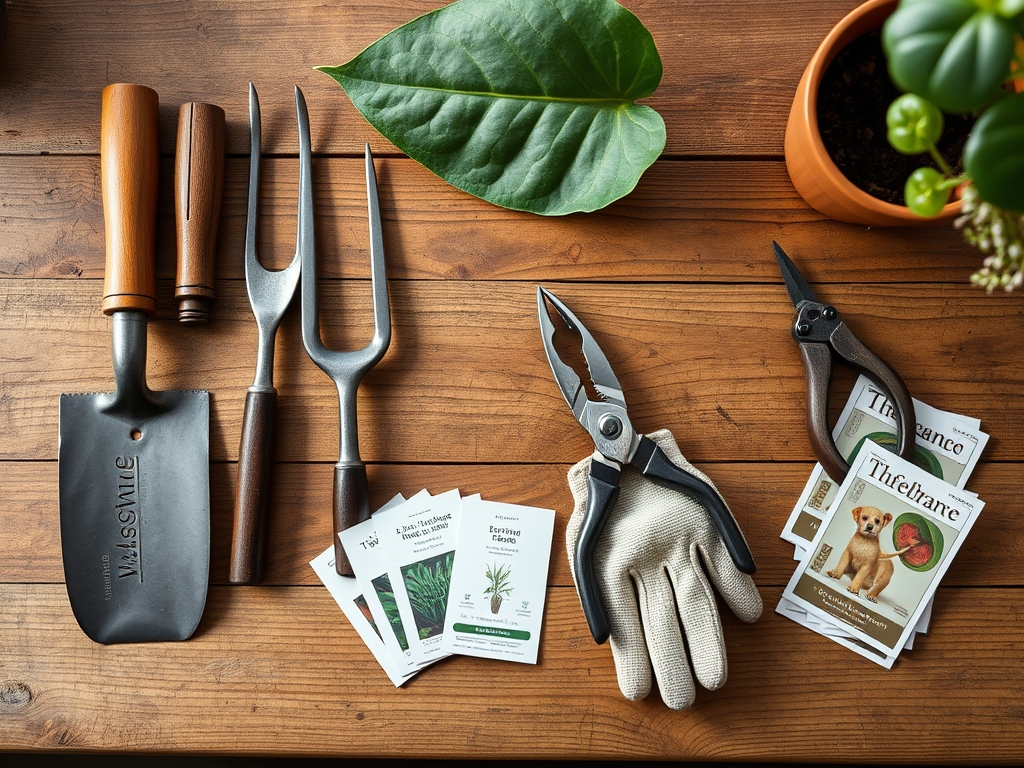
Materials
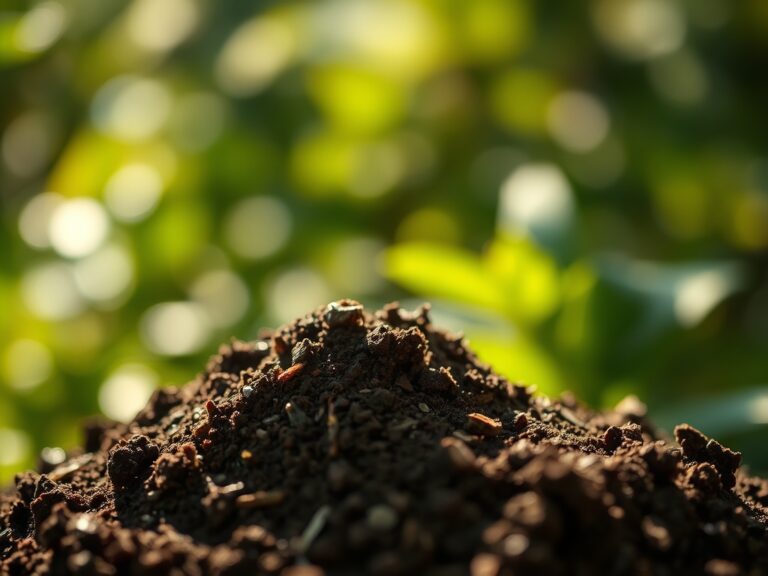
Substrate selection dictates the health of the rhizosphere. You require a friable loam with a high percentage of organic matter to facilitate a Cation Exchange Capacity (CEC) that can hold onto essential nutrients. The ideal soil pH ranges between **5.5 and 6.5**. Prepare a potting mix consisting of two parts peat or coco coir, one part perlite for aeration, and one part composted manure.
For initial establishment, integrate a slow release fertilizer with an NPK ratio of 10-10-10. As the plant enters its peak vegetative phase, transition to a high nitrogen formula like 20-10-10 to support massive leaf expansion. Ensure your new container is at least 2 to 4 inches wider in diameter than the current pot and features multiple drainage holes to prevent anaerobic conditions and subsequent corm rot.
Timing
Elephant ears are heavy feeders that thrive in Hardiness Zones 8 through 11. In cooler climates, they are treated as annuals or moved indoors. The optimal window for repotting occurs in early spring, specifically 2 to 3 weeks after the last frost date when soil temperatures consistently reach 65 degrees Fahrenheit.
This timing aligns with the plant's biological clock. As the photoperiod increases, the bulb transitions from a dormant state to a vegetative state. Repotting during this transition minimizes transplant shock because the plant is entering a phase of rapid cellular division. Avoid repotting during late autumn; the plant is entering senescence and will not have the metabolic energy to repair root hairs damaged during the move.
Phases
Sowing and Extraction
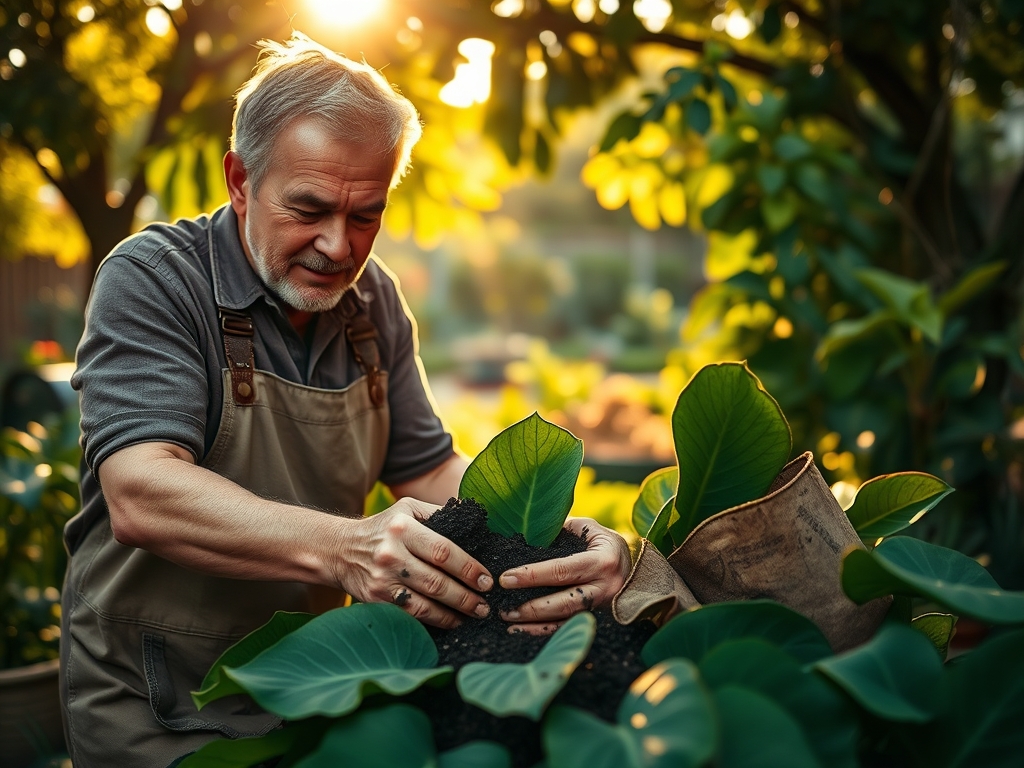
Carefully invert the current container while supporting the base of the petioles. If the plant is root-bound, use a hori-hori knife to slice vertically through the outer inch of the root ball. This mechanical pruning breaks apical dominance in the roots and encourages lateral branching. Inspect the central corm for firmness. Any soft, odorous tissue indicates fungal pathogens and must be excised with sterilized bypass pruners.
Pro-Tip: Pruning circling roots stimulates the production of auxins at the cut sites. This hormonal response triggers the growth of new, efficient root hairs that increase the surface area for water absorption.
Transplanting
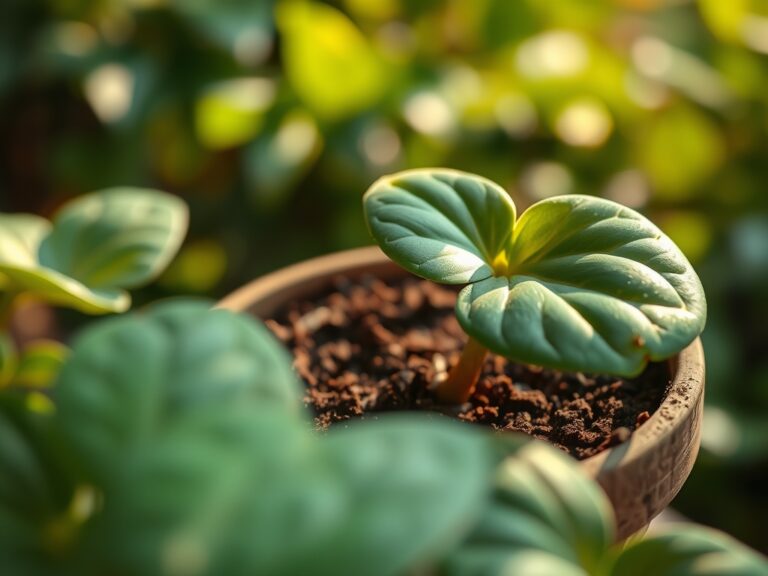
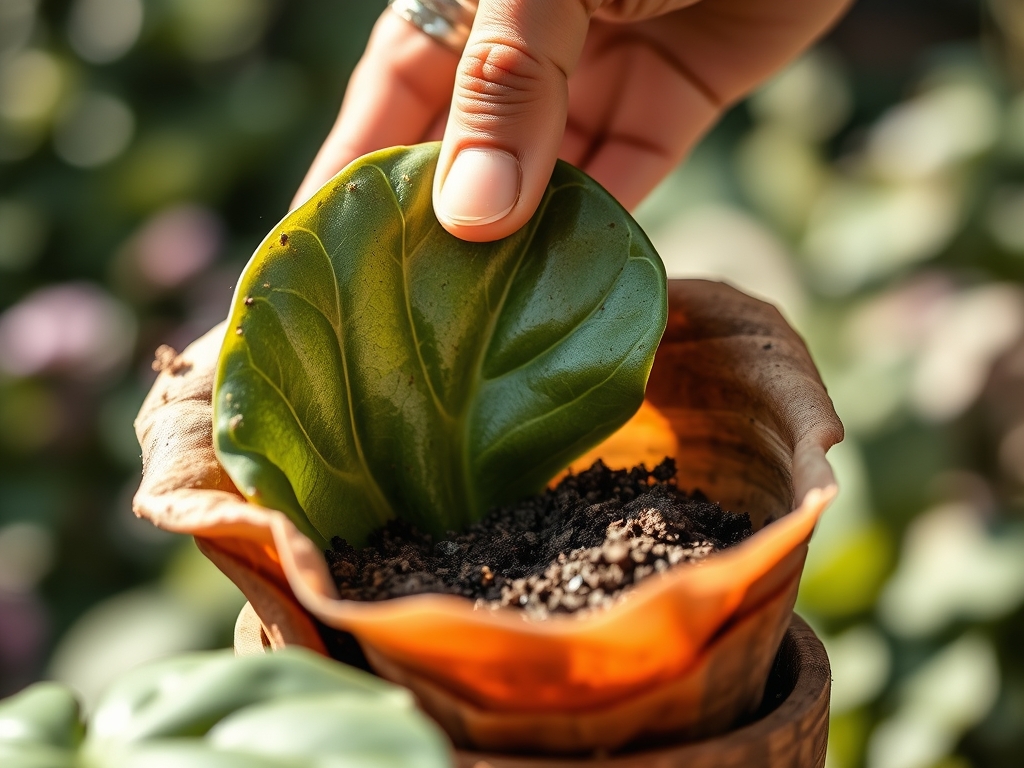
Position the bulb in the center of the new vessel. The depth is critical; the top of the corm should be buried 1 to 2 inches below the soil surface. Filling the container too deeply can lead to stem rot, while shallow planting results in instability as the heavy leaves create a high center of gravity. Firm the soil manually to eliminate large air pockets without compressing the substrate into a dense mass.
Pro-Tip: Maintaining the original planting depth preserves the established gas exchange pathways. Sudden changes in depth can suffocate the root system by altering the oxygen availability within the top layers of the soil.
Establishing
Immediately after transplanting, saturate the soil until water flows freely from the drainage holes. This initial irrigation settles the particles around the roots, ensuring direct contact for nutrient transfer. Place the pot in a location with filtered sunlight. Direct midday sun can cause excessive transpiration before the roots are fully functional.
Pro-Tip: Mycorrhizal fungi additives can be mixed into the transplant hole. This creates a symbiotic relationship where the fungi extend the reach of the root system in exchange for plant sugars, significantly improving phosphorus uptake.
The Clinic
Physiological disorders often manifest in the foliage. Use these diagnostic markers to identify and correct issues:
- Symptom: Interveinal chlorosis (yellowing between green veins) on new leaves.
Solution: This indicates an Iron or Magnesium deficiency. Check soil pH; if it exceeds 7.0, the plant cannot sequester these micronutrients. - Symptom: Leaf margin necrosis (brown, crispy edges).
Solution: This is often a sign of low humidity or salt buildup from synthetic fertilizers. Flush the soil with a volume of water equal to three times the pot volume. - Symptom: Drooping leaves with wet soil.
Solution: This suggests root rot. The roots have lost their ability to maintain turgor pressure due to lack of oxygen. Repot immediately into a drier, more porous medium. - Fix-It (Nitrogen Chlorosis): If older leaves turn uniformly pale green or yellow, the plant is scavenging nitrogen for new growth. Apply a liquid 20-20-20 fertilizer at half strength to restore levels.
Maintenance
Precision is required for long term success. Monitor the substrate daily using a soil moisture meter. The goal is to keep the soil consistently moist but never waterlogged. Provide 1.5 inches of water per week at the drip line. During the peak of summer, large specimens may require daily watering to counteract high transpiration rates.
Use bypass pruners to remove any yellowing or damaged leaves at the base of the petiole. This prevents the plant from wasting carbohydrates on failing tissues. Every 14 days, apply a balanced water soluble fertilizer to replenish the nutrients depleted by the plant's aggressive growth.
The Yield
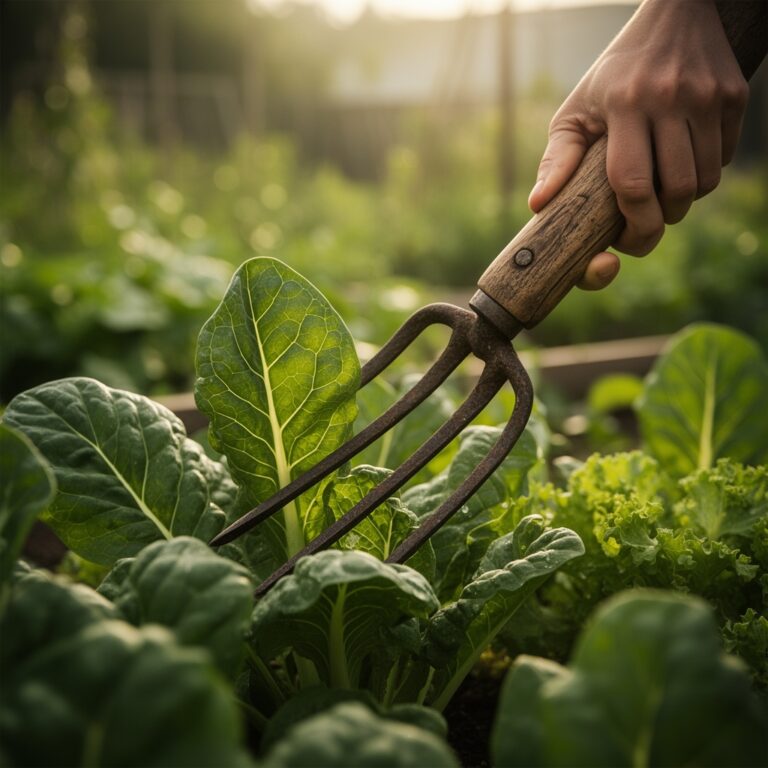
While many elephant ears are grown for aesthetics, Colocasia esculenta is harvested for its edible corms. Harvest occurs in late autumn after the first light frost has killed the foliage. Use a garden fork to lift the entire root mass.
To maintain "day-one" freshness for storage, cure the corms in a dark, well ventilated area at 70 to 80 degrees Fahrenheit for one week. This hardens the outer skin. After curing, store them in dry peat moss at a constant 50 degrees Fahrenheit. This prevents desiccation and keeps the bulb viable for spring replanting.
FAQ
How deep should I plant the bulb?
Plant the elephant ear corm so the top sits 1 to 2 inches below the soil surface. This depth provides enough stability for heavy foliage while ensuring the growing point receives adequate oxygen for rapid emergence.
What is the best soil for elephant ears?
Use a well draining, organic rich potting mix with a pH of 5.5 to 6.5. A blend of peat moss, perlite, and composted manure provides the necessary Cation Exchange Capacity to hold essential nutrients.
Why are my elephant ear leaves turning yellow?
Yellowing is typically caused by nitrogen deficiency or overwatering leading to root rot. Ensure the soil is moist but not saturated and apply a high nitrogen fertilizer like a 20-10-10 ratio during the growing season.
When is the best time to repot?
Repot in early spring once soil temperatures reach 65 degrees Fahrenheit. This coincides with the plant's natural transition from dormancy to active vegetative growth, which allows for faster root recovery and establishment.
Can I use a pot without drainage holes?
No. Elephant ears require high moisture but are susceptible to anaerobic root rot. Without drainage holes, water displaces oxygen in the soil, killing root hairs and eventually causing the central corm to decompose.