8 Space-Saving Steps to Prepare a DIY Vertical Plant Ladder
The smell of damp peat moss and the gritty texture of perlite under your fingernails signal the beginning of a high-density growing season. When vertical space is the only available currency, turgor pressure becomes the metric of success. Maintaining internal cellular water pressure ensures that stems remain rigid enough to support a heavy fruit load. Learning how to prepare a DIY plant ladder requires more than basic carpentry; it demands an understanding of light interception and gravitational water movement. By stacking your containers, you maximize the leaf area index within a limited footprint. This vertical orientation forces a strategic approach to plant physiology and nutrient delivery. You are not just building a stand; you are engineering a microclimate where air circulation and drainage must be precision-managed to prevent fungal pathogens. Success is found in the details of the rhizosphere, the zone of soil surrounding the roots, where chemical exchanges dictate the health of the entire organism.
Materials:
Selecting the correct substrate is the foundation of vertical success. For a ladder system, you require a **friable loam** that resists compaction while maintaining a high Cation Exchange Capacity (CEC). This allows the soil to hold onto essential nutrients like ammonium and potassium.
The ideal potting mix for this project should maintain a pH level between 6.0 and 6.8. You will need specific amendments based on the growth stage:
- Vegetative Phase: Use a fertilizer with a 10-5-5 NPK ratio to prioritize nitrogen for leaf and stem development.
- Reproductive Phase: Shift to a 5-10-10 NPK ratio to provide the phosphorus and potassium necessary for flower and fruit set.
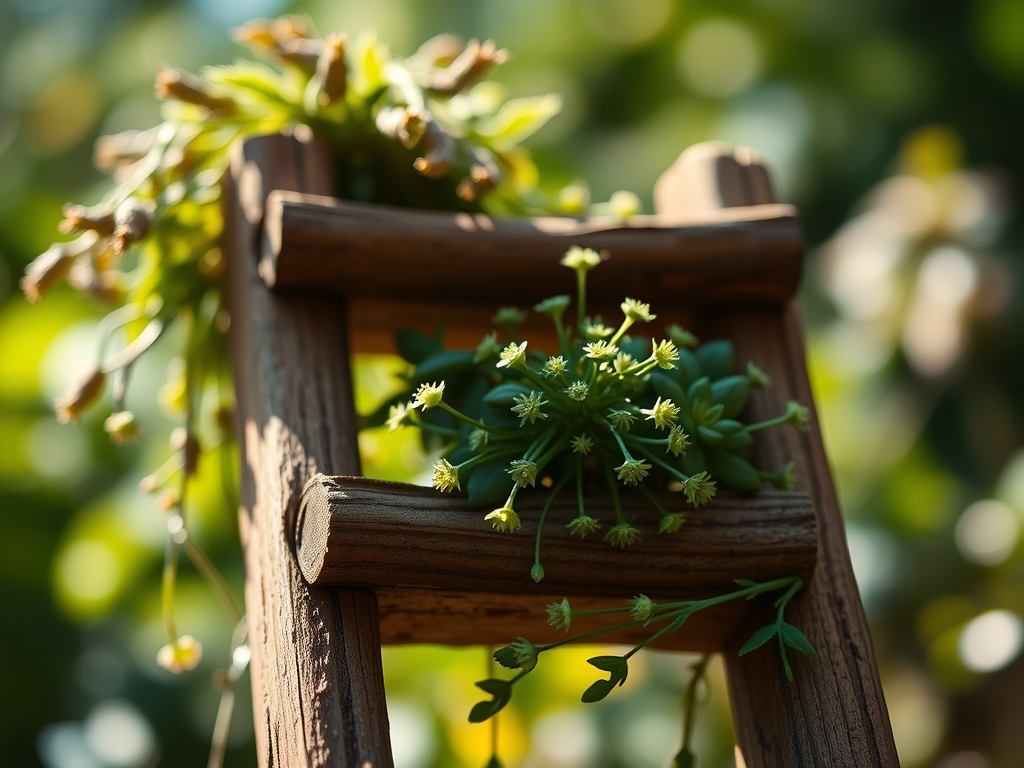
- Structural Components: Use cedar or pressure-treated wood rated for ground contact to prevent rot. Use stainless steel fasteners to avoid corrosion from high-salinity fertilizers.
- Drainage Media: Coarse horticultural sand or expanded clay pebbles should occupy the bottom 1 inch of every container to prevent anaerobic conditions at the root base.
Timing:
Timing is dictated by your USDA Hardiness Zone and the specific photoperiod requirements of your crop. In Zones 5 through 7, the construction of your ladder should be completed by late March. This allows for transplanting immediately after the final frost date, which typically occurs between April 15 and May 15.
The "Biological Clock" of the plant is triggered by changes in day length and temperature. For example, many vertical crops transition from vegetative growth to reproductive stages when they experience 12 to 14 hours of daylight. If you initiate the ladder too late in the season, you risk high-temperature stress during the sensitive pollination window. Aim to have your ladder fully established when nighttime temperatures consistently remain above 55 degrees Fahrenheit. This ensures that metabolic processes do not stall due to cold-induced dormancy.
Phases:
Sowing and Germination
Start seeds in a controlled environment 6 to 8 weeks before the planned transplant date. Use a sterile seed-starting mix and maintain a consistent soil temperature of 70 to 75 degrees Fahrenheit using a heat mat. Ensure the seeds are buried at a depth of roughly twice their diameter.
Pro-Tip: Monitor for the emergence of the first true leaves. This signals the shift from relying on endosperm energy to active photosynthesis. The Biological Why involves phototropism; plants will lean toward the strongest light source to maximize photon capture, so rotate your trays 180 degrees daily to ensure straight, sturdy stems.
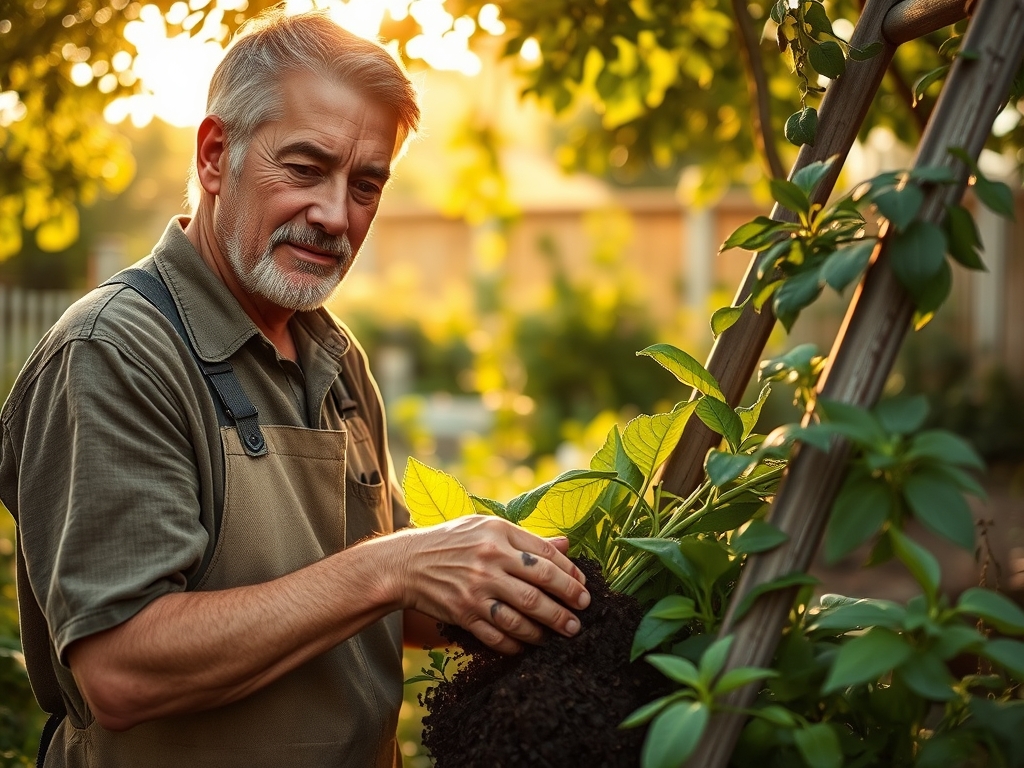
Transplanting to the Ladder
Once the seedlings reach 4 to 6 inches in height and have developed a robust root ball, they are ready for the ladder. Dig a hole in your prepared containers that is slightly larger than the root mass. Place the plant at the same depth it sat in the starter tray. Firm the soil gently to remove large air pockets that could desiccate the roots.
Pro-Tip: Inoculate the planting hole with mycorrhizal fungi. The Biological Why is mycorrhizal symbiosis; these fungi extend the reach of the root system, significantly increasing the surface area for water and phosphorus uptake.
Establishing and Training
As the plants grow, they must be secured to the ladder rungs using soft garden twine or clips. Avoid tight ties that can cause girdling, which restricts the flow of sugars through the phloem. Monitor the vertical growth daily to ensure the apical meristem is directed upward.
Pro-Tip: For certain vining crops, pinch off the terminal bud once it reaches the top of the ladder. The Biological Why is auxin suppression; by removing the primary growth tip, you stop the hormone auxin from inhibiting lateral buds, resulting in a bushier plant with more fruiting sites.
The Clinic:
Vertical gardening presents unique physiological challenges. Use this diagnostic guide to identify and correct common issues.
- Symptom: Interveinal chlorosis (yellowing between leaf veins) on older leaves.
- Solution: This indicates a Magnesium deficiency. Apply a foliar spray of Epsom salts (1 tablespoon per gallon of water).
- Symptom: Blossom end rot (dark, leathery spots on the bottom of fruit).
- Solution: This is a Calcium transport issue, often caused by inconsistent watering. Maintain steady moisture levels to ensure calcium moves through the xylem.
- Symptom: Leaf curling and stunted growth at the top of the plant.
- Solution: Check for Nitrogen toxicity or aphid pressure. If N levels are too high (indicated by a soil test), flush the containers with plain water to leach excess salts.
- Fix-It for Nitrogen Chlorosis: If the entire plant is pale green or yellow, it lacks nitrogen. Side-dress with blood meal or a high-nitrogen liquid feed to restore chlorophyll production.
Maintenance:
Precision maintenance is the difference between a surviving plant and a thriving one. Use a soil moisture meter daily; vertical containers dry out faster than ground soil due to increased surface area and wind exposure. Provide 1.5 inches of water per week at the drip line. Avoid wetting the foliage, as this encourages powdery mildew.
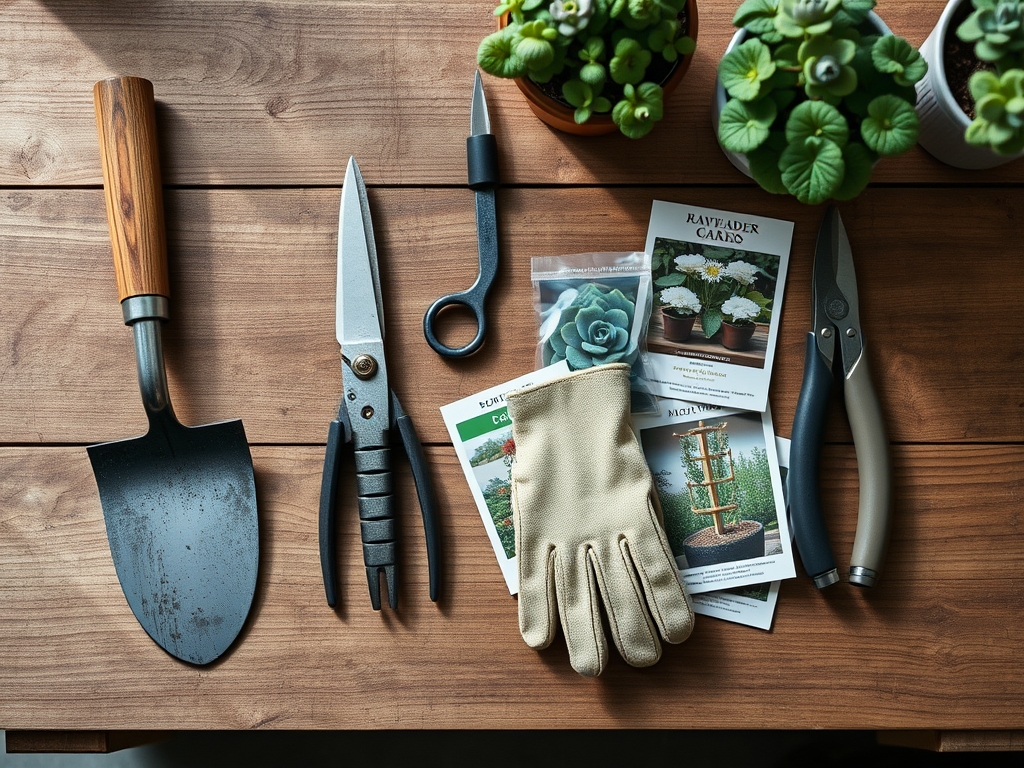
Keep a hori-hori knife sharpened for weeding and minor soil aeration. Use bypass pruners for clean cuts when removing dead or diseased foliage; ragged tears invite pathogens. Sterilize your tools with 70 percent isopropyl alcohol between plants to prevent the spread of tobacco mosaic virus or other systemic infections. Every 14 days, apply a balanced liquid fertilizer to compensate for nutrient leaching.
The Yield:
Harvesting from a ladder requires timing to ensure peak sugar content and cellular turgor. For most vegetables, harvest in the early morning when the plant is fully hydrated. Use your pruners to snip the stem; never pull the fruit, as this can damage the structural integrity of the ladder-trained vine.
Post-harvest handling is critical for "day-one" freshness. Immediately place harvested items in a cool, shaded area. For leafy greens, a quick immersion in 40-degree Fahrenheit water will remove field heat and lock in crispness. This process, known as hydro-cooling, slows down the respiration rate and prevents the rapid senescence of the plant tissue.
FAQ:
What is the best wood for a DIY plant ladder?
Cedar and redwood are the gold standards. They contain natural oils that resist rot and insect infestation without the need for chemical treatments. Ensure the wood is at least 1 inch thick to support the weight of wet soil.
How do I prevent the ladder from tipping over?
Anchor the base of the ladder to a solid surface or use heavy-duty brackets to secure the top to a wall or fence. The center of gravity shifts upward as plants grow; a fully loaded ladder can weigh over 200 pounds.
Can I use regular garden soil in the containers?
No. Garden soil is too dense for containers and lacks the necessary porosity. It will compact, suffocate the roots, and harbor pathogens. Always use a high-quality soilless potting mix enriched with compost for vertical systems.
How much sunlight does a plant ladder need?
Most fruiting and flowering plants require a minimum of 6 to 8 hours of direct sunlight daily. Position your ladder facing south or west to maximize photon absorption and ensure the lower rungs are not shaded by the upper ones.