6 Leaching Steps to Treat Salt Buildup through Soil Leaching
The smell of damp, mineralized earth carries a sharp, metallic tang when salt concentrations exceed the tolerance of the rhizosphere. Healthy leaves maintain high turgor pressure; however, excessive sodium ions disrupt this cellular stability, leading to marginal necrosis and stunted development. High electrical conductivity (EC) in the substrate prevents the roots from absorbing water through osmosis, effectively dehydrating the plant in moist soil. Implementing the correct steps for treating salt buildup with leaching restores the osmotic balance and flushes accumulated carbonates from the root zone. This process requires a precise understanding of soil porosity and drainage capacity to ensure the excess salts move entirely past the active root profile rather than settling in a lower horizon.
Materials

Treating salt buildup requires a substrate with a high Cation Exchange Capacity (CEC), ideally a friable loam consisting of 40 percent sand, 40 percent silt, and 20 percent clay. The target soil pH for most ornamental and food crops should reside between 6.2 and 6.8. To facilitate the leaching process, you must utilize water with a low Sodium Adsorption Ratio (SAR).
You will need a digital EC meter to measure the millimhos per centimeter (mmhos/cm) of the drainage water. If the soil is alkaline (pH above 7.5), incorporate elemental sulfur or gypsum (calcium sulfate) to displace sodium ions from the soil particles. Avoid fertilizers with high salt indexes, such as potassium chloride. Instead, opt for a balanced NPK ratio of 10-10-10 in a slow-release polymer coating to prevent immediate re-salination. Ensure all containers have a minimum of three drainage holes per square foot of surface area.
Timing
The biological clock for leaching is most effective during the transition from the dormant phase to the vegetative stage. In Hardiness Zones 5 through 8, this window typically opens in early spring after the ground thaws but before the first flush of new growth. For indoor or greenhouse environments, perform leaching when the plant enters a period of high metabolic activity, but before the photoperiod shifts to trigger the reproductive stage.
Leaching during the reproductive phase (flowering or fruiting) can cause sudden osmotic shock, leading to blossom end rot or premature senescence. Monitor the frost-date windows; leaching in saturated, freezing soil will cause ice crystals to rupture cell walls in the root cortex. Aim for a soil temperature of at least 55 degrees Fahrenheit to ensure the water moves through the soil capillaries with sufficient velocity.
Phases

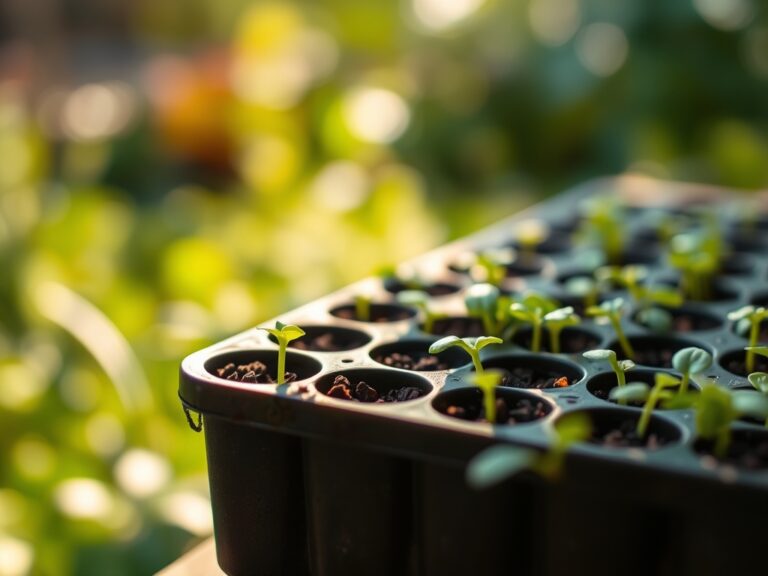
Sowing and Initial Saturation
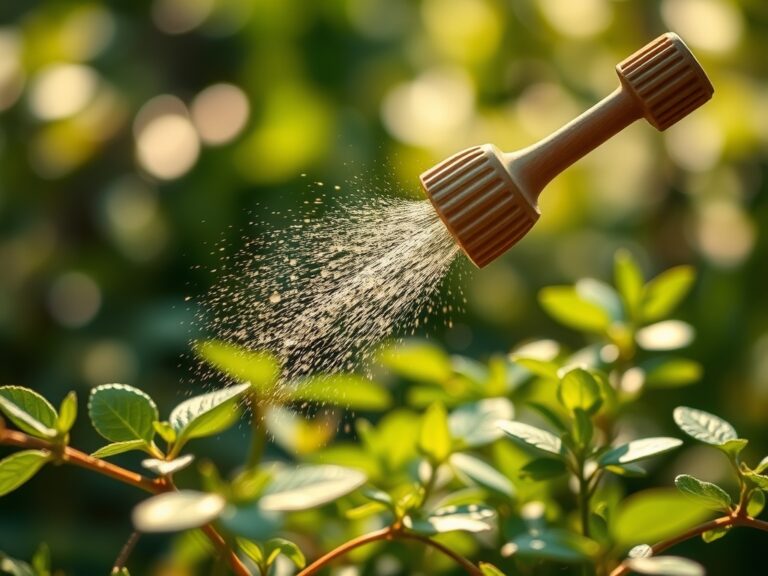
The first of the steps for treating salt buildup with leaching involves a slow saturation of the top 4 inches of soil. Use a fine mist to prevent surface crusting, which can impede gas exchange. This initial wetting breaks the surface tension of dry, saline crusts.
Pro-Tip: Maintaining high moisture during germination is vital because seeds lack the protective cuticle of mature plants. This prevents plasmolysis, where the concentrated salt outside the seed draws water out of the embryo, halting germination before it begins.
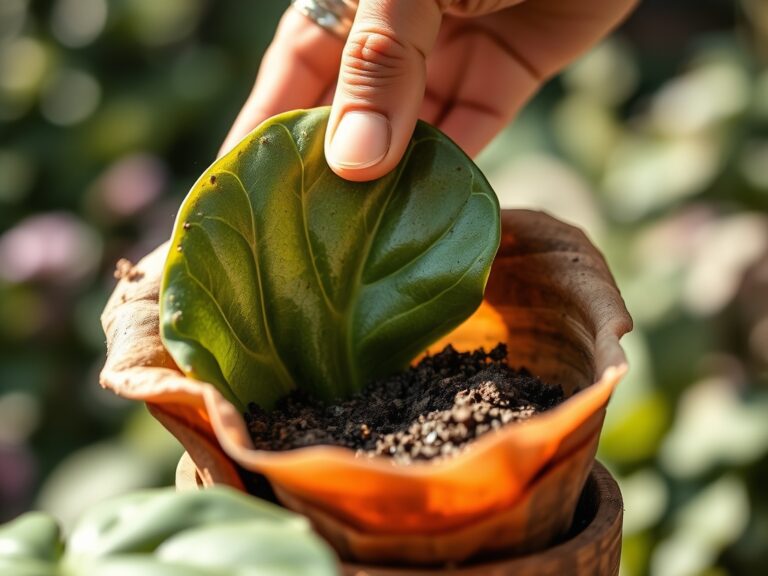
Transplanting and Displacement
When moving plants into treated areas, dig a hole twice the width of the root ball. Apply two gallons of water per square foot to the empty hole to ensure the surrounding soil is already purged of mobile salts. Place the plant so the crown is level with the soil surface to avoid stem rot.
Pro-Tip: Use a mycorrhizal inoculant during this phase. These symbiotic fungi extend the reach of the root system, improving the plant's ability to selectively uptake phosphorus while filtering out harmful sodium ions through mycelial sequestration.
Establishing and Flushing
Once the plant is anchored, perform the heavy leaching. Apply a volume of water equal to two times the total volume of the container or the estimated root zone depth. For field soil, this often requires 6 to 12 inches of water applied over a 24-hour period.
Pro-Tip: Avoid heavy nitrogen application immediately after leaching. High nitrogen levels can trigger auxin suppression in the roots, leading to excessive top growth that the salt-stressed root system cannot yet support.
The Clinic
Symptom: Marginal leaf burn or "scorching" on older leaves.
Solution: This indicates sodium toxicity. Increase leaching frequency and apply gypsum at a rate of 5 pounds per 100 square feet to displace the sodium.
Symptom: Interveinal chlorosis (yellowing between green veins) on new growth.
Solution: This is often a secondary iron deficiency caused by high pH levels associated with salt buildup. Lower the pH using liquid chelated iron or elemental sulfur to increase nutrient bioavailability.
Symptom: Wilting despite the soil being visibly wet.
Solution: This is physiological drought caused by high EC. The salt concentration is so high that the plant cannot exert enough suction pressure to pull water from the soil. Immediate heavy leaching with distilled or rainwater is required.
Fix-It for Nitrogen Chlorosis: If the leaching process removes too much mobile nitrogen, the plant will turn pale green. Apply a foliar spray of urea-based fertilizer at 0.5 percent concentration for rapid absorption while the soil dries to a workable moisture level.
Maintenance
Post-leaching maintenance requires precision to prevent salt re-accumulation. Use a soil moisture meter daily to ensure the substrate stays between 60 and 80 percent of field capacity. Deliver exactly 1.5 inches of water per week at the drip line using a drip irrigation system to minimize evaporation, which leaves salts behind.
Use a hori-hori knife to check for soil compaction; if the blade cannot penetrate 6 inches easily, the soil is too dense for effective drainage. Prune any necrotic tissue with bypass pruners to prevent secondary fungal infections from colonizing dead leaf margins. Avoid overhead watering, as mineral salts can accumulate on the foliage and cause localized tissue desiccation.
The Yield
For edible crops, the success of salt leaching is reflected in the sugar content (Brix level) of the harvest. Harvest leafy greens in the early morning when turgor pressure is at its peak to ensure maximum crispness. Use a sharp, sterilized blade to make clean cuts, reducing the surface area for moisture loss.
For fruiting crops, harvest when the fruit reaches its characteristic color but remains firm. Post-harvest, hydro-cool the produce by dipping it in 50-degree Fahrenheit water to remove field heat. This slows the rate of respiration and preserves the cellular integrity that was protected by the leaching process. Store in a high-humidity environment to maintain "day-one" freshness and prevent the concentration of any residual salts within the plant tissues.
FAQ
How do I know if my soil has salt buildup?
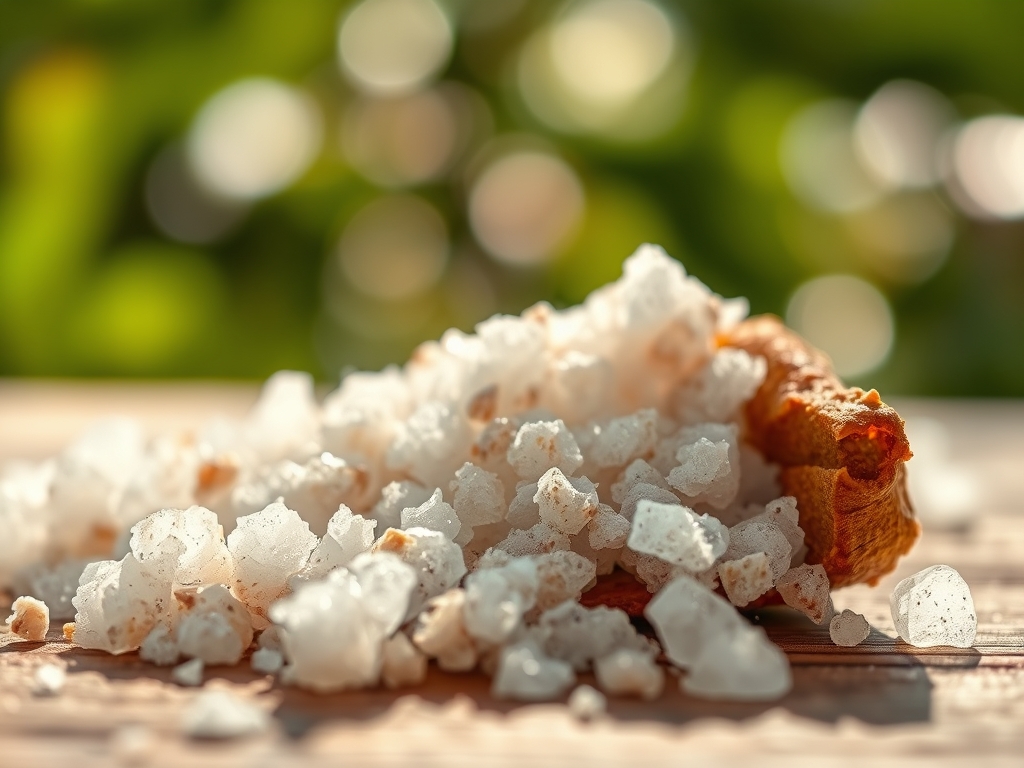
Look for a white, crusty film on the soil surface or stunted growth with burnt leaf edges. Use a digital EC meter; a reading above 4.0 dS/m indicates excessive salinity for most sensitive plant species.
Can I use tap water for leaching?
Only if the tap water has low mineral content. High-alkalinity tap water can worsen the problem. Test your water source for Total Dissolved Solids (TDS); a reading below 500 ppm is generally safe for leaching procedures.
How often should I leach my garden soil?
In arid climates or when using mineral-heavy fertilizers, perform a preventative leach once every six months. In containers, leach every fourth or fifth watering by allowing 20 percent of the water to drain out the bottom.
Does mulch help with salt buildup?
Yes. A 3-inch layer of organic mulch reduces evaporation from the soil surface. This prevents the "wicking effect" where water evaporates and leaves concentrated salts at the soil surface near the plant's crown and shallow roots.