8 Best Drip Trays for Managing Excess Water in Large Pots
Turgor pressure within the xylem determines the structural integrity of a heavy container plant; once that pressure drops, the cellular walls collapse and the specimen wilts. Effective water management at the root zone prevents the anaerobic conditions that lead to Pythium and Phytophthora. Selecting the best plant drip trays is not merely an aesthetic choice for the conservatory floor. It is a technical necessity for managing the hydraulic load of large-scale pots. When a 20 gallon container reaches field capacity, the gravitational pull forces excess moisture through the drainage apertures. Without a high-capacity tray to capture this effluent, the surrounding environment suffers from salt buildup and structural decay. A professional-grade saucer must withstand the static weight of saturated substrate while providing enough depth to prevent overflow during the leaching process. This guide examines the engineering and horticultural application of the top eight drip tray configurations used by master gardeners to maintain a healthy rhizosphere in oversized containers.
Materials:
The substrate within your large pots dictates the volume of runoff. A **friable loam** with a high organic matter content typically possesses a Cation Exchange Capacity (CEC) between **20 and 40 meq/100g**. This allows the soil to retain essential cations like ammonium and potassium. For heavy feeders in large pots, maintain an NPK ratio of **10-10-10** for general maintenance or **5-10-10** to encourage reproductive growth without excessive foliar stretch. The soil pH should remain between **6.2 and 6.8** to ensure maximum nutrient bioavailability. When selecting trays, consider the material chemistry. UV-stabilized polypropylene is resistant to the corrosive nature of concentrated fertilizer salts. Heavy-duty galvanized steel trays offer superior weight distribution for pots exceeding **200 pounds** but require a powder-coated finish to prevent zinc toxicity if the water is reabsorbed through capillary action.
Timing:
Successful container gardening follows the strict calendar of your specific Hardiness Zone. In Zones 7 through 9, the transition from the vegetative stage to the reproductive stage often aligns with the increase in photoperiod during late spring. The biological clock of the plant is triggered by phytochrome pigments sensing the ratio of red to far-red light. You must install your heavy-duty drip trays before the spring growth surge. As ambient temperatures rise above 75 degrees Fahrenheit, transpiration rates accelerate. This necessitates more frequent irrigation cycles, which increases the volume of runoff. In colder Zones 3 through 5, trays must be emptied immediately following a thaw to prevent ice expansion from cracking the tray walls. Monitoring the "Biological Clock" means adjusting your drainage management as the plant enters senescence in the autumn, reducing water input as the metabolic rate slows.
Phases:
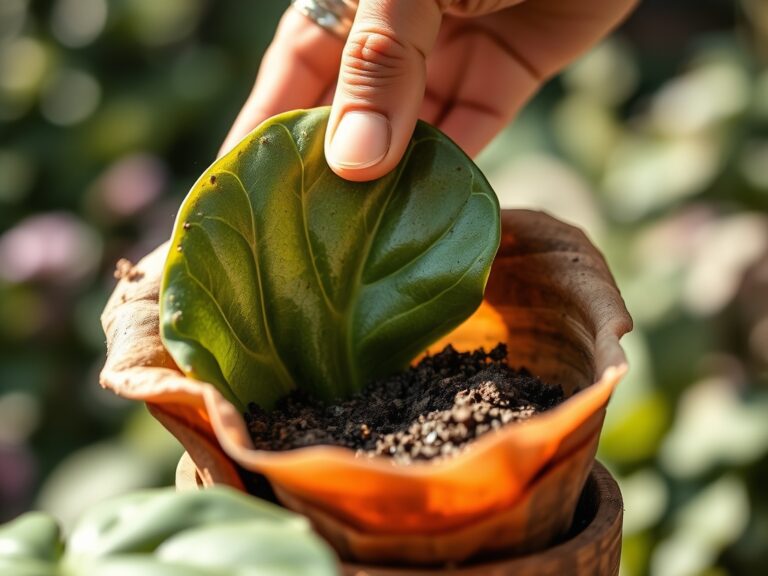
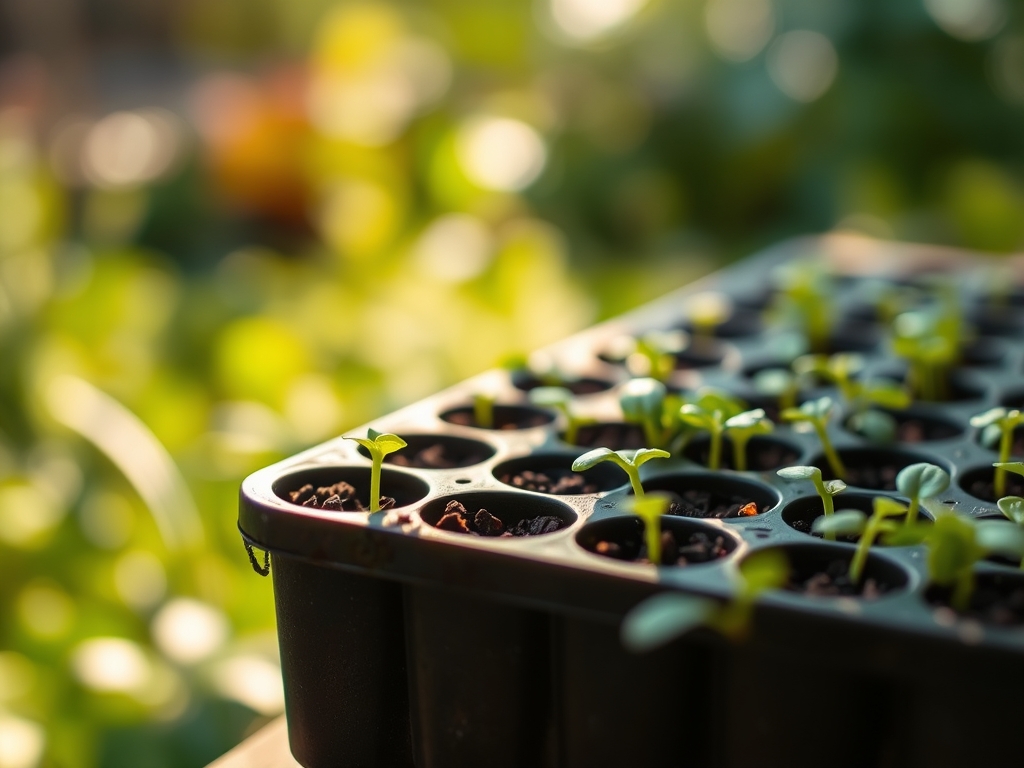
Sowing
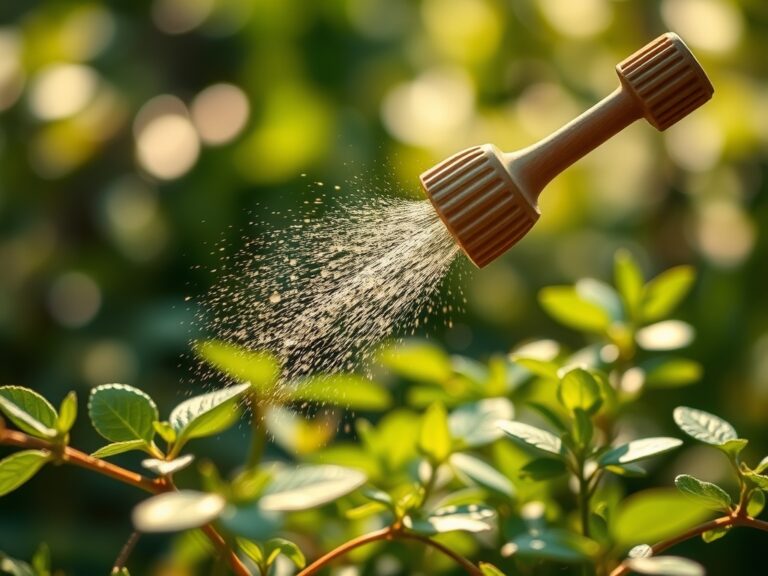
Direct sowing in large containers requires a fine-textured seed starting mix with a pH of 5.8 to 6.2. Use a shallow, wide-base drip tray to catch the fine misting required for germination. Ensure the tray does not allow the pot to sit in standing water, which can lead to "damping off" caused by fungal pathogens.
Pro-Tip: Maintaining a consistent moisture gradient encourages positive hydrotropism, where roots grow toward moisture zones. Excessive water in the tray can confuse this biological signal, leading to shallow, weak root systems.
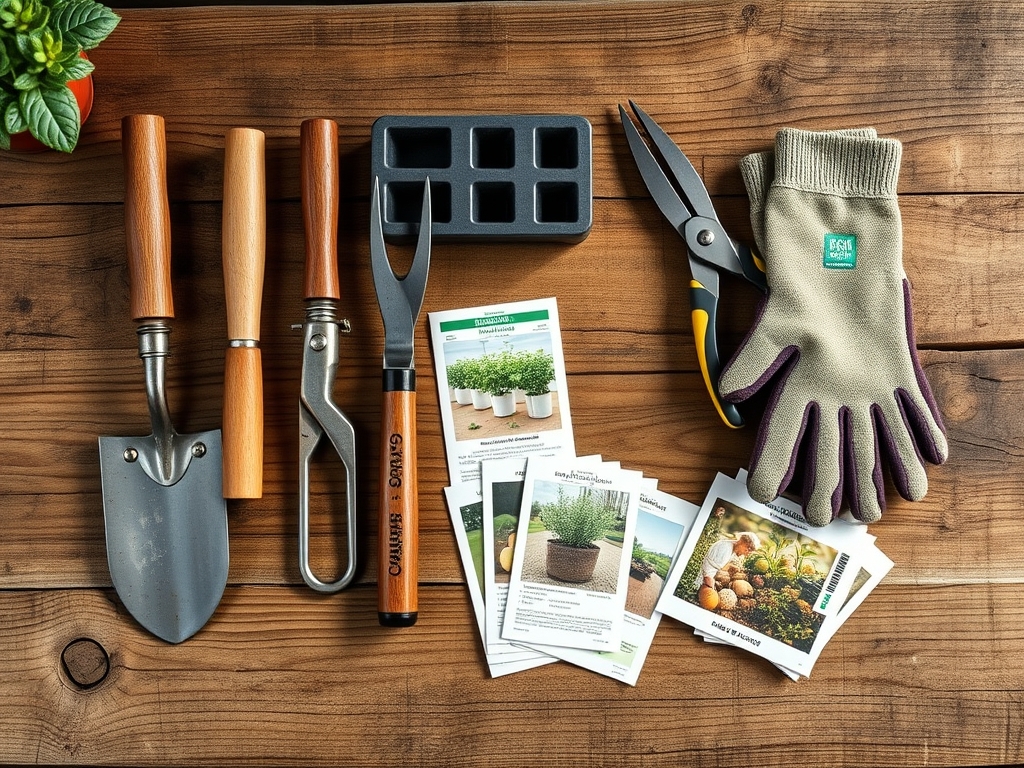
Transplanting
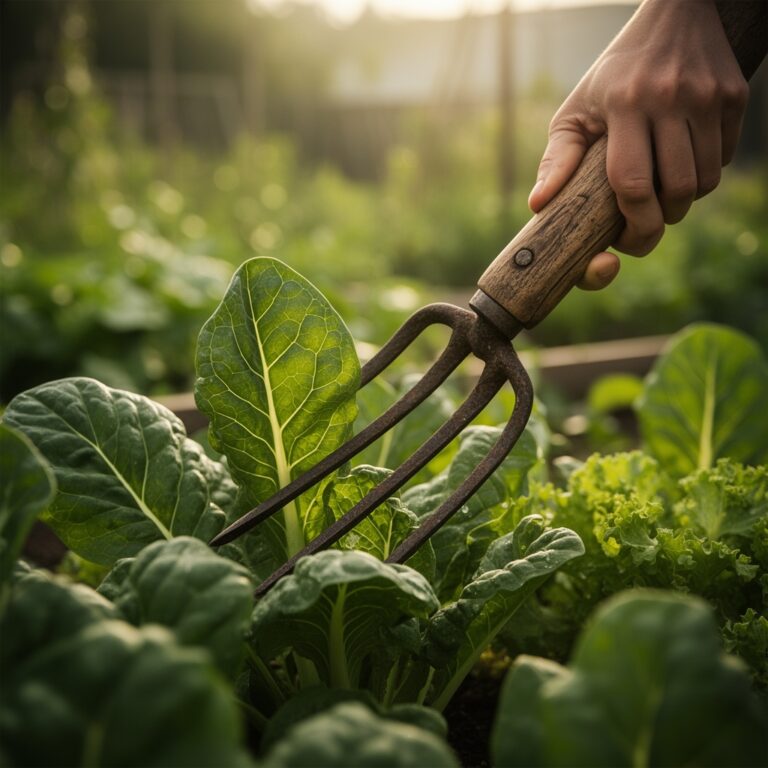
When moving a specimen from a nursery liner to a permanent large pot, use a hori-hori knife to tease out any circling roots. Place the pot on a heavy-duty saucer with raised internal ridges. These ridges elevate the drainage holes above the collected water level, ensuring oxygen remains available to the root tips.
Pro-Tip: Elevating the pot prevents the "perched water table" effect. This biological necessity ensures that gas exchange continues at the base of the pot, preventing the death of beneficial aerobic bacteria.
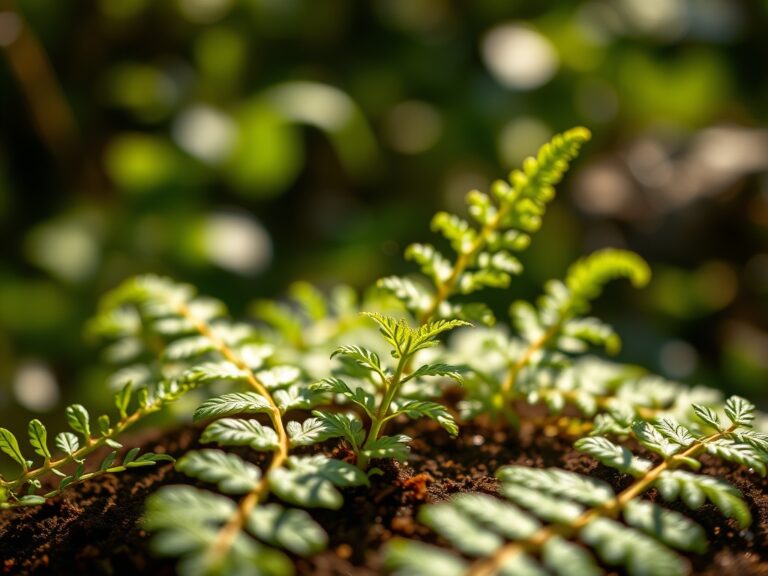
Establishing
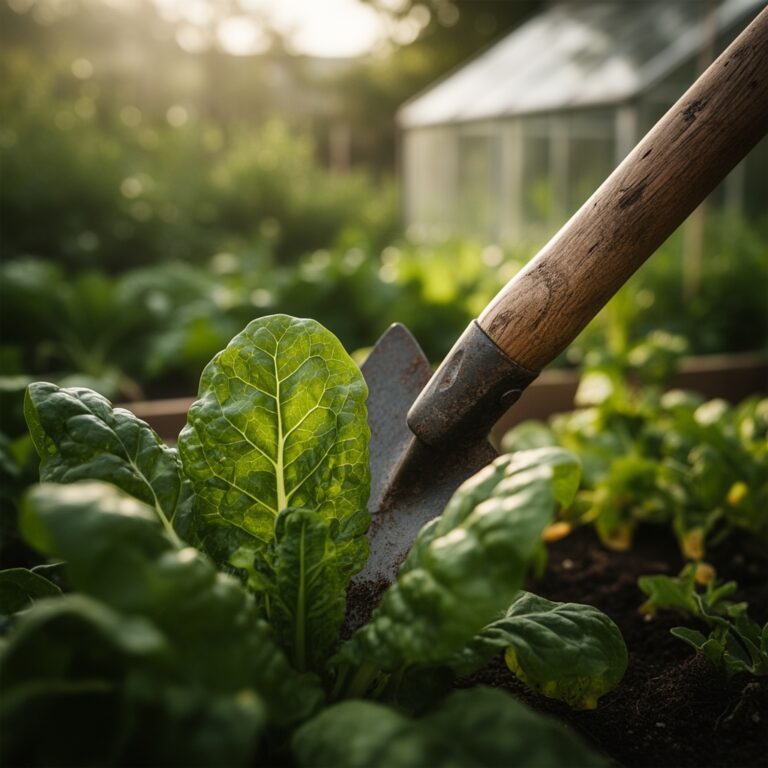
During the first 21 to 30 days post-transplant, the plant focuses on root expansion. Use a soil moisture meter to ensure the core of the root ball stays at 40 percent to 60 percent saturation. The drip tray should be checked daily; if it fills within minutes of watering, your substrate may have developed hydrophobic channels that require a surfactant or slower irrigation.
Pro-Tip: Proper drainage management during establishment prevents auxin suppression. If roots are submerged, the plant produces ethylene, which halts the production of growth hormones and stunts the specimen.
The Clinic:
Physiological disorders often manifest when drainage is poorly managed. Observe the foliage for specific diagnostic signals.
- Symptom: Interveinal chlorosis on young leaves.
Solution: This indicates an Iron deficiency, often caused by a pH above 7.0. Ensure the drip tray is clean of mineral crusts that can leach carbonates back into the soil.
- Symptom: Marginal leaf burn or necrosis.
Solution: This is frequently a sign of salt accumulation. Flush the pot with a volume of water equal to two times the pot capacity. The best plant drip trays for this task are deep-walled "washout" trays that can hold the entire flush volume.
- Symptom: Lower leaves turning uniform yellow (Nitrogen chlorosis).
Solution: Increase Nitrogen input using a high-N liquid fertilizer. If the tray is constantly wet, the Nitrogen is likely leaching out too quickly or the roots are too damaged to uptake it.
- Fix-It: For Magnesium deficiency (mottled yellowing on older leaves), apply 1 tablespoon of Epsom salts per gallon of water. Ensure the drip tray is emptied after the application to prevent the salt from re-concentrating at the base.
Maintenance:
Precision maintenance involves delivering exactly 1.5 inches of water per week at the drip line of the container. Use bypass pruners to remove any foliage that touches the rim of the drip tray, as this can create a bridge for pathogens. Every 14 days, use a stiff brush to scrub the interior of the drip tray to remove algae and mineral deposits. If using a soil moisture meter, insert the probe to a depth of 6 to 8 inches in three different locations to get an accurate average of the moisture content. For pots located on wooden decks, use trays with integrated "feet" or place the tray on a rolling caddy to allow airflow beneath the plastic, preventing rot in the flooring material.
The Yield:
For those growing fruiting or flowering specimens in large pots, timing the harvest is critical for "day-one" freshness. Harvest in the early morning when turgor pressure is at its peak. This ensures the cells are fully hydrated and the plant tissue is crisp. Use sharp snips to make clean cuts at the node. For woody perennials, ensure the drip tray is completely dry before the first hard frost to prevent the root ball from freezing into a solid block of ice, which can rupture the cell membranes and kill the plant.
FAQ:
How deep should a drip tray be for a 15 gallon pot?
A professional tray should be at least 2.5 to 3 inches deep. This depth accommodates the 10 percent to 15 percent leaching fraction required to prevent salt buildup in the lower third of the root zone.
Can I leave water in the drip tray?
No. Standing water creates an anaerobic environment that triggers root rot within 24 to 48 hours. Use a shop vac or a large syringe to remove excess effluent if the pot is too heavy to lift.
What is the best material for outdoor drip trays?
UV-stabilized polypropylene or heavy-gauge galvanized steel are superior. These materials resist degradation from intense sunlight and can support the static pressure of pots weighing over 150 pounds without cracking or bowing.
How do I prevent mosquitoes in my plant saucers?
Empty the trays within 20 minutes of irrigation. If the tray must hold water for a short duration, ensure the water does not remain for more than 24 hours, which is the minimum window for many larvae to begin development.