7 Steps to Build a New Garden Patio for Entertaining
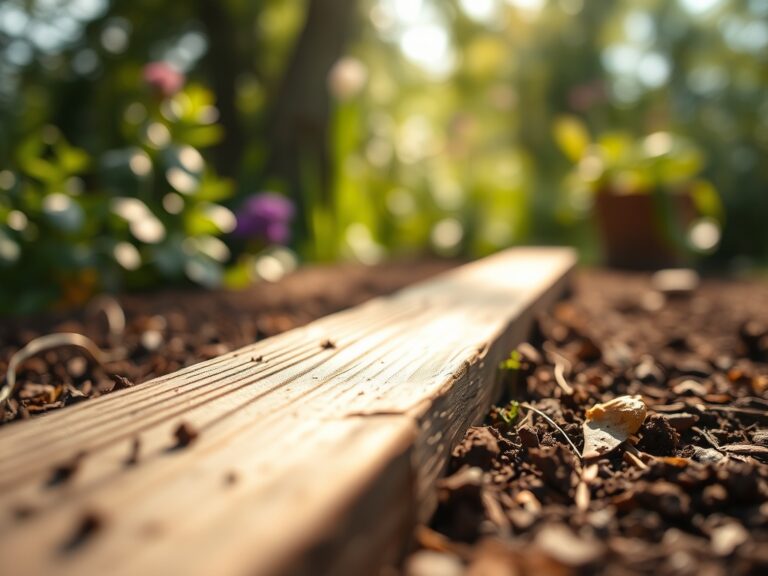
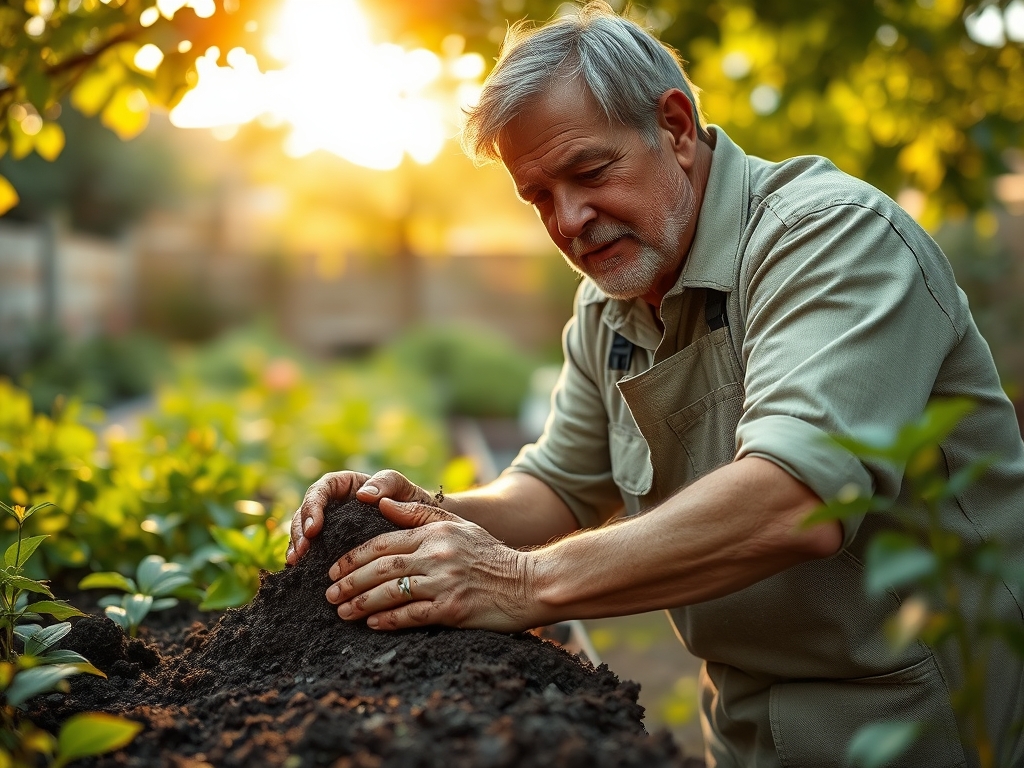
Crushing a handful of damp, friable loam reveals the structural integrity of your land. When the soil reaches a temperature of 55 degrees Fahrenheit, microbial activity accelerates and the rhizosphere begins to breathe. Constructing a functional outdoor space requires more than aesthetic planning; it demands an understanding of geological compaction and drainage. Following specific steps for building a garden patio ensures that your entertaining area does not interfere with the hydraulic conductivity of the surrounding landscape. Proper installation prevents soil anaerobic conditions and root rot in adjacent specimens.
Success depends on the foundational substrate. A patio is a localized disruption of the soil profile. You must account for the Cation Exchange Capacity (CEC) of the underlying earth, as heavy compaction during construction can lock out essential nutrients like Nitrogen and Potassium. By managing the transition from raw earth to a stable hardscape, you preserve the biological vitality of the garden while creating a durable surface for human interaction. This process requires technical precision and an understanding of how weight distribution affects the soil's pore space.
Materials:

The substrate beneath your pavers must be chemically inert to avoid altering the soil pH, which should ideally sit between 6.0 and 7.0 for most temperate garden plants. Use a base of crushed 3/4-inch minus limestone or granite. This material provides the structural skeleton while allowing for minimal capillary rise of groundwater.
For the surrounding planting beds, aim for a friable loam with a composition of 40 percent sand, 40 percent silt, and 20 percent clay. Before laying the hardscape, test the soil for its NPK ratio. A balanced 10-10-10 NPK starter fertilizer is often necessary to offset the stress of localized excavation. High Calcium (Ca) levels in the base material can leach into the soil, raising the pH and causing iron chlorosis in acid-loving plants. Ensure the bedding sand is sharp and angular to maximize friction and prevent shifting under load.
Timing:
Hardscape installation should occur during the dormant season or early spring to minimize damage to the Biological Clock of perennial root systems. In Hardiness Zones 5 through 7, the ideal window opens after the last hard frost when the soil is workable but before the spring flush of growth. Excavating during the vegetative stage of nearby trees can cause significant stress; the plant is directing energy toward leaf production rather than root repair.
Monitor the photoperiod. As days lengthen, plants increase their transpiration rates, making them more susceptible to drought stress if their root zones are disturbed by patio construction. Aim to complete heavy earthmoving when the plants are in senescence or just breaking dormancy. This timing allows the soil to settle before the high-heat demands of summer require maximum water uptake through the root hairs.
Phases:
Sowing the Perimeter
Once the patio footprint is excavated to a depth of 8 inches, focus on the transition zone. If you are planting groundcovers between pavers, use species that tolerate high foot traffic and low oxygen levels. Sow seeds or plugs into a mix of 70 percent sand and 30 percent organic compost. This ensures rapid drainage and prevents the "bathtub effect" where water sits in the excavated pit.
Pro-Tip: Utilize mycorrhizal symbiosis by inoculating the perimeter soil with fungal spores. This biological why is simple: the fungi extend the reach of the root system, allowing plants to scavenge for phosphorus in the compacted margins of the new patio.
Transplanting and Integration
Moving established plants to accommodate the new footprint requires maintaining turgor pressure. Dig a root ball three times the width of the container. Ensure the root flare remains visible at the soil surface to prevent bark decay. Backfill with native soil rather than heavily amended potting mix to encourage the roots to move into the surrounding landscape.
Pro-Tip: Avoid heavy pruning during transplanting to prevent auxin suppression. Auxins are hormones produced in the terminal buds that signal the roots to grow. Cutting the top growth reduces the hormonal signal needed for root establishment.
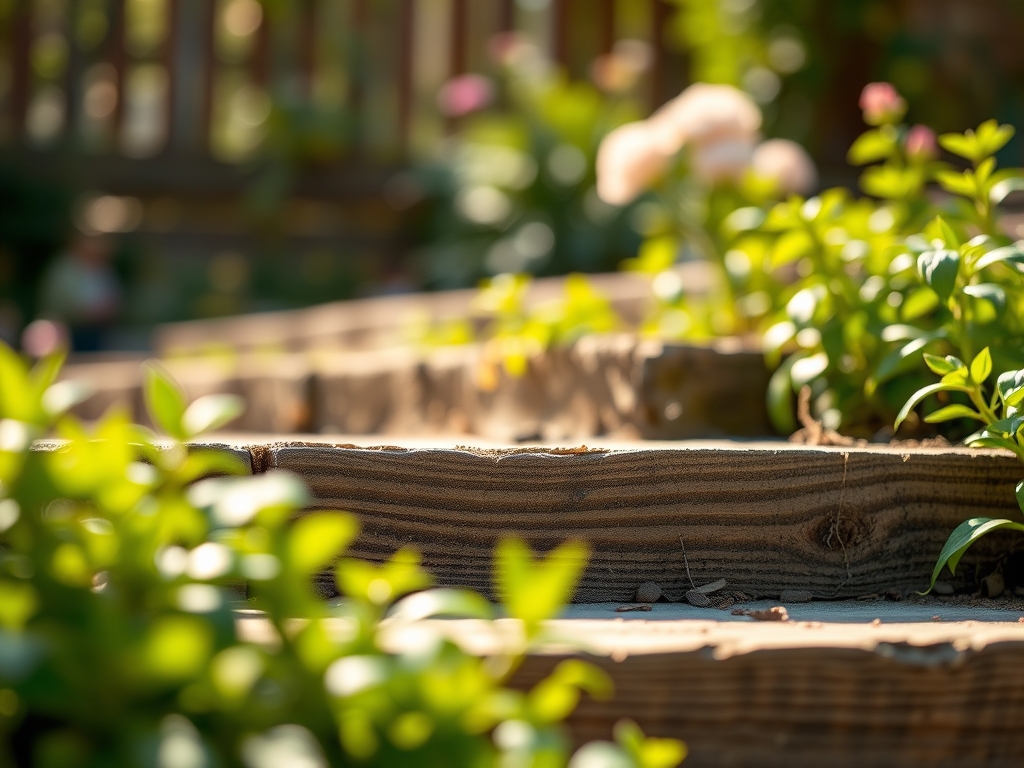
Establishing the Hardscape
Lay the pavers with a 1 percent to 2 percent slope away from any structures or sensitive plant specimens. Use a plate compactor to achieve a density of 95 percent Proctor. Sweep polymeric sand into the joints to lock the units together, preventing weed seeds from reaching the nutrient-rich soil beneath.
Pro-Tip: Maintain a 2-foot buffer between the patio edge and large woody perennials to prevent phototropism issues. If the hardscape reflects too much heat, the plant may grow unevenly away from the thermal mass, leading to structural instability over time.
The Clinic:
Physiological disorders often manifest shortly after heavy construction. Monitor nearby foliage for specific symptoms of environmental stress.
Symptom: Interveinal chlorosis (yellow leaves with green veins).
Solution: This indicates Iron deficiency, often caused by high pH from concrete runoff. Apply chelated iron or elemental sulfur to lower the pH to 6.5.
Symptom: Marginal leaf scorch or browning edges.
Solution: This is a sign of Potassium (K) deficiency or drought stress. Check the soil moisture with a soil moisture meter. If the soil is dry at a depth of 4 inches, increase irrigation.
Symptom: Stunted growth and purple-tinted lower leaves.
Solution: This signals Phosphorus (P) deficiency, common in cold, compacted soils. Use a high-phosphorus liquid feed to bypass the restricted root zone.
Fix-It for Nitrogen Chlorosis: If the entire leaf turns pale yellow, the plant lacks Nitrogen. Apply a quick-release 20-0-0 fertilizer to restore chlorophyll production and stimulate vegetative growth.
Maintenance:
A new patio alters the microclimate of the garden. The stone acts as a thermal mass, increasing the evaporation rate of the surrounding soil. Provide 1.5 inches of water per week at the drip line of all adjacent plants. Use a soil moisture meter to verify that the water is penetrating at least 6 inches deep.
Keep a hori-hori knife sharpened for removing invasive taproots that may attempt to penetrate the patio base. Use bypass pruners to maintain a clear air gap between foliage and the stone surface; this prevents fungal pathogens from jumping from the ground to the leaves via splashing rain. Every two years, inspect the joint sand and replenish it to maintain the structural integrity of the surface.
The Yield:
If your patio includes integrated planters for herbs or edible flowers, harvest timing is critical for essential oil concentration. Harvest Mediterranean herbs like rosemary or thyme in the early morning after the dew has evaporated but before the sun hits its zenith. This is when turgor pressure is highest and the volatile oils are most potent.
Use sharp snips to make clean cuts above a node to encourage branching. For "day-one" freshness, immediately plunge the stems into 40-degree Fahrenheit water and store them in a cool, dark environment. This slows the metabolic rate and prevents the rapid breakdown of sugars and aromatic compounds.
FAQ:
How deep should I dig for a garden patio?
Excavate to a depth of 8 inches. This allows for a 6-inch compacted gravel base, a 1-inch sand setting bed, and the thickness of the pavers. Proper depth prevents frost heave and ensures long-term structural stability.
Can I build a patio over tree roots?
Avoid covering more than 20 percent of a tree's root zone. Compaction and non-porous surfaces suffocate roots by blocking oxygen exchange. Use permeable pavers and a "no-dig" base if you must work within the drip line.
What is the best sand for paver joints?
Use polymeric sand for the joints. It contains additives that harden when misted with water, creating a flexible seal. This prevents weed growth and ant infestations while resisting erosion from heavy rain or irrigation.
How do I prevent drainage issues?
Grade the patio with a minimum 1/8-inch drop per foot away from foundations. Ensure the runoff directs water toward a rain garden or drainage swale. This prevents hydrostatic pressure from damaging the hardscape or drowning nearby plant roots.