7 Targeted Steps to Treat Iron Deficiency with Chelated Iron
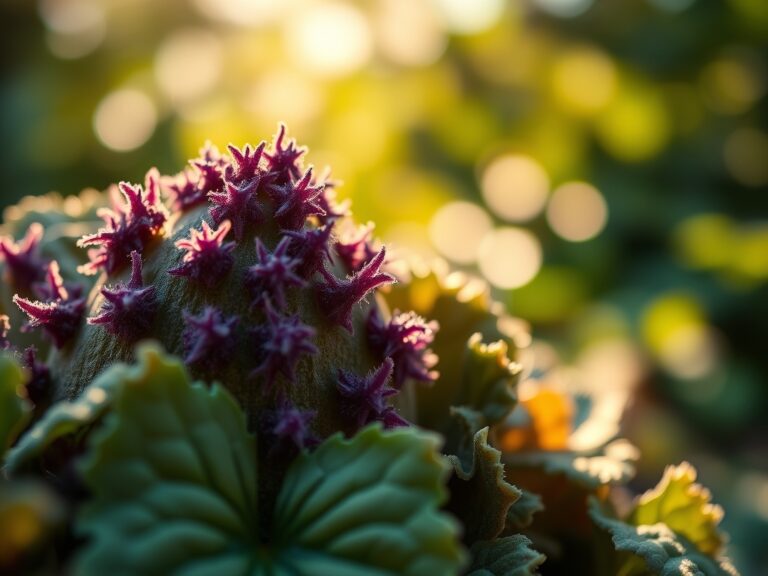
Crushed basalt and damp humus create a distinct olfactory profile in a functional garden; it is the scent of active microbial respiration. When a leaf loses its turgor pressure and the tissue between the veins turns a skeletal yellow while the veins remain a stubborn green, the plant is screaming for micronutrients. This interveinal chlorosis indicates a total breakdown in chlorophyll synthesis. Implementing the correct steps for treating iron deficiency with chelated iron is the only way to bypass soil lock-out and restore the cellular metabolic pathways required for photosynthesis. You must intervene before the plant reaches permanent senescence.
The primary hurdle in iron uptake is not usually a lack of iron in the crust; it is the chemical availability of that iron within the rhizosphere. In alkaline soils, iron oxidizes into an insoluble form that roots cannot process. Chelated iron solves this by "clawing" the iron atom within a protective organic molecule, keeping it soluble even in hostile pH environments. Success requires a clinical approach to application, timing, and soil chemistry.
Materials:

Your intervention strategy depends entirely on the Cation Exchange Capacity (CEC) of your substrate. A friable loam with a high organic matter content typically has a CEC between 20 and 40 meq/100g, providing a stable reservoir for nutrients. If your soil pH is below 6.5, use Iron EDTA. If your pH is between 6.5 and 7.5, use Iron DTPA. For highly alkaline soils above 7.5, only Iron EDDHA will remain stable enough for root uptake.
Incorporate a balanced NPK fertilizer to support the recovery phase. Look for a 10-10-10 or 5-10-5 ratio depending on whether you are targeting vegetative growth or bloom development. Avoid high-phosphorus fertilizers (where the middle number exceeds 20) during this treatment; excess phosphorus can bind with iron to create iron phosphate, which is useless to the plant. You will also need a calibrated scale to measure grams per square foot and a high-quality pressure sprayer for foliar applications.
Timing:
The biological clock of the plant dictates the efficacy of the treatment. In Hardiness Zones 4 through 9, the window for iron application opens when soil temperatures reach a consistent 55 degrees Fahrenheit. This coincides with the transition from dormancy to the active vegetative stage. Applying chelates during the reproductive stage (flowering or fruiting) is less effective because the plant is diverting energy away from leaf production and toward seed development.
Avoid application during the heat of the day. High solar radiation causes rapid evaporation, leading to salt accumulation on the leaf surface which results in localized necrosis. The ideal window is early morning, before 9:00 AM, or late evening. This ensures the stomata are open and the humidity is high enough to allow the chelate to remain in a liquid state for maximum absorption through the cuticle.
Phases:
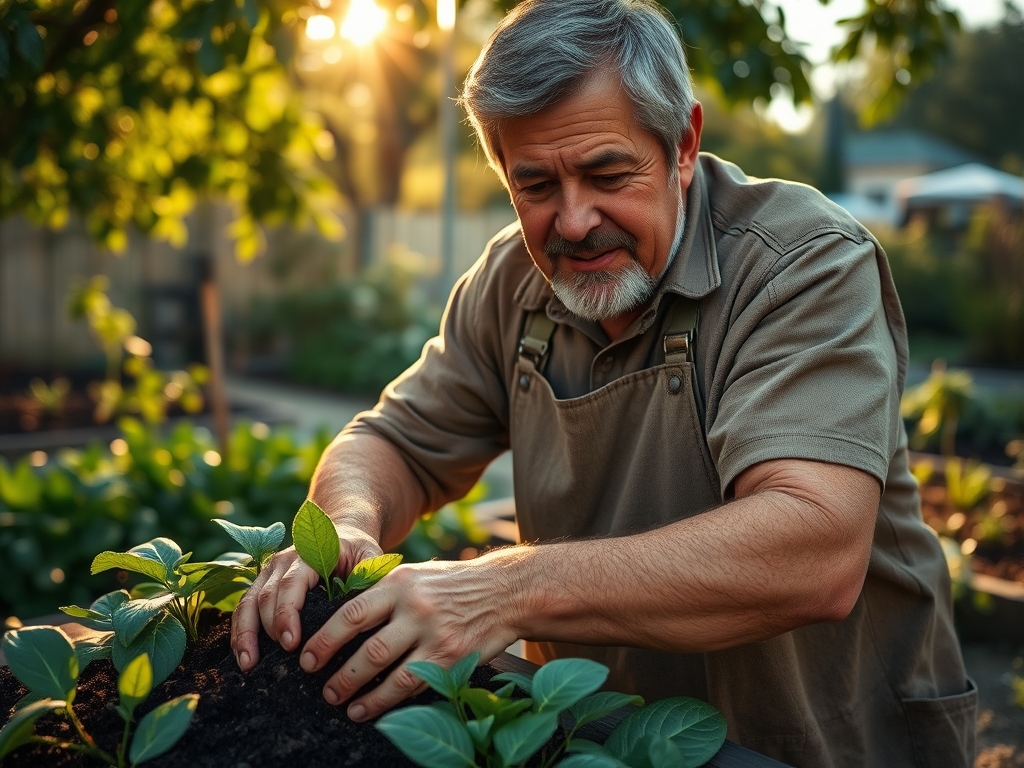
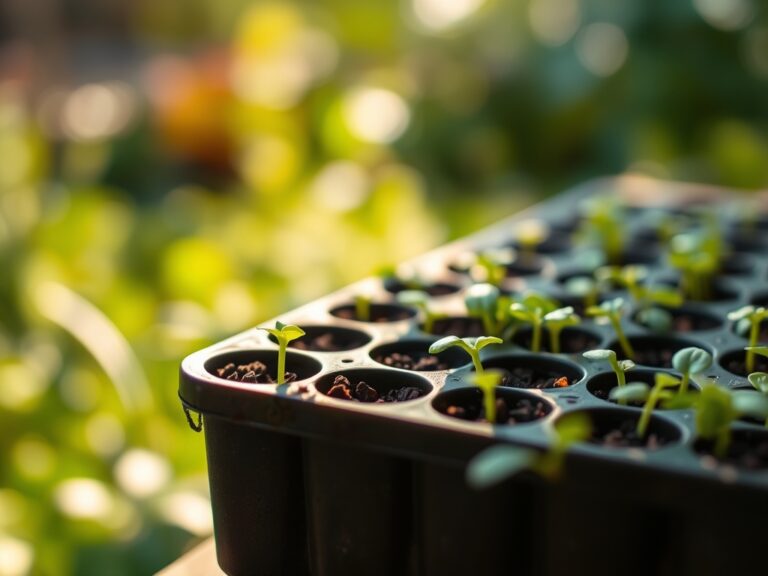
Sowing and Soil Preparation
Before seeds hit the dirt, you must address the substrate's chemical profile. If historical data shows iron deficiency, incorporate elemental sulfur six months prior to planting to lower the pH. For immediate results, drench the planting site with a solution of 1 tablespoon of EDDHA chelate per gallon of water.
Pro-Tip: Lowering the pH increases the solubility of manganese and iron. This works because the Cation Exchange Capacity increases as hydrogen ions occupy exchange sites, allowing the chelated molecules to move more freely toward the root hairs.
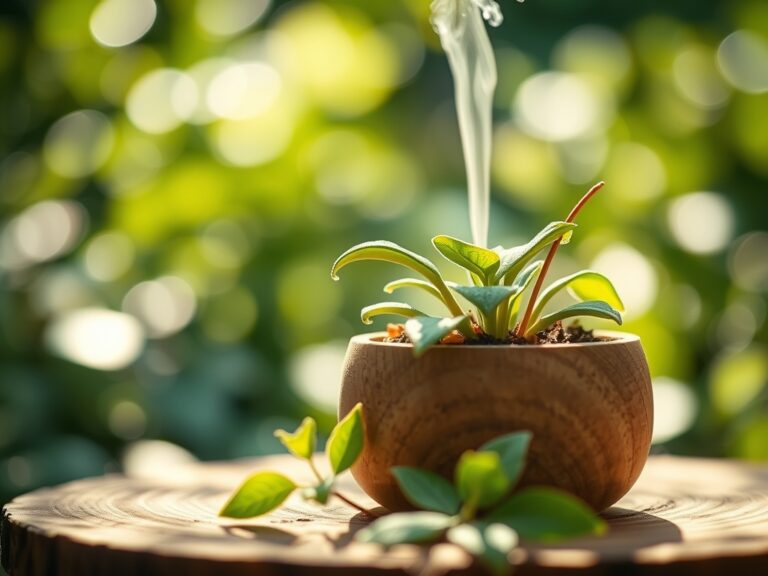
Transplanting and Initial Drench
When moving a sapling or perennial, the root system experiences a temporary cessation of fine root hair production. This is the critical moment to apply a soil drench. Target the drip line, which is the area directly beneath the outermost circumference of the canopy. This is where the most active "feeder roots" reside.
Pro-Tip: Use a mycorrhizal inoculant during transplanting. This symbiotic relationship extends the reach of the root system; the fungal hyphae can access microscopic pores in the soil that the plant roots cannot, effectively mining for the iron you have just applied.
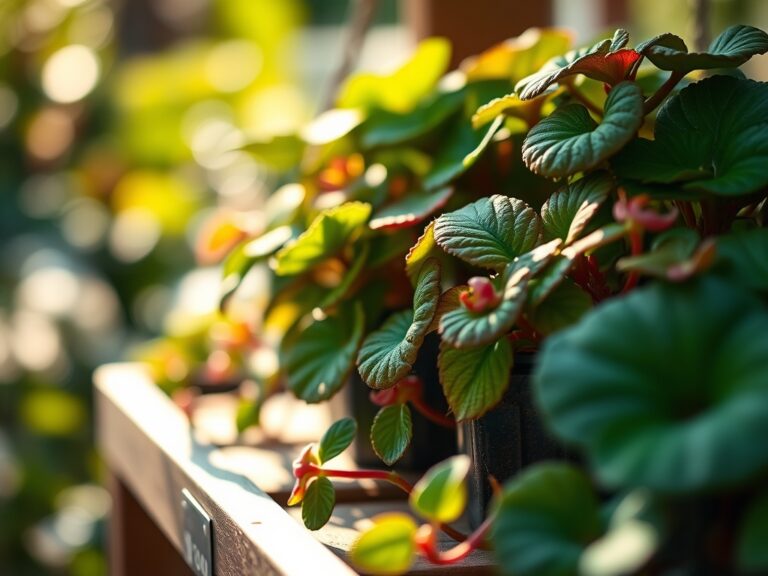
Establishing and Foliar Recovery
Once the plant is established, use foliar sprays for rapid "greening." Mix the chelate at a concentration of 0.1% to 0.5% solution. Spray until the liquid runs off the leaves. You should see a visible change in color within 48 to 72 hours.
Pro-Tip: Adding a non-ionic surfactant to your spray mix reduces surface tension. This prevents the "beading" of water and ensures the iron solution coats the entire leaf surface, maximizing the auxin-driven growth response in the meristematic tissue.
The Clinic:
Diagnosing the specific physiological disorder is paramount. Do not confuse iron deficiency with other nutrient lock-outs.
- Symptom: Yellowing of young leaves while veins stay green. Solution: This is classic iron deficiency. Apply EDDHA chelate as a soil drench.
- Symptom: General yellowing of the entire plant, starting with older leaves. Solution: This is Nitrogen deficiency. Apply a high-nitrogen fertilizer like blood meal (12-0-0).
- Symptom: Purple or bronzed leaf undersides. Solution: Phosphorus deficiency, often caused by cold soil (below 50 degrees). Increase soil temperature or apply a water-soluble 10-52-10.
- Symptom: Necrotic spots on leaf margins. Solution: Potassium deficiency. Apply potassium sulfate to the root zone.
Maintenance:
Consistency is the difference between a surviving plant and a thriving one. Use a soil moisture meter to ensure the root zone stays between 40% and 60% field capacity. Over-watering leads to anaerobic conditions, which kill the aerobic bacteria required to process nutrients. Aim for 1.5 inches of water per week, delivered via drip irrigation to avoid wetting the foliage unnecessarily.
Keep your bypass pruners sterilized with 70% isopropyl alcohol. Prune away any heavily necrotic tissue that has lost more than 50% of its surface area; these leaves are "sinks" that drain energy without providing photosynthates. Use a hori-hori knife to weed around the base, ensuring no competition for the chelated iron you have applied. Monitor the pH every 30 days using a digital probe to ensure it has not drifted back into the alkaline range.
The Yield:
For edible crops, iron levels directly impact the brix rating (sugar content) of the fruit. Harvest during the "cool of the day" to maintain turgor pressure. For leafy greens, harvest at dawn when the water content is at its peak. Use a sharp blade to make a clean cut, preventing tissue crushing.
Post-harvest, immediately submerge the produce in 40-degree Fahrenheit water. This "hydro-cooling" removes field heat and slows the rate of senescence, preserving the nutrient density and crispness. For flowers, a clean 45-degree cut followed by a solution containing a carbohydrate source and a pH acidifier will ensure the iron-rich pigments remain stable in the vase.
FAQ:
How often should I apply chelated iron?
Apply every two to four weeks during the active growing season. Monitor the new growth; if the youngest leaves emerge pale, re-apply. Stop applications once the plant enters its natural winter dormancy or the photoperiod drops below 10 hours.
Can I mix chelated iron with other fertilizers?
Yes, but avoid mixing with high-phosphate fertilizers in the same tank. High phosphorus can cause the iron to precipitate out of the solution. Always perform a "jar test" to check for physical compatibility before large-scale application.
Why is my soil drench not working?
Check your soil pH. If your pH is above 7.5 and you are using Iron EDTA, the chelate bond is breaking down before the plant can absorb it. Switch to Iron EDDHA for high-pH stability.
Is foliar feeding better than soil drenching?
Foliar feeding provides a rapid, short-term fix for visual symptoms. Soil drenching provides a long-term solution by loading the rhizosphere. For severe cases, use both methods simultaneously to ensure immediate recovery and sustained growth.