9 Effective Ways to Prepare a Pollinator Garden for Higher Yields
Learning how to prepare a garden for a pollinator vegetable garden begins with understanding that pollinator activity can increase yields by 25 to 75 percent in crops like tomatoes, squash, and cucumbers. The preparation process integrates soil chemistry, native plant selection, and precise spatial planning to create an environment where bees, butterflies, and beneficial insects thrive alongside food crops. Each decision, from pH adjustment to bloom timing, compounds into measurable harvest gains.
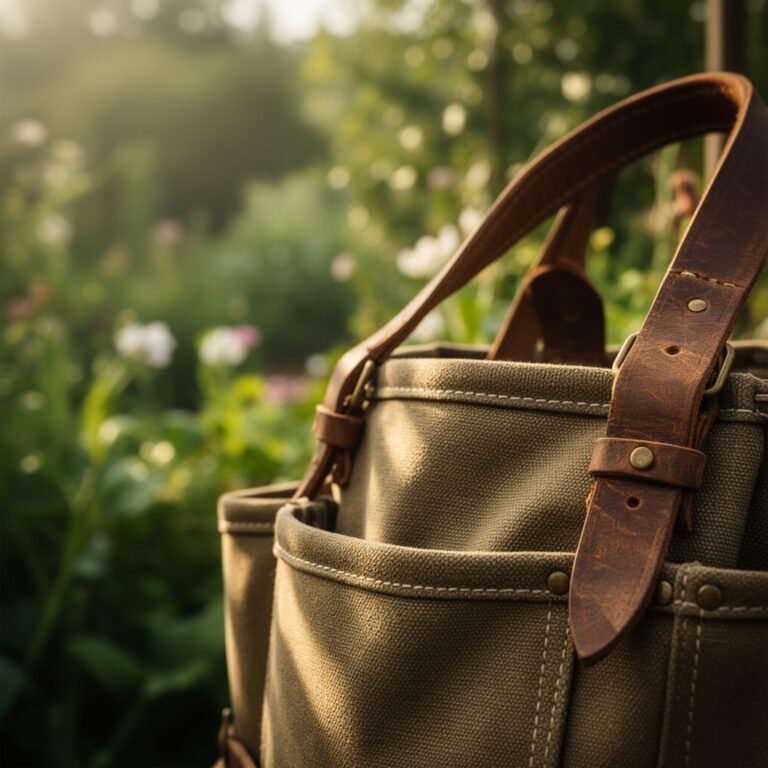
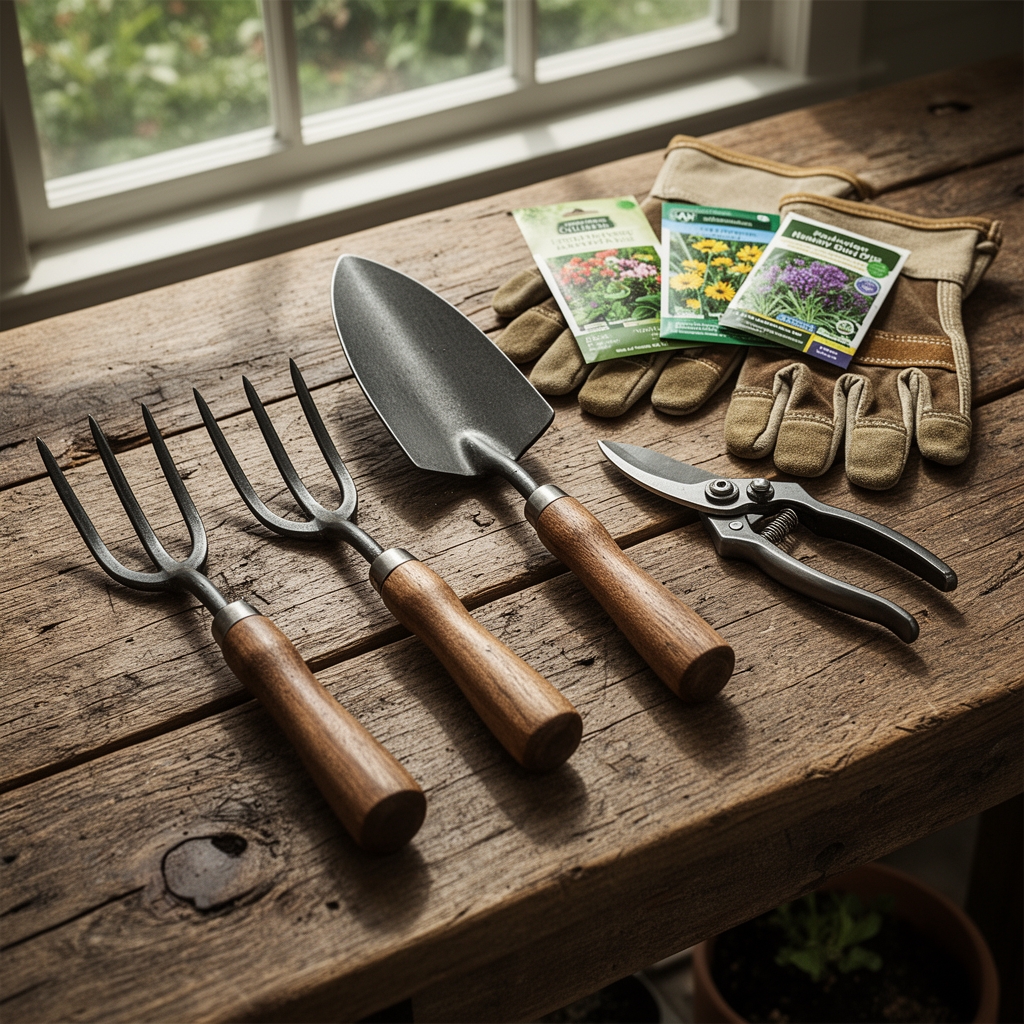
Materials
Soil amendments form the foundation. Start with a balanced organic fertilizer rated 4-4-4 or 5-5-5 for establishing beds. This NPK ratio supports both vegetable root development and nectar-rich flowering plants without excessive nitrogen that promotes leafy growth at the expense of blooms. Add dolomitic limestone if soil pH falls below 6.2; most vegetables and pollinator plants perform best between 6.5 and 7.0. For sandy soils with low cation exchange capacity, incorporate 2 inches of aged compost to retain nutrients and moisture.
Select native pollinator plants adapted to your region. Milkweed, coneflower, and black-eyed Susan attract diverse pollinator guilds while requiring minimal inputs. Mycorrhizal fungi inoculant applied at transplanting establishes symbiotic networks that extend root reach by 100 times, improving phosphorus uptake critical for flowering.
Hardware includes drip irrigation tubing with 0.5 GPH emitters spaced 12 inches apart, landscape fabric or cardboard for weed suppression in pathways, and untreated cedar stakes for supporting both tomato cages and tall pollinator species.
Timing
Hardiness Zone determines planting windows. In Zones 5-6, prepare beds 4 weeks before the last spring frost, typically mid-April to early May. This allows soil temperature to reach 55°F, the threshold for seed germination of cool-season crops and early pollinator perennials.
Zones 7-8 gardeners can begin in late February, establishing brassicas and snapdragons simultaneously. By the time warm-season vegetables go in after the final frost, early-blooming species provide immediate pollinator forage.
For fall gardens, count back 10 weeks from the first frost date. Plant late-season pollinator annuals like zinnias and cosmos alongside succession crops of beans and squash. This ensures continuous bloom during peak fruiting periods.
Phases
Sowing Phase
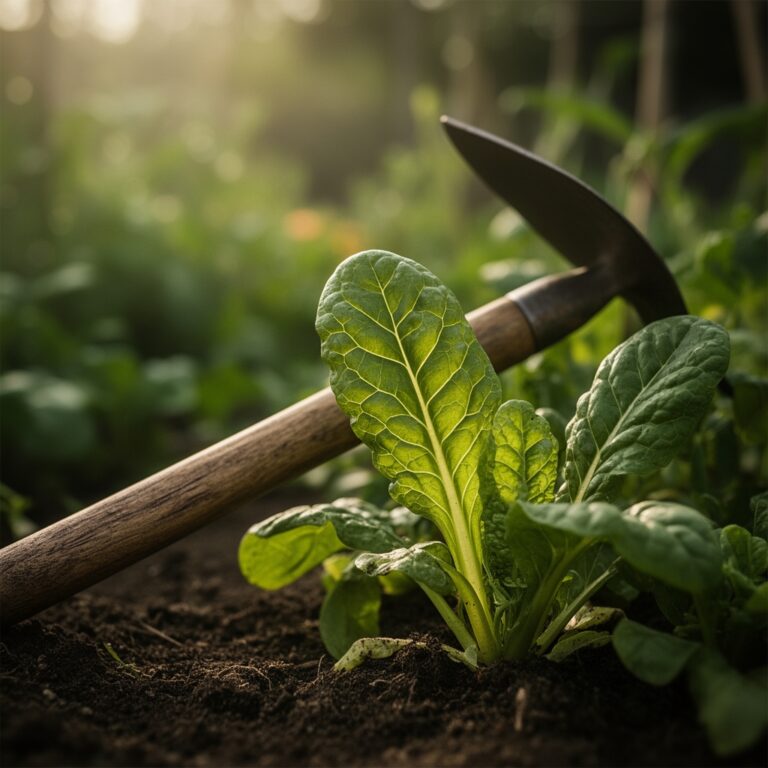
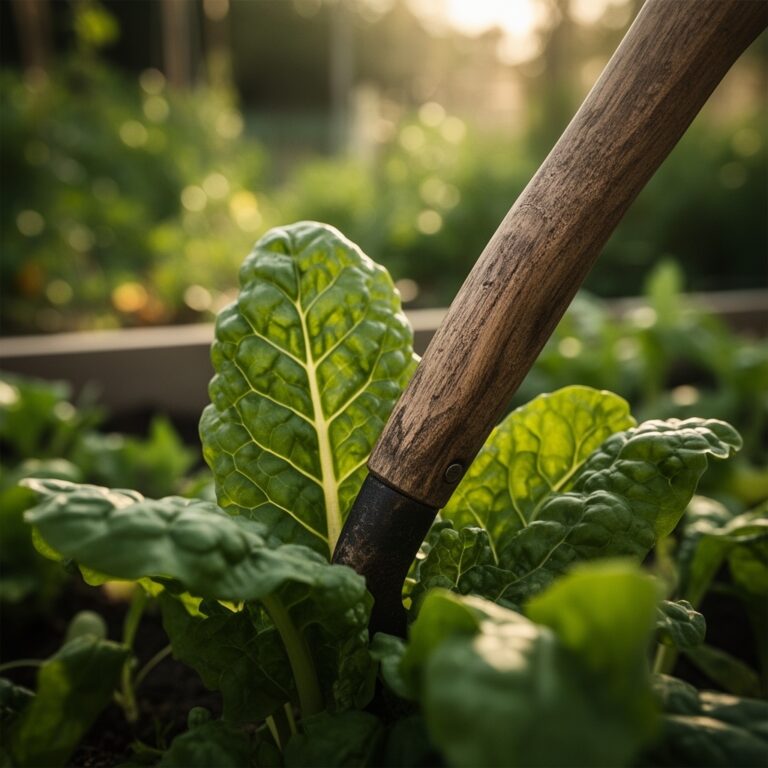
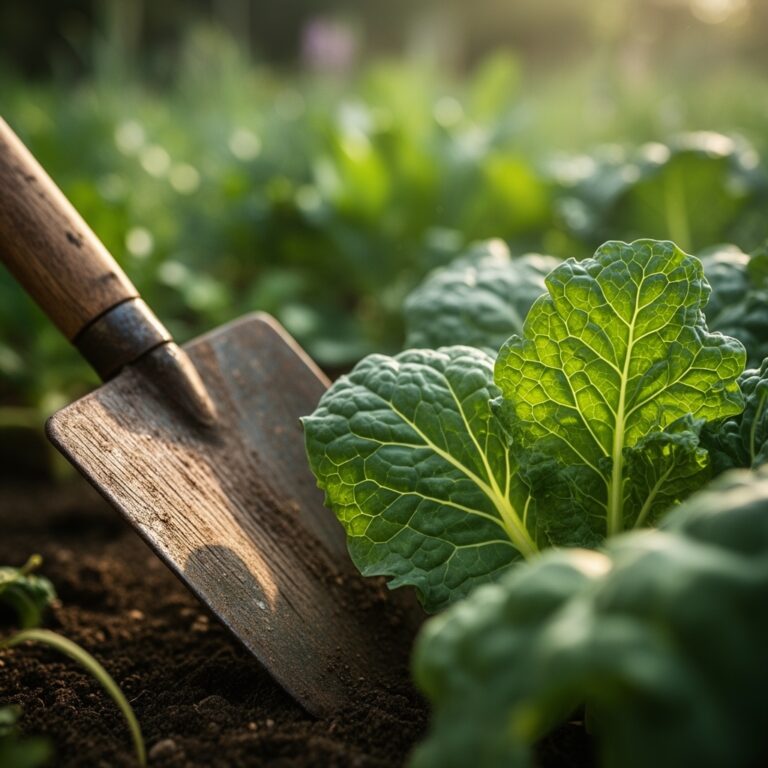
Direct-seed vegetables and pollinator plants according to their light requirements. Bury squash and cucumber seeds 1 inch deep in hills spaced 36 inches apart. Scatter small-seeded pollinator annuals like alyssum on the soil surface; they require light for germination. Press seeds into contact with soil using a board to ensure moisture uptake.
Pro-Tip: Inoculate legume seeds with Rhizobium bacteria before planting. This nitrogen-fixing partnership reduces fertilizer needs and enriches soil for adjacent pollinator perennials.
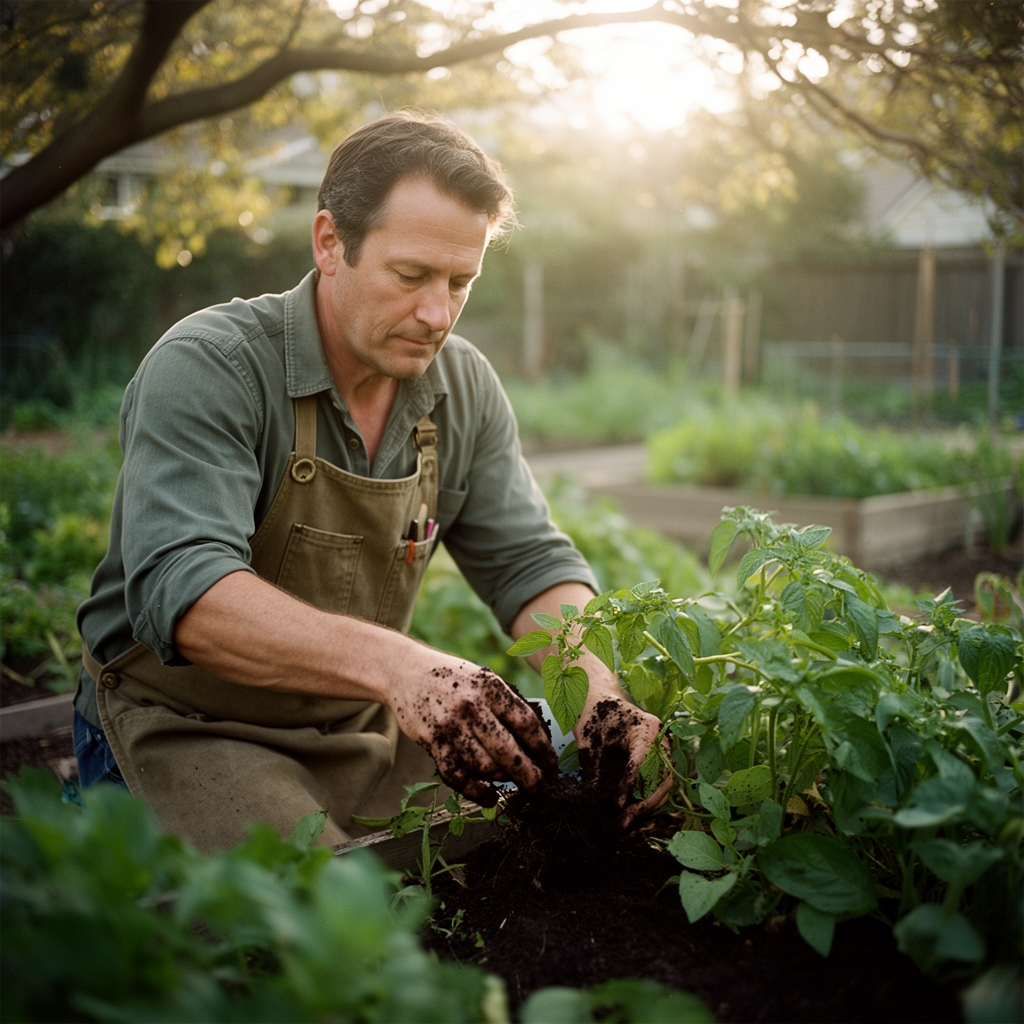
Transplanting Phase
Harden off seedlings over 7 days by gradually increasing sun exposure. Transplant on overcast days or in late afternoon to minimize transplant shock. Dig holes twice the root ball width and amend each planting pocket with 1 tablespoon of bone meal (3-15-0) to stimulate root auxin distribution.
Space determinate tomatoes 24 inches apart; intersperse with basil or borage at 18-inch intervals. These companion plants attract pollinators while deterring aphids through volatile organic compound emission.
Pro-Tip: Prune tomato suckers at a 45-degree angle when they reach 2 inches. This healing angle prevents water pooling and pathogen entry while directing energy to fruit set.
Establishing Phase
Mulch beds with 3 inches of straw or shredded leaves after soil warms to 65°F. Mulch conserves moisture and suppresses weeds but delays warming if applied prematurely. Leave a 3-inch ring around plant stems to prevent crown rot.
Monitor for bloom overlap. Vegetables typically flower 6 to 8 weeks after transplanting. Ensure at least three pollinator species bloom simultaneously to maintain foraging activity. Deadhead spent flowers on ornamentals to extend bloom periods through repeated flowering cycles.
Pro-Tip: Apply liquid kelp fertilizer (0-0-1 with micronutrients) as a foliar spray biweekly during flowering. Potassium strengthens cell walls and improves pollen viability.
Troubleshooting
Symptom: Poor fruit set despite abundant flowers.
Solution: Introduce native bee houses or bumblebee nesting boxes. Hand-pollinate cucurbits using a soft brush at dawn when pollen is most viable.
Symptom: Yellowing lower leaves with green veins (interveinal chlorosis).
Solution: Iron deficiency induced by high pH. Apply chelated iron at 1 tablespoon per gallon and drench root zone. Retest soil pH.
Symptom: Wilting despite adequate moisture; stem discoloration at soil line.
Solution: Fusarium wilt. Remove infected plants immediately. Solarize soil with clear plastic for 6 weeks in peak summer. Rotate to resistant varieties.
Symptom: Holes in leaves; visible caterpillars on foliage.
Solution: Bacillus thuringiensis (Bt) applied at labeled rates targets lepidopteran larvae without harming pollinators. Spray in evening after bee activity ceases.
Symptom: Blossom end rot on tomatoes and peppers.
Solution: Calcium deficiency exacerbated by irregular watering. Maintain consistent moisture. Side-dress with gypsum (calcium sulfate) at 1 pound per 10 square feet.
Maintenance
Provide 1 inch of water per week through drip irrigation or soaker hoses. Water at soil level in early morning to reduce foliar disease. Install a rain gauge to track natural precipitation.
Side-dress vegetables with compost tea or fish emulsion (5-1-1) every 3 weeks during active growth. Apply 1 cup per plant, watering in thoroughly.
Deadhead pollinator annuals twice weekly to prevent seed set and prolong flowering. Allow some perennials to set seed in late season; finches and other beneficial wildlife consume seed heads through winter.
Scout for pests weekly. Tolerate 10 to 15 percent foliage damage; this threshold supports predatory insect populations that provide long-term pest control.
FAQ
How far should pollinator plants be from vegetables?
Intersperse them. Pollinators travel between resources, so proximity increases visitation rates to vegetable flowers. Aim for no more than 10 feet between nectar sources and crop blooms.
Can I use pesticides in a pollinator garden?
Avoid broad-spectrum insecticides. If intervention is necessary, apply targeted products like insecticidal soap or neem oil in evening hours. Always follow label instructions regarding pollinator precautions.
Which vegetables benefit most from pollinators?
Cucurbits (squash, cucumbers, melons), fruiting solanaceae (tomatoes, peppers, eggplants), and legumes show the highest yield increases. Wind-pollinated crops like corn benefit less but still gain from overall ecosystem health.
Do I need multiple pollinator species?
Yes. Different species forage at different times and weather conditions. Bumblebees work in cool, cloudy weather when honeybees remain in hives. Native specialists pollinate plants that generalists ignore.
How long until I see results?
First-year gardens establish root systems and attract pioneer species. By year two, perennial pollinator plants mature and insect populations stabilize. Expect yield increases of 15 to 30 percent in season two, climbing higher as ecological networks mature.