9 Humidity Steps to Prepare a DIY Seedling Glass Cloche
The smell of damp peat moss and the sharp, metallic scent of a clean hori-hori knife signal the start of the propagation season. Success in the nursery depends entirely on maintaining turgor pressure within the cellular walls of a young seedling. When a plant loses more water through transpiration than it can intake via its developing root system, the vascular tissue collapses. This is where learning how to prepare a DIY plant cloche becomes a critical skill for the serious horticulturist. By creating a localized microclimate, you effectively stall the rate of evaporation and allow the seedling to focus its energy on biomass production rather than survival. A functional cloche acts as a physical barrier against desiccation while stabilizing ambient temperatures. It mimics a high-tech greenhouse on a microscopic scale; it traps infrared radiation and maintains a relative humidity level of 80 percent or higher. This technical guide outlines the precise steps to engineer a humidity dome that ensures your starts transition from fragile sprouts to hardened specimens ready for the field.
Materials:

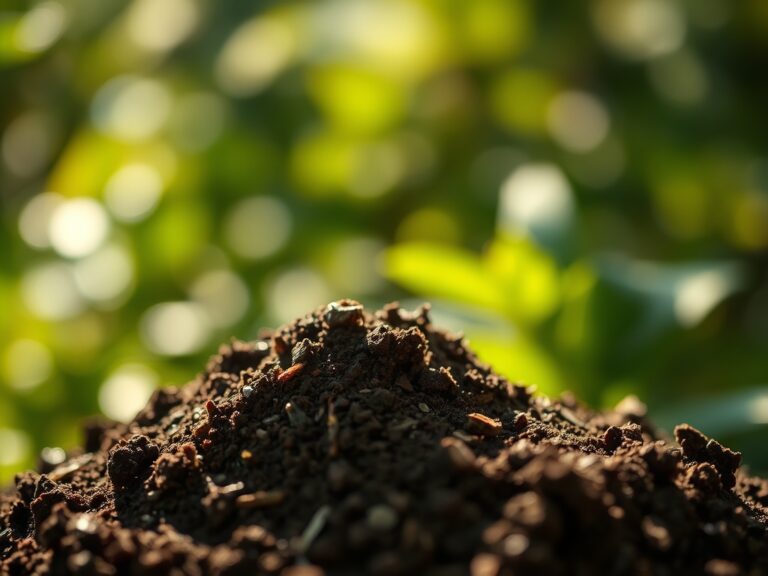
The substrate used within your cloche must be a friable loam with a high Cation Exchange Capacity (CEC) to facilitate nutrient uptake. Aim for a soil pH between **6.2 and 6.8** to ensure maximum bioavailability of micronutrients. For the initial sowing phase, utilize a sterile seed-starting mix with an NPK ratio of **0.5-0.5-0.5**. High nitrogen levels at this stage can cause salt burn on delicate radicles.
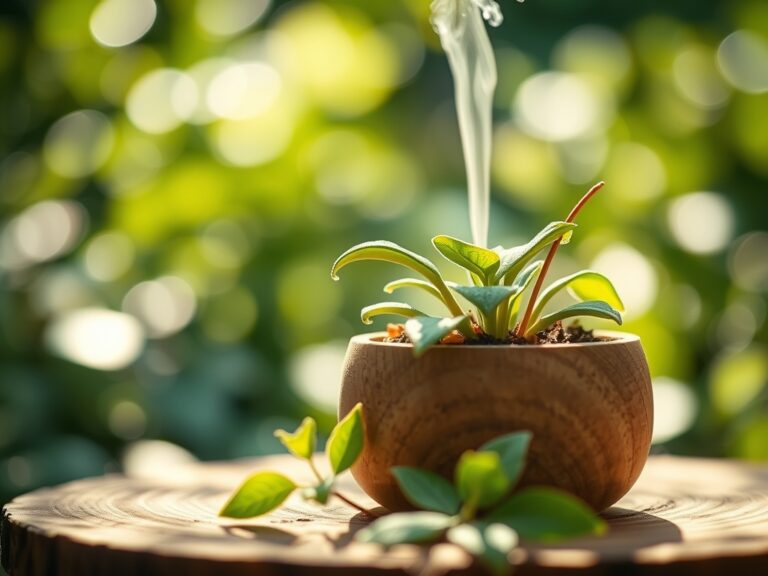
The physical structure of the cloche requires a transparent vessel; heavy-walled glass is superior to plastic because it retains thermal mass and resists UV degradation. You will also need a soil moisture meter to monitor the rhizosphere and a fine-mist sprayer to manage atmospheric moisture without displacing the seeds. If you are recycling glass jugs, ensure they are scrubbed with a 10 percent bleach solution to eliminate fungal spores like Pythium or Rhizoctonia.
Timing:
Understanding your USDA Hardiness Zone is the difference between a thriving crop and a total loss. In Zones 5 through 7, the window for using a DIY cloche typically opens four to six weeks before the last predicted frost date. The primary goal is to manipulate the biological clock of the plant. By providing a protected environment, you can trigger the transition from seed dormancy to the vegetative stage earlier in the season.
Pay close attention to the photoperiod. Most seedlings require 14 to 16 hours of light to prevent legginess. As the plant moves from the vegetative stage toward the reproductive stage, the cloche must be removed to allow for increased airflow and pollination. Failure to remove the dome once the ambient outdoor temperature consistently hits 65 degrees Fahrenheit can lead to heat stress and protein denaturation within the plant cells.
Phases:

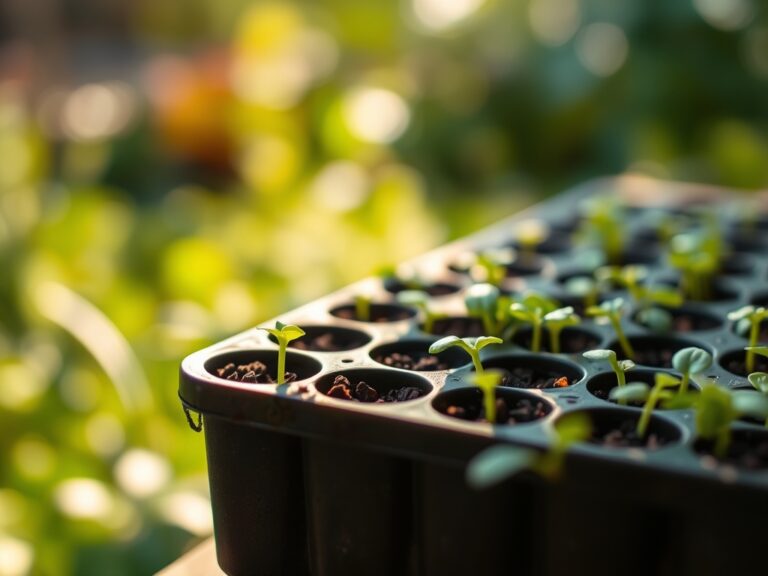
Sowing
Begin by saturating your potting medium until it reaches field capacity. Place two seeds per cell at a depth exactly twice the diameter of the seed. Position the glass cloche over the tray, ensuring a tight seal with the soil surface to prevent moisture escape.
Pro-Tip: Maintaining high humidity during germination prevents the seed coat from hardening. This is critical for epigeal germination, where the hypocotyl must physically lift the cotyledons above the soil line without the resistance of a dried husk.
Transplanting
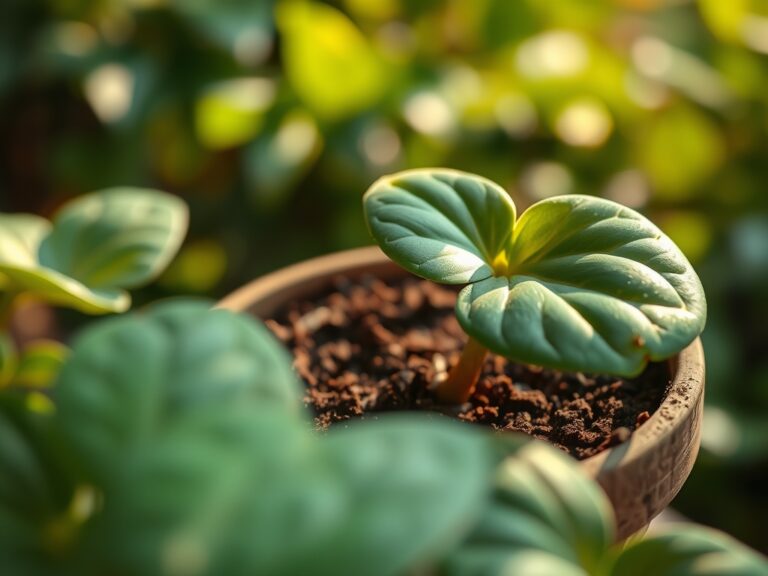
Once the first set of true leaves appears, the seedling is ready for a larger vessel. Use a hori-hori knife to lift the root ball, being careful not to disturb the delicate root hairs. Move the plant into a medium enriched with an NPK ratio of 10-5-5 to support rapid leaf development.
Pro-Tip: The "Biological Why" here involves auxin suppression. By minimizing root disturbance during the move, you prevent the plant from sending stress signals that halt upward growth in favor of emergency root repair.
Establishing
The establishment phase requires "hardening off." Gradually tilt the glass cloche to allow dry air to enter for 30 minutes on day one, doubling the time daily. This process thickens the waxy cuticle on the leaf surface.
Pro-Tip: This phase utilizes thigmomorphogenesis. Exposing the plant to slight air movement and temperature fluctuations strengthens the cell walls, making the stalk physically sturdier against wind and environmental stressors.
The Clinic:
Physiological disorders often manifest quickly under glass due to the intensified environment.
- Symptom: Damping Off. The stem shrivels at the soil line and the seedling collapses.
- Solution: This is a fungal pathogen. Increase ventilation immediately and reduce watering frequency. Dust the soil surface with cinnamon or activated charcoal.
- Symptom: Edema. Small, corky bumps appear on the underside of leaves.
- Solution: This occurs when the plant absorbs water faster than it can transpire. Lower the humidity inside the cloche by propping it open with a small stone.
- Symptom: Nitrogen Chlorosis. Older leaves turn pale yellow while veins remain slightly green.
- Fix-It: Apply a water-soluble fertilizer with a high nitrogen analysis. Check soil pH; if it is above 7.0, nitrogen becomes chemically locked and unavailable to the roots.
- Symptom: Anthocyanin Accumulation. Leaves turn a distinct purple or reddish hue.
- Fix-It: This usually indicates a Phosphorus deficiency caused by cold soil (below 55 degrees Fahrenheit). Increase the thermal mass around the cloche or use a heating mat.
Maintenance:
Precision is the hallmark of a master gardener. Monitor the soil daily using a soil moisture meter; the goal is to maintain a reading of "Moist" without reaching "Saturated." Generally, a seedling under a cloche requires approximately 1.5 inches of water per week delivered at the drip line.
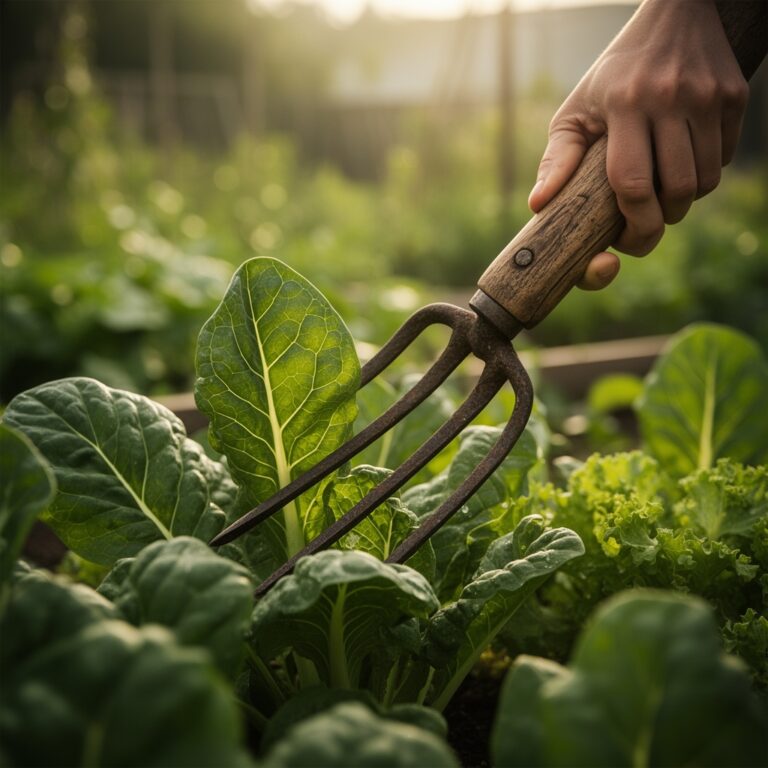
Use bypass pruners to snip away any yellowing or necrotic tissue to prevent the spread of botrytis. Ensure the glass of your cloche is cleaned weekly; dust buildup can reduce light transmission by up to 20 percent, which triggers the elongation of the internodes as the plant hunts for light. If the interior glass shows heavy condensation that drips onto the foliage, wipe it dry to prevent localized rot.
The Yield:
If you are growing edible greens or herbs under your DIY cloche, harvesting should occur during the morning hours when turgor pressure is at its peak. Use sharp shears to make clean cuts, leaving at least one-third of the foliage to ensure the plant can continue photosynthesis.
For day-one freshness, submerge harvested greens in 40-degree Fahrenheit water immediately. This rapid cooling stops the metabolic process of senescence and locks in the moisture content. Store the produce in a sealed container to maintain the high humidity levels the plant was accustomed to under the glass.
FAQ:
How do I prevent mold inside my DIY cloche?
Increase airflow by propping the edge of the cloche up by 0.5 inches. Use a sterilized growing medium and avoid overwatering. Ensure the soil pH remains slightly acidic to discourage fungal growth.
What is the best glass for a DIY cloche?
Use clear, non-tinted glass. Bell jars or large gallon-sized food containers work well. Ensure the glass is thick enough to provide thermal insulation during cool nights in early spring.
Can I use a cloche in full sun?
Exercise caution. A glass cloche can act as a magnifying lens. Monitor internal temperatures; if they exceed 85 degrees Fahrenheit, provide 30 percent shade cloth to prevent solar injury to the leaf tissue.
When should I permanently remove the cloche?
Remove the dome once the seedling's foliage touches the glass walls or when the outdoor nighttime temperatures stay consistently above 50 degrees Fahrenheit. This prevents overcrowding and reduces the risk of foliar diseases.