8 Steps to Install a Small Fountain to Increase Humidity
Installing a small fountain among your tomatoes and peppers transforms the microclimate around your crops. The gentle splash raises ambient humidity by 8 to 15 percentage points within a 6-foot radius, reducing blossom-end rot in fruiting vegetables and minimizing tip burn on leafy greens. Steps for installing a vegetable garden fountain require careful attention to drainage, electrical safety, and pump sizing to avoid waterlogging clay soils or creating mosquito breeding grounds. The fountain acts as both irrigation reservoir and evaporative cooler, allowing root zones to access stored water while leaf surfaces benefit from elevated moisture vapor.
Materials
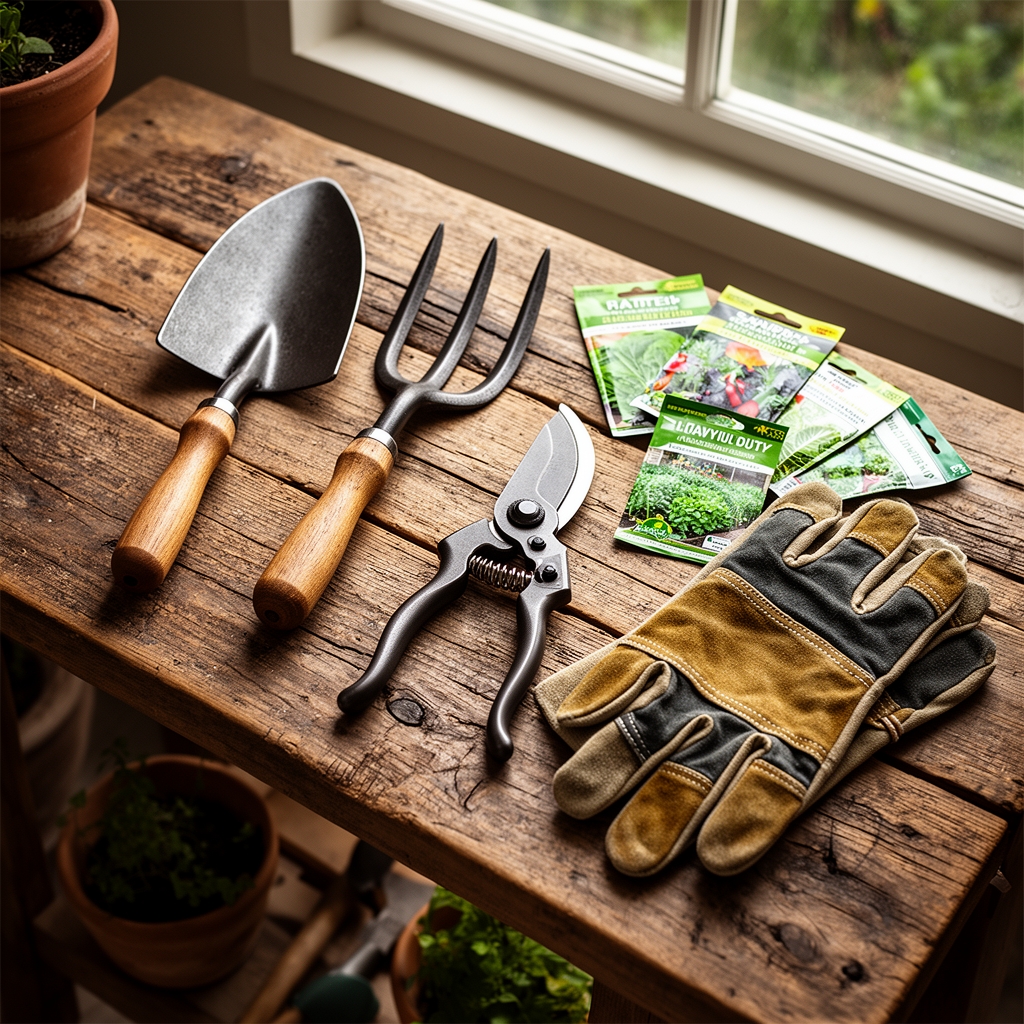
Gather a submersible pump rated at 80 to 120 gallons per hour, a basin or reservoir holding 10 to 20 gallons, and decorative stone or food-safe ceramic fountain elements. Select a basin with a drainage hole or drill one yourself to prevent overflow during heavy rain. Use 14-gauge outdoor-rated electrical cable and a GFCI outlet located at least 12 inches above soil grade.
For soil amendments around the fountain perimeter, apply a 2-inch layer of well-aged compost with an NPK ratio near 1-1-1, which buffers pH shifts caused by splashing water. If your municipal water carries a pH above 7.5, incorporate elemental sulfur at 1 pound per 100 square feet to bring the rootzone down to 6.2 to 6.8, ideal for most vegetables. Add mycorrhizal fungi inoculant at 1 teaspoon per transplant hole to improve phosphorus uptake, especially when soil tests reveal cation exchange capacity below 10 meq/100g.
Avoid synthetic fertilizers with high salt indices near the fountain. Salt accumulation from evaporated water can push electrical conductivity above 2.0 dS/m, inhibiting auxin distribution and stunting root development.
Timing
Install the fountain two weeks before your last expected spring frost date. This lead time allows the reservoir to stabilize and any chlorine in municipal water to off-gas before transplants go into the ground. In USDA Hardiness Zones 5 through 7, target mid-April to early May. Zones 8 and 9 can install as early as late February.
Autumn installations work well in Zones 9 and 10, where cool-season crops like broccoli and lettuce benefit from the humidity boost through November and December. In colder zones, drain and store the pump indoors before the first hard freeze to prevent cracking.
Monitor daytime temperatures. When sustained highs reach 65 to 70 degrees Fahrenheit, seedling transpiration rates climb steeply. The fountain offsets this stress by keeping relative humidity above 50 percent during midday.
Phases

Excavation and Basin Placement
Dig a hole 2 inches deeper than the basin height and 4 inches wider than its diameter. Level the base with coarse sand, checking with a spirit level in two perpendicular directions. Set the basin rim 1 inch below final soil grade to hide edges and prevent tripping.
Pro-Tip: Line the excavation with landscape fabric before adding sand to block root intrusion from aggressive vegetables like squash and cucumber.
Electrical and Pump Setup
Run the pump cord through a section of schedule-40 PVC conduit buried 6 inches deep. Connect to a GFCI outlet positioned away from the splash zone. Attach the pump to the fountain head using the manufacturer's tubing, trimming to the shortest practical length to maximize flow pressure. Secure the pump to the basin floor with suction cups or silicone adhesive to prevent vibration noise.
Pro-Tip: Wrap the pump intake screen with a fine stainless-steel mesh to exclude organic debris and prevent clogging, which drops flow rates by up to 40 percent.
Water Addition and Planting
Fill the reservoir with rainwater or dechlorinated tap water. Add a mosquito dunk containing Bacillus thuringiensis israelensis every 30 days to eliminate larvae without harming beneficial insects. Plant vegetables 18 to 24 inches from the fountain edge to avoid root saturation while capturing humidity benefits.
Pro-Tip: Position heat-loving crops like peppers and eggplant on the south or west side of the fountain, where reflected light and warmth accelerate fruit set by 5 to 7 days.
Troubleshooting
Symptom: White mineral crust forms on basin rim and nearby foliage.
Solution: Switch to collected rainwater with total dissolved solids below 50 ppm. Wipe foliage weekly with a damp cloth to remove deposits that block stomata.
Symptom: Algae blooms turn water green within 72 hours.
Solution: Add 1 tablespoon of 3-percent hydrogen peroxide per gallon of water. Position the fountain in partial shade or attach a shade cloth to reduce direct sunlight to fewer than 4 hours per day.
Symptom: Pump hums but produces no flow.
Solution: Disassemble the impeller housing and remove trapped root hairs or soil particles. Inspect the intake screen every 10 days during active growth.
Symptom: Seedlings within 12 inches develop damping-off at the soil line.
Solution: Reduce fountain run-time to 4 hours in early morning only. Improve air circulation with a small oscillating fan, and apply a drench of Trichoderma biocontrol at label rates.
Symptom: Blossom-end rot persists despite elevated humidity.
Solution: Test soil calcium levels. Apply gypsum (calcium sulfate) at 2 pounds per 100 square feet if calcium falls below 800 ppm. Maintain even soil moisture, as humidity alone cannot substitute for adequate root calcium uptake.
Maintenance
Run the fountain 6 to 8 hours daily during vegetable growing season, starting at sunrise. Refill the reservoir when water level drops to within 2 inches of the pump intake. Clean the pump impeller and intake screen biweekly, soaking components in a 10-percent vinegar solution for 15 minutes to dissolve mineral scale.
Apply 1 inch of water per week to garden beds via drip irrigation or soaker hose, independent of fountain operation. The fountain supplements humidity but does not replace root-zone irrigation. Mulch around the fountain with 2 inches of straw to suppress weeds and stabilize soil temperature within 3 degrees of the 65 to 75 Fahrenheit optimal range for vegetable root function.
Before winter dormancy in Zones 7 and colder, remove the pump and drain the basin. Store components in a frost-free shed. Scrub the basin interior with a stiff brush to prevent algae spores from overwintering.
FAQ
Can I use a fountain in a raised bed?
Yes, provided the bed drains freely. Install the basin at grade level adjacent to the bed rather than inside it to avoid saturating the root zone.
How does fountain humidity compare to overhead misting?
Fountains deliver localized humidity without wetting foliage, reducing foliar disease pressure by 30 to 50 percent compared to misting systems that leave standing water on leaf surfaces.
What pump wattage is most efficient?
A 5-watt submersible pump running 8 hours daily consumes 1.2 kilowatt-hours per month, costing approximately $0.15 in most regions. Higher wattages waste energy and create excess turbulence.
Will the fountain attract pests?
Properly maintained fountains with moving water and monthly mosquito dunks do not attract pests. Stagnant water without circulation becomes a breeding site within 7 days.
Should I adjust fertilizer rates near the fountain?
Reduce nitrogen applications by 15 percent within the 2-foot radius. Elevated humidity slows transpiration, which in turn reduces nutrient demand and increases the risk of foliar nitrate accumulation.