8 Foliage Benefits of Specialized Fern Fertilizer for Greenery
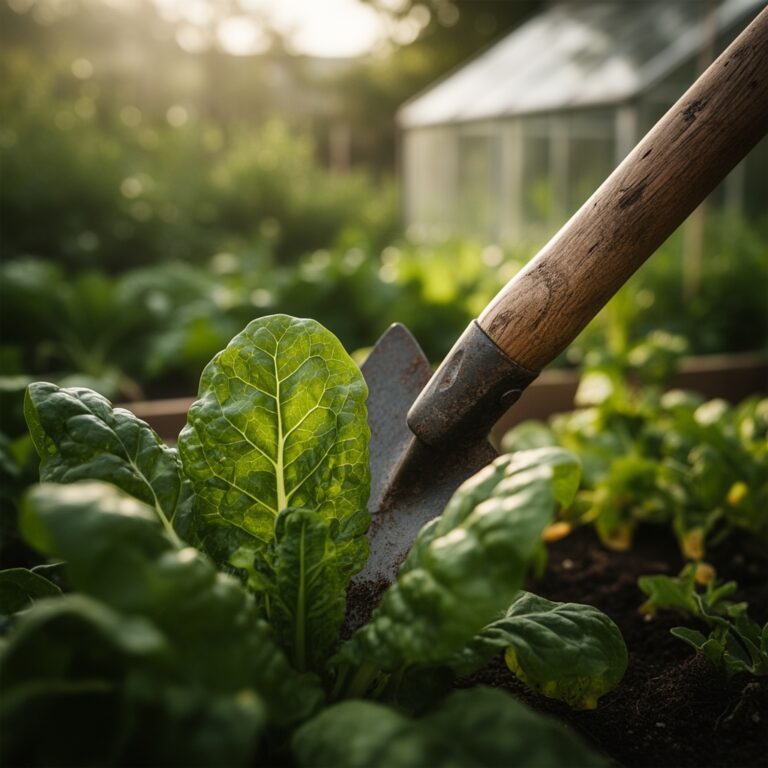
The smell of damp, anaerobic decomposition in a forest floor signals the presence of high organic matter; this is the baseline environment a fern requires. When you touch a frond, the turgor pressure should feel firm and resilient. If the leaf is limp, the vascular system is failing to transport water from the rhizosphere to the stipe. Using a specialized fern fertilizer ensures that the delicate balance of micronutrients is maintained without the salt buildup that typically scorches sensitive root systems. Ferns are evolutionary relics that lack the robust flowering mechanisms of angiosperms. They rely on spore production and rhizomatous expansion. To facilitate this, the soil must provide a constant, low-level supply of nitrogen and potassium. High-potency, generic fertilizers often lead to osmotic stress. This causes the roots to lose water to the soil rather than absorbing it. A specialized formula mimics the slow release of nutrients found in decaying leaf litter. This allows the plant to maintain a steady rate of photosynthesis even in low-light conditions.
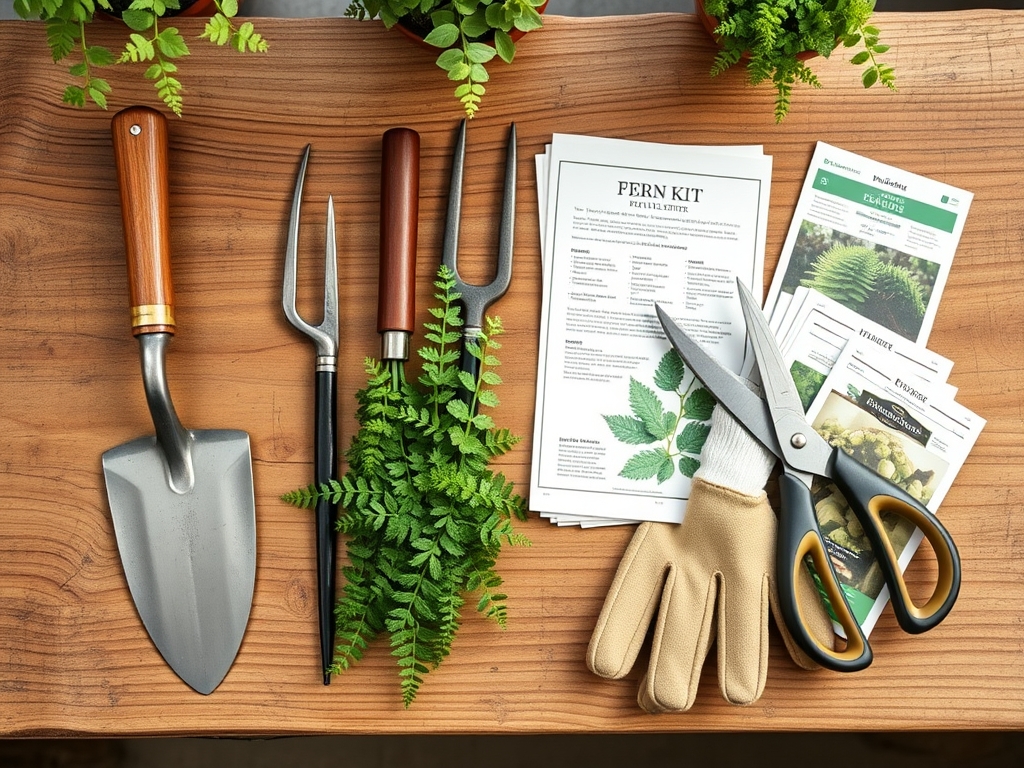
Materials:
The substrate must be a **friable loam** with a high concentration of organic humus to ensure a high Cation Exchange Capacity (CEC). This allows the soil to hold onto positively charged ions like calcium and magnesium. Aim for a **soil pH between 5.5 and 6.5**. Most ferns thrive in slightly acidic conditions where nutrient availability is maximized.
The NPK ratio for a specialized fern fertilizer should ideally sit at 10-5-10 or 12-4-8. Ferns require a higher ratio of nitrogen (N) for frond development and potassium (K) for cellular wall strength. Phosphorus (P) is kept low because these plants do not produce energy-intensive flowers or fruits. Ensure the fertilizer includes trace amounts of iron (Fe), manganese (Mn), and zinc (Zn) to prevent interveinal chlorosis. The physical texture of the amendment should be granular for slow release or a highly diluted liquid for immediate foliar uptake.
Timing:
Ferns are most active when soil temperatures consistently reside between 60 and 75 degrees Fahrenheit. In Hardiness Zones 4 through 9, the primary growth window opens after the last spring frost and closes approximately six weeks before the first autumn frost. The biological clock of a fern is governed by the photoperiod. As daylight increases, the plant enters its vegetative stage, rapidly unfurling crosiers (fiddleheads).
Fertilization must align with this surge in metabolic activity. Applying nutrients during the winter dormancy period is counterproductive. The plant cannot process the minerals, leading to toxic salt accumulation in the soil. For indoor specimens, the timing is less dependent on frost but still follows the light cycle. Reduce application frequency by 50 percent during the winter months to account for the slower rate of transpiration and photosynthesis.
Phases:

Sowing and Spore Propagation
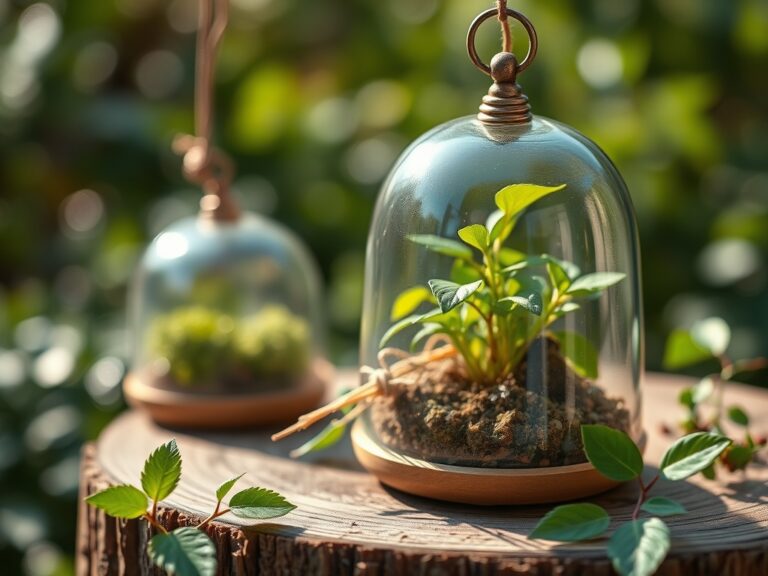
Ferns do not grow from seeds; they grow from spores. This process requires a sterile, moist medium like peat moss or perlite. The environment must remain at 100 percent humidity. During this phase, do not use granular fertilizer. Instead, use a highly diluted liquid solution at one-fourth strength once the prothallus (the first green growth) appears.
Pro-Tip: The biological why behind high humidity is that fern sperm are flagellated. They require a film of liquid water to swim from the antheridia to the archegonia for fertilization to occur.
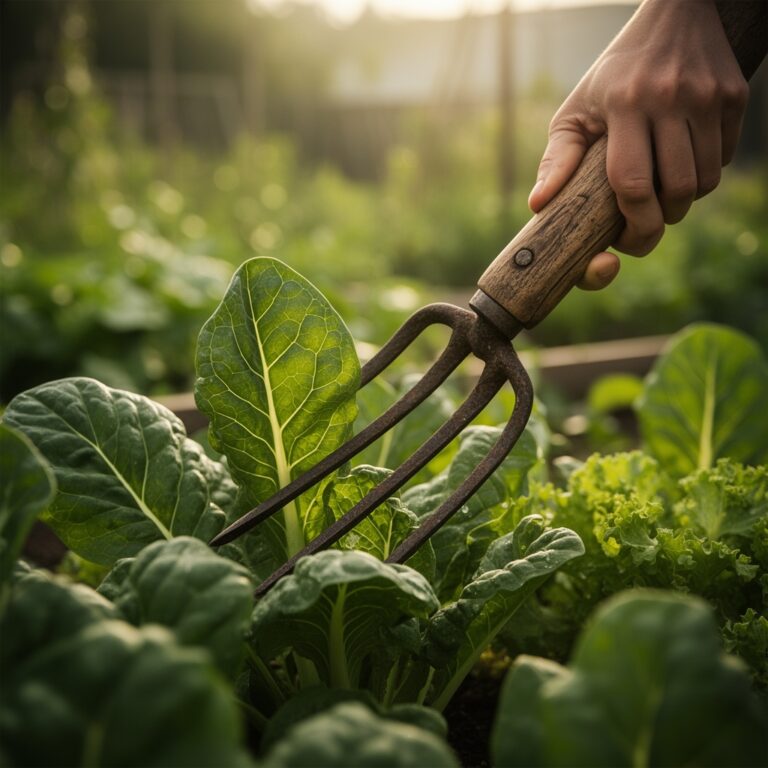
Transplanting
When moving a fern to a larger vessel or into a garden bed, minimize root disturbance. Use a hori-hori knife to slice through any circling roots if the plant is pot-bound. Incorporate the specialized fertilizer into the bottom half of the planting hole. This encourages the roots to grow downward toward the nutrient source.
Pro-Tip: This technique utilizes gravitropism and hydrotropism. By placing nutrients deeper, you force the root system to expand, creating a more stable and drought-resistant plant.
Establishing
The establishment phase lasts approximately three to six months. During this time, the plant focuses on developing a robust rhizome system. Maintain consistent moisture levels. If the soil dries out completely, the fine root hairs will desiccate and die.
Pro-Tip: Ferns utilize auxin suppression to manage the growth of new fronds. If you prune older, senescing fronds with bypass pruners, you signal the plant to redirect auxins to the rhizome, stimulating the emergence of new crosiers.
The Clinic:
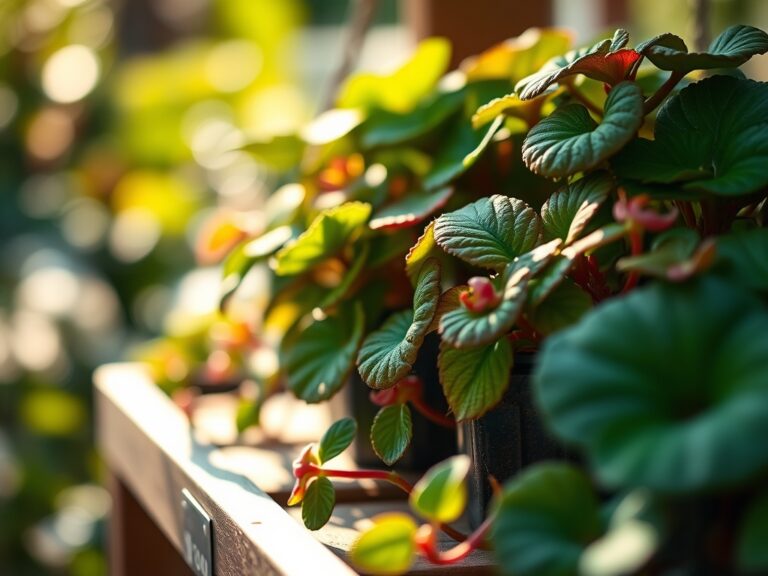
Monitoring the physiological health of the foliage is essential for early intervention.
Symptom: Tip Burn.
The ends of the fronds turn brown and crispy while the rest of the leaf remains green.
Solution: This is often caused by high salt index in the soil or low humidity. Flush the soil with two gallons of distilled water per square foot to leach out excess minerals. Increase local humidity to above 50 percent.
Symptom: Nitrogen Chlorosis.
Older fronds turn a uniform pale yellow while new growth remains light green.
Solution: The plant is scavenging nitrogen from old tissue to support new growth. Apply a specialized fern fertilizer with a 10 percent nitrogen content immediately.
Symptom: Stunted Growth and Purpling.
The plant stops growing and the underside of the leaves may take on a reddish or purple hue.
Solution: This indicates a phosphorus deficiency or soil that is too cold (below 50 degrees Fahrenheit). Ensure the soil temperature is adequate before adding a low-phosphorus booster.
Fix-It: Magnesium Deficiency.
If you see yellowing between the veins of older fronds, the plant lacks magnesium. Add one tablespoon of Epsom salts per gallon of water and apply as a soil drench. Magnesium is the central atom in the chlorophyll molecule; without it, photosynthesis stops.
Maintenance:
Ferns require precision. Deliver 1.5 inches of water per week directly at the drip line. Avoid overhead watering, as trapped moisture in the crown can lead to fungal pathogens. Use a soil moisture meter to ensure the substrate remains at a "moist but not saturated" level.
Pruning is a surgical task. Use bypass pruners to remove dead fronds at the base of the stipe. Do not pull them by hand, as this can damage the delicate rhizome. For outdoor ferns, apply a two-inch layer of organic mulch (such as pine bark or leaf mold) to regulate soil temperature and prevent moisture evaporation. Check the soil pH annually to ensure it hasn't drifted outside the 5.5 to 6.5 range.
The Yield:
While most ferns are grown for aesthetic foliage, some species like the Ostrich Fern (Matteuccia struthiopteris) provide edible fiddleheads. Harvest these when they are still tightly coiled and no more than six inches tall. Use a sharp knife to cut them at the soil line.
To maintain "day-one" freshness, plunge the harvested fiddleheads into an ice water bath immediately. This slows down the metabolic rate and preserves the turgor of the tissue. For foliage used in floral arrangements, sear the cut end of the stipe with boiling water for ten seconds to prevent air bubbles from blocking the xylem, then place them in cool, conditioned water.
FAQ:
How often should I use specialized fern fertilizer?
Apply liquid fertilizer every four weeks during the active growing season. If using a slow-release granular formula, apply once in early spring and again in mid-summer. Always follow the specific dosage instructions on the product label to avoid root burn.
Can I use all-purpose fertilizer for my ferns?
All-purpose fertilizers often have high salt concentrations and NPK ratios that are too aggressive. Ferns have sensitive roots that can suffer from osmotic shock. Using a specialized fern fertilizer ensures a gentler, more targeted nutrient delivery suited for non-flowering plants.
What is the best soil pH for ferns?
Most fern species prefer an acidic to neutral environment with a pH between 5.5 and 6.5. If the pH rises above 7.0, essential micronutrients like iron become chemically locked in the soil and unavailable to the plant roots.
Why are the tips of my fern turning brown?
Brown tips usually indicate low humidity or excessive salt buildup from tap water and fertilizers. Use filtered water and ensure the specialized fertilizer is properly diluted. Increasing ambient humidity around the foliage will also prevent the edges from desiccating.