7 Steps to Prepare a Solid Prefabricated Garden Shed Base
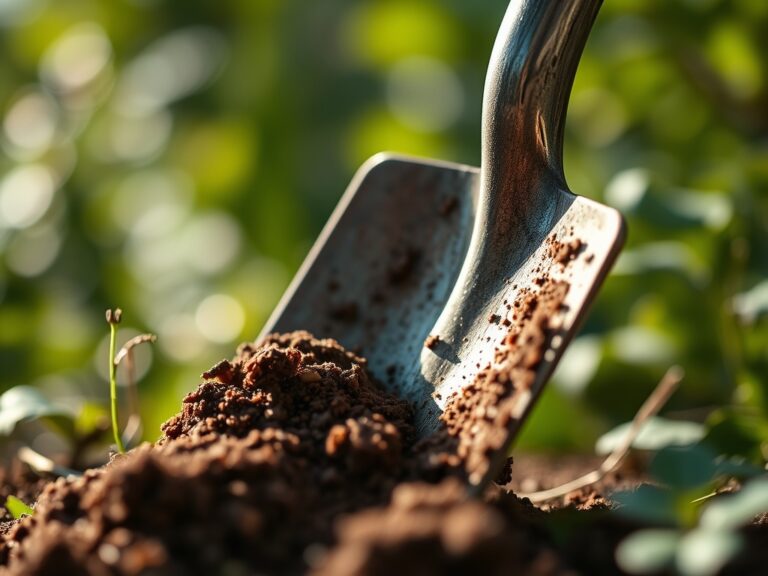
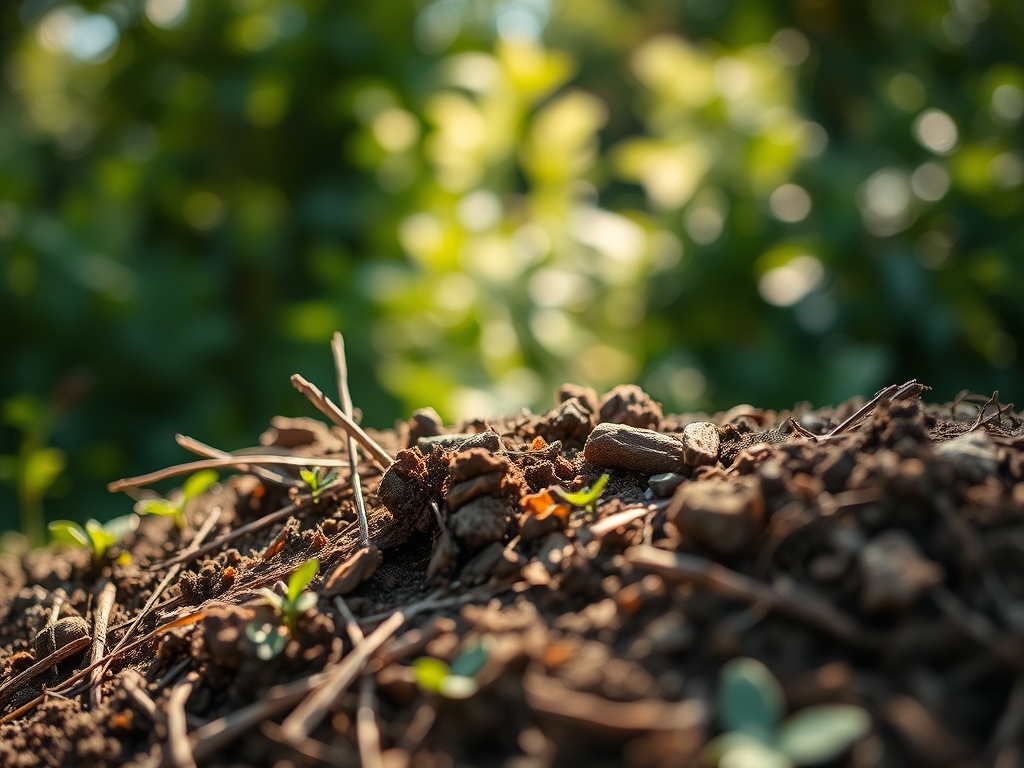
Damp earth releases geosmin as the spade cuts through the root zone; the smell signals a disruption of the rhizosphere that must be managed with surgical precision. A garden shed is not merely a structure but a weight-bearing load that can compact soil, crushing the pore spaces essential for gas exchange and drainage. Learning how to prepare a site for a garden shed requires an understanding of soil mechanics and structural stability to prevent the foundation from shifting during the freeze-thaw cycles of the shoulder seasons. If the substrate is not properly graded and compacted, the resulting subsidence will warp the frame of the prefab unit, leading to door misalignment and moisture infiltration. You must treat the ground as a living matrix that requires stabilization before it can support dead weight. Success depends on the transition from a biologically active surface to a geotechnically sound base. This process ensures the surrounding flora maintains high turgor pressure while the structural footprint remains inert and immovable.
Materials:
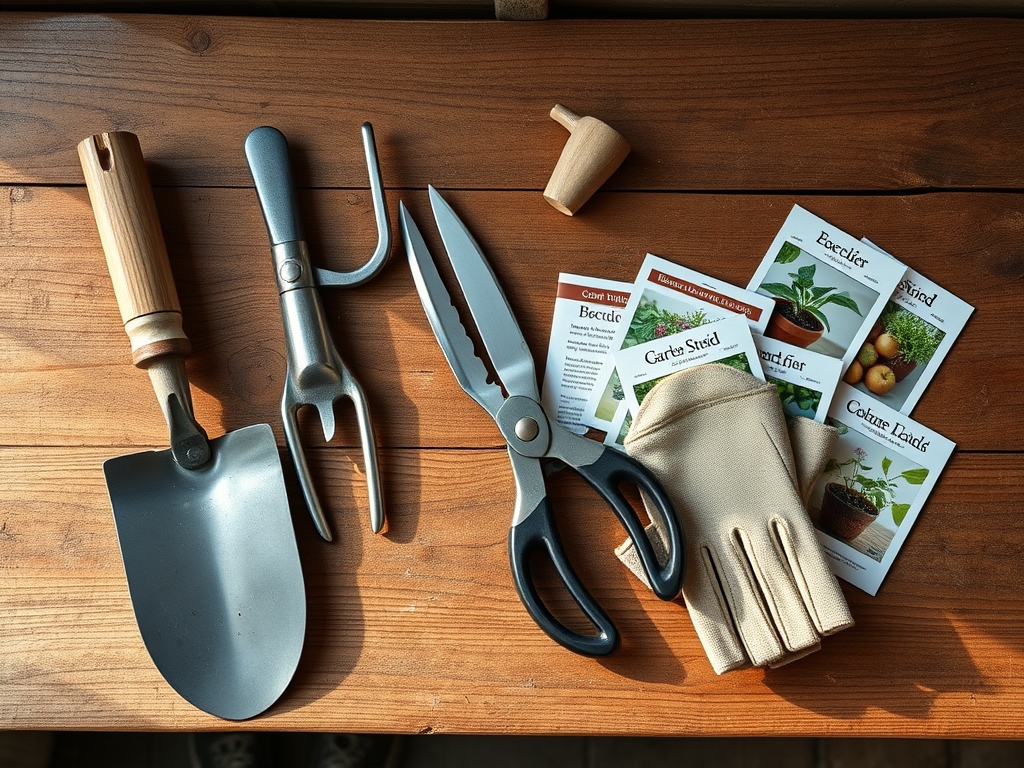
The ideal substrate for the perimeter of your shed site is a **friable loam** with a **pH between 6.0 and 7.0**. High Cation Exchange Capacity (CEC) in the surrounding soil ensures that nutrients remain available for nearby plantings despite the construction. You will need **MOT Type 1 sub-base** or **crushed limestone (3/4-inch minus)** for the foundation layer. For the surrounding reclamation zone, use a balanced **NPK ratio of 10-10-10** to encourage root re-establishment. If your soil is heavy clay, integrate gypsum to improve flocculation; if it is sandy, increase organic matter to boost water retention. You will also require **heavy-duty geotextile fabric** to prevent the migration of fines into the sub-base, which maintains the structural integrity of the gravel layer over time.
Timing:
Preparation must occur when the soil is at its most workable, typically between the last spring frost and the first autumn freeze. In Hardiness Zones 5 through 7, the window for ground disturbance is narrow. Aim for a period when the soil moisture is approximately 20 percent by volume. If the ground is saturated, you risk permanent compaction and anaerobic conditions that lead to root rot in adjacent specimens. Monitor the "Biological Clock" of your garden; avoid major excavation during the peak vegetative stage of nearby perennials (usually late spring) to prevent excessive transpiration stress. The ideal time is during the early spring dormancy or late summer senescence, when the plant's metabolic demands are lower and the risk of damaging the active auxin-driven growth tips is minimized.
Phases:
Sowing the Perimeter
Before the shed arrives, establish a "splash zone" of low-growing groundcover. Use a seeding rate of 5 pounds per 1,000 square feet. This vegetation prevents soil erosion and manages runoff from the shed roof. Ensure the seeds have direct contact with the mineral soil.
Pro-Tip: Mycorrhizal fungi inoculation during sowing is vital. These fungi form a mycorrhizal symbiosis with roots, extending the surface area for nutrient uptake and helping the soil recover from the mechanical stress of construction.
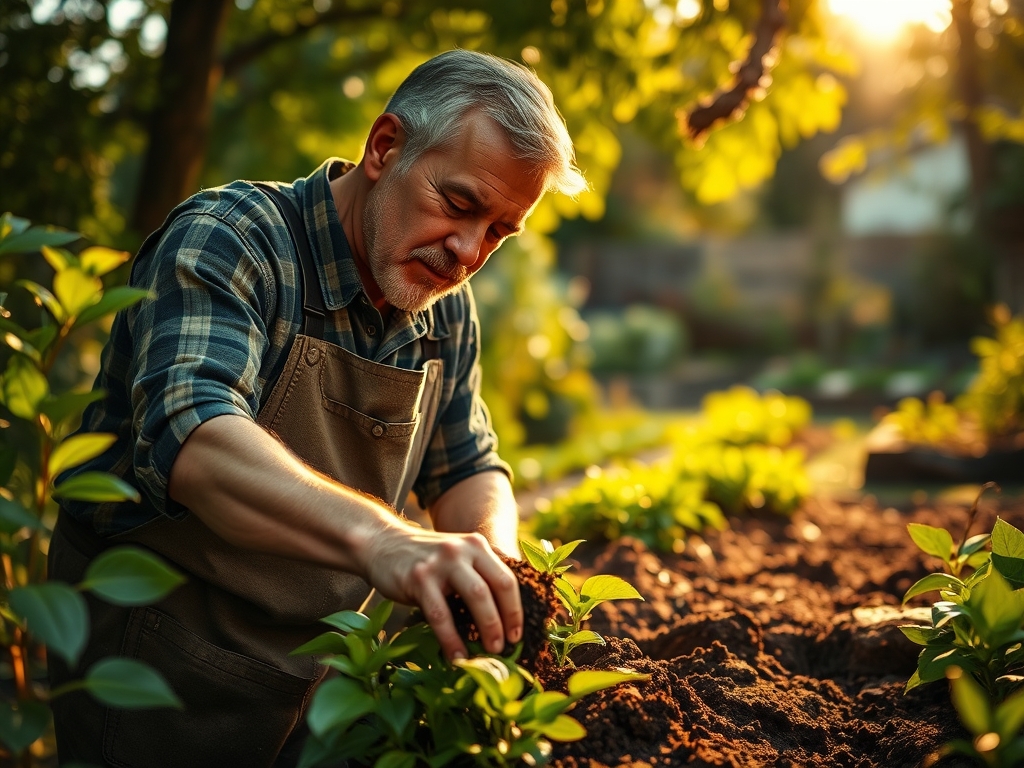
Transplanting and Relocation
Any plants within the 2-foot buffer zone of the shed must be moved. Use a sharp spade to cut a clean root ball, preserving as much of the fine root hairs as possible. Replant them at the same depth they were originally growing to avoid stem rot.
Pro-Tip: When transplanting, avoid pruning the canopy immediately. High auxin levels in the terminal buds are necessary to signal the roots to initiate new growth. Suppressing these hormones by over-pruning can lead to transplant shock.
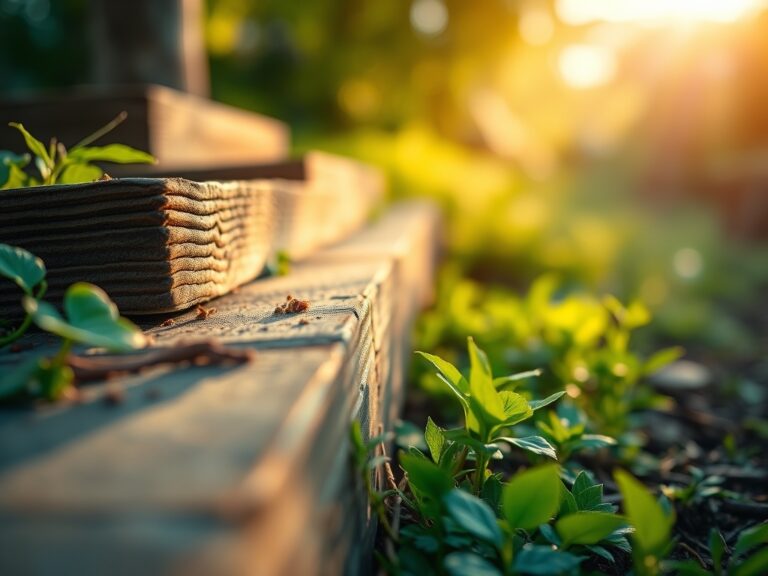
Establishing the Base
Excavate the site to a depth of 6 inches. Lay the geotextile fabric, then add the crushed stone in 2-inch lifts, compacting each layer with a plate compactor. The final surface must be level within 1/8 inch across every 10 feet.
Pro-Tip: Proper compaction prevents the formation of air pockets. In a biological context, this mimics the density required to prevent phototropism in weeds, as a tightly packed, light-blocked base inhibits seed germination beneath the structure.
The Clinic:
Physiological disorders often manifest in the vegetation surrounding a new shed due to changes in light and water patterns.
-
Symptom: Interveinal chlorosis (yellowing leaves with green veins).
-
Solution: This indicates a Manganese or Iron deficiency, often caused by a localized pH spike from concrete runoff. Apply chelated iron to lower the pH and restore nutrient mobility.
-
Symptom: Leaf scorch or marginal necrosis.
-
Solution: This is a sign of drought stress caused by the "rain shadow" effect of the shed roof. Increase irrigation at the drip line to compensate for the blocked rainfall.
-
Symptom: Stunted growth and dark purple foliage.
-
Solution: Phosphorus deficiency occurs in cold, compacted soils. Use a soil moisture meter to ensure the ground isn't waterlogged, and aerate the soil with a garden fork to improve gas exchange.
Fix-It for Nitrogen Chlorosis: If the entire leaf turns pale yellow, the plant is scavenging nitrogen. Apply a fast-acting calcium nitrate solution at a rate of 0.5 pounds of N per 1,000 square feet to rapidly restore chlorophyll production.
Maintenance:
Post-installation maintenance requires a data-driven approach to hydration and soil health. Monitor the soil around the shed foundation weekly using a soil moisture meter; the goal is to maintain a consistent moisture level of 25 to 30 percent. Provide exactly 1.5 inches of water per week at the drip line to prevent the soil from pulling away from the foundation. Use a hori-hori knife to remove any deep-rooted weeds that attempt to penetrate the gravel base. Every spring, use bypass pruners to clear any overhanging branches that may trap moisture against the shed walls, which can lead to fungal blooms. Check the base for settling after heavy rain events; if the gravel has shifted, top it up and re-compact it to maintain the structural equilibrium.
The Yield:
While a shed base does not yield a crop, the "yield" of a well-prepared site is the longevity of the structure and the health of the surrounding landscape. If you have planted edible herbs around the perimeter, harvest them when the essential oil concentration is at its peak, typically just before flowering in the early morning. Use sharp snips to avoid tearing the vascular tissue. For "day-one" freshness, immediately submerge the stems in 40-degree Fahrenheit water to maintain turgor pressure and slow the rate of respiration. This post-harvest handling ensures the cellular structure remains crisp and the metabolic degradation is halted.
FAQ:
How deep should I dig the shed base?
Excavate to a depth of 6 inches. This allows for a 4-inch layer of compacted stone and a 2-inch buffer to keep the shed frame above the soil line, preventing rot and termite access.
What is the best material for a shed foundation?
Use 3/4-inch crushed limestone or MOT Type 1 sub-base. Unlike rounded pea shingle, crushed stone has angular edges that lock together when compacted, creating a stable, non-shifting platform for the structure.
Do I need a weed membrane under the gravel?
Yes. A heavy-duty geotextile fabric is essential. It prevents the gravel from sinking into the native soil and blocks light to prevent weed seeds in the seed bank from germinating through the base.
Can I build a shed base on a slope?
Yes, but you must create a level tiered system or use a retaining wall. The high side must be excavated and the low side built up with compacted fill to ensure a perfectly level horizontal plane.