7 Steps to Install Integrated Lighting for Vegetable Garden Paths
Walking a vegetable garden at dusk requires light that illuminates without disturbing the microclimate you've worked months to cultivate. The steps for installing a vegetable garden light begin with understanding photomorphogenic response in fruiting crops and choosing fixtures that emit less than 0.5 foot-candles at plant canopy level. Low-voltage systems preserve soil temperature, prevent premature bolting in lettuce and spinach, and allow beneficial night-pollinators like moths to navigate between rows. Each installation must account for underground rhizome networks, existing irrigation lines, and the cation exchange capacity of your specific soil type.
Materials and Equipment
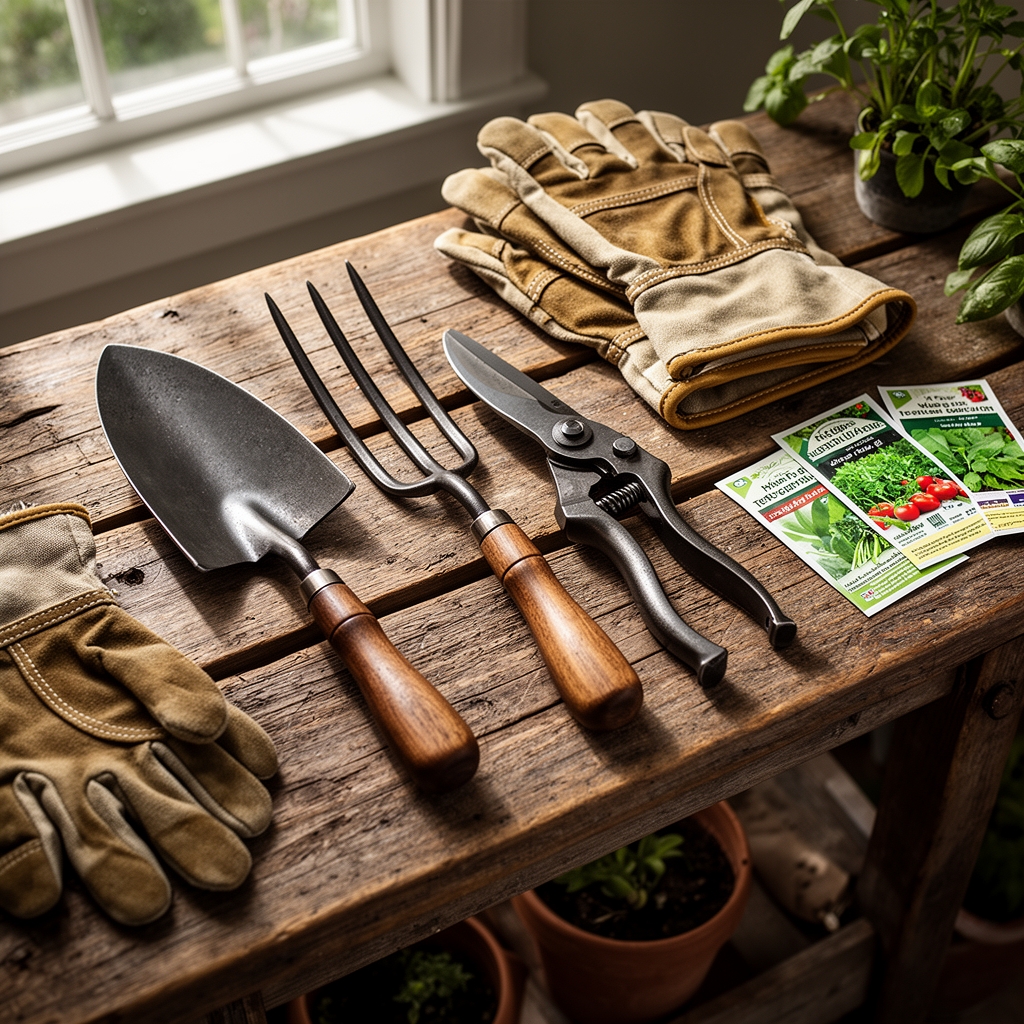
Select 12-volt LED path fixtures with warm spectrum output (2700-3000K) to minimize phytochrome disruption. You will need a weatherproof transformer rated at 300 watts minimum, 14-gauge direct-burial cable, wire connectors with dielectric grease, and a GFCI outlet. For soil preparation around fixture bases, mix a 4-4-4 organic fertilizer blend at 2 pounds per 10 square feet to compensate for excavation disruption. This balanced NPK ratio supports mycorrhizal fungi recolonization after trenching.
Procure a soil pH meter to verify 6.2-6.8 range before burial work begins. Acidic soils below 5.8 accelerate copper wiring corrosion. Bring ground-contact-rated lumber stakes for temporary string lines and a tile spade for narrow trenching that preserves root zones. Include root hormone powder (0.1% IBA concentration) to treat any severed feeder roots during installation. Cable clips, PVC conduit (schedule 40, 1/2-inch diameter), and landscape fabric complete the materials list.
Timing and Hardiness Considerations
Install integrated lighting systems 4-6 weeks before last spring frost date in Zones 3-7, or during the fall dormancy window after first frost in Zones 8-10. Spring installation allows soil microorganisms to reestablish around cable runs before peak auxin distribution occurs in summer vegetable growth. In Zones 5 and colder, complete all underground work before soil temperatures drop below 50°F, as frozen ground prevents proper cable burial depth.
Avoid installation during active fruiting periods. Tomatoes, peppers, and cucumbers redirect carbohydrates to root repair rather than fruit development when root zones experience mechanical disturbance. Schedule the project during transplant hardening-off periods or immediately post-harvest. Monitor 10-day weather forecasts and delay if soil moisture exceeds field capacity, which compromises trench wall stability and increases compaction risk.
Installation Phases

Phase One: Layout and Trenching
Mark fixture locations 6-8 feet apart along path edges using biodegradable marking paint. String lines 18 inches from bed edges to protect primary root zones. Excavate trenches 6 inches deep and 3 inches wide using the tile spade. Maintain vertical walls to prevent cable sag. Remove stones larger than 1 inch diameter.
Pro-Tip: Apply endo-mycorrhizal inoculum (Glomus intraradices at 150 spores per gram) directly into exposed root zones before backfilling. This fungal partnership increases phosphorus uptake efficiency by 40% during recovery.
Phase Two: Electrical Rough-In
Run 14-gauge cable through PVC conduit where paths cross, preventing mower or cultivator damage. Strip wire ends 1/2 inch and connect to fixture leads using waterproof connectors filled with dielectric grease. Test continuity with a multimeter before burial. Install the transformer within 10 feet of the GFCI outlet, elevated 12 inches minimum above grade to prevent flood damage.
Pro-Tip: Create service loops (12-inch extra cable coiled beneath each fixture) to allow future repositioning without splicing.
Phase Three: Fixture Setting and Backfill
Set fixtures level using a 9-inch torpedo level. Tilt each unit 15 degrees away from plant rows to direct illumination toward walking surfaces. Backfill trenches in 2-inch lifts, tamping gently with a 4×4 post to eliminate air pockets that cause settling. Mix excavated soil with 10% coarse sand if clay content exceeds 35%, improving drainage around cable jackets.
Pro-Tip: Top-dress trenches with 1/4 inch of finished compost containing 1.5% nitrogen by weight to accelerate microbial recolonization and prevent nitrogen draw-down during organic matter decomposition.
Troubleshooting Common Issues
Symptom: Lettuce bolting within 10 feet of fixtures.
Solution: Install 95% light-blocking shields on path-side faces. Verify lumen output remains below 50 at plant height using a light meter.
Symptom: Cable corrosion within 18 months.
Solution: Test soil pH. Apply sulfur at 1 pound per 100 square feet if pH exceeds 7.2. Retest after 60 days before reburial.
Symptom: Fixture settling after spring thaw.
Solution: Excavate bases, add 2 inches of 3/4-inch crushed stone, and reset. Poor drainage indicates compacted clay requiring gypsum amendment at 40 pounds per 1000 square feet.
Symptom: Increased cutworm activity near lit areas.
Solution: Apply Bacillus thuringiensis subspecies kurstaki at labeled rates in a 3-foot radius. Reduce operating hours by 2 to limit attractant effect.
Seasonal Maintenance Protocol
Inspect wire connections every 90 days during growing season. Clean fixture lenses monthly using diluted castile soap solution (1:20 ratio) to prevent algal film that reduces output by 30%. Trim vegetation to maintain 6-inch clearance around each unit, preventing excessive moisture retention that shortens LED lifespan.
Apply 1 inch of water weekly to trench zones during establishment year, matching irrigation rates to surrounding beds. Mulch pathways with 2 inches of arborist wood chips after 60 days, keeping material 3 inches from fixture bases. Test soil nitrogen levels quarterly along cable runs. Apply blood meal (12-0-0) at 1/2 pound per 25 feet if nitrogen drops below 25 ppm.
Replace lenses every 36 months even if not cracked. UV degradation reduces transparency. Upgrade transformer brushes at 5-year intervals to maintain voltage stability.
Frequently Asked Questions
How deep must cables be buried?
Six inches minimum in pedestrian areas, 12 inches where equipment crosses. Shallower depths risk severing during cultivation.
Can solar fixtures replace low-voltage systems?
Solar units lack consistent output for safety purposes and often emit blue-spectrum light (5000K+) that disrupts photoperiod-sensitive crops like spinach.
What spacing prevents light pollution to plants?
Maintain 24 inches minimum between fixture and crop foliage. Use fixtures under 50 lumens for paths adjacent to leafy greens.
Do lights affect beneficial insect populations?
Warm-spectrum LEDs (2700K) reduce attraction of predatory beetles by 60% compared to cool white. Operate lights only during active use hours.
How long before roots recover from trenching?
Feeder roots regenerate 80% mass within 45 days if soil temperature remains above 60°F and moisture stays consistent at field capacity.