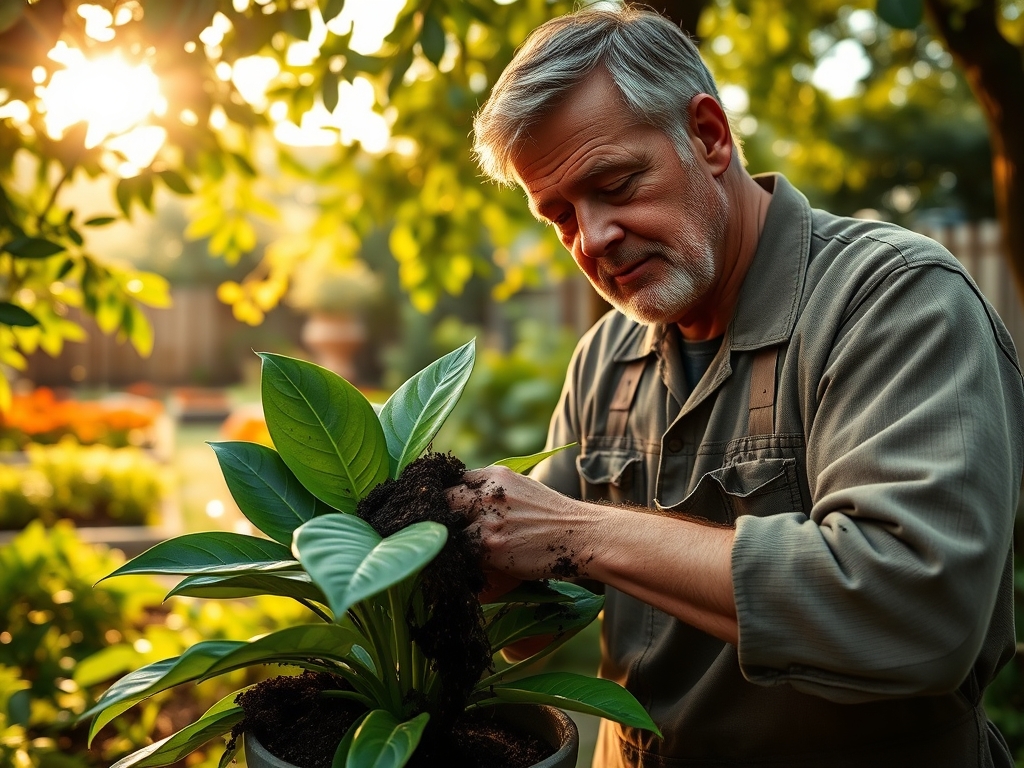
7 Climbing Steps to Repot a Heartleaf Philodendron
Damp peat moss releases a sharp, earthy scent as the potting bench becomes a laboratory for cellular expansion. A healthy Heartleaf Philodendron (Philodendron hederaceum) exhibits high turgor pressure; its cordate leaves feel firm and waxy between the thumb and forefinger. When the root mass begins to spiral against the interior plastic of a nursery pot, the plant enters a state of physiological stress that limits nutrient uptake and gas exchange. Executing the correct steps for repotting a heartleaf philodendron ensures the specimen transitions from a confined state to an environment that supports vigorous vegetative growth. This process is not merely a change of scenery; it is a recalibration of the rhizosphere. Proper timing and substrate selection prevent the onset of senescence and encourage the development of larger, more robust foliage. By manipulating the soil volume and nutrient availability, a grower can maintain the plant in a perpetual state of juvenile vigor, maximizing its aesthetic and biological potential within an indoor microclimate.
Materials:
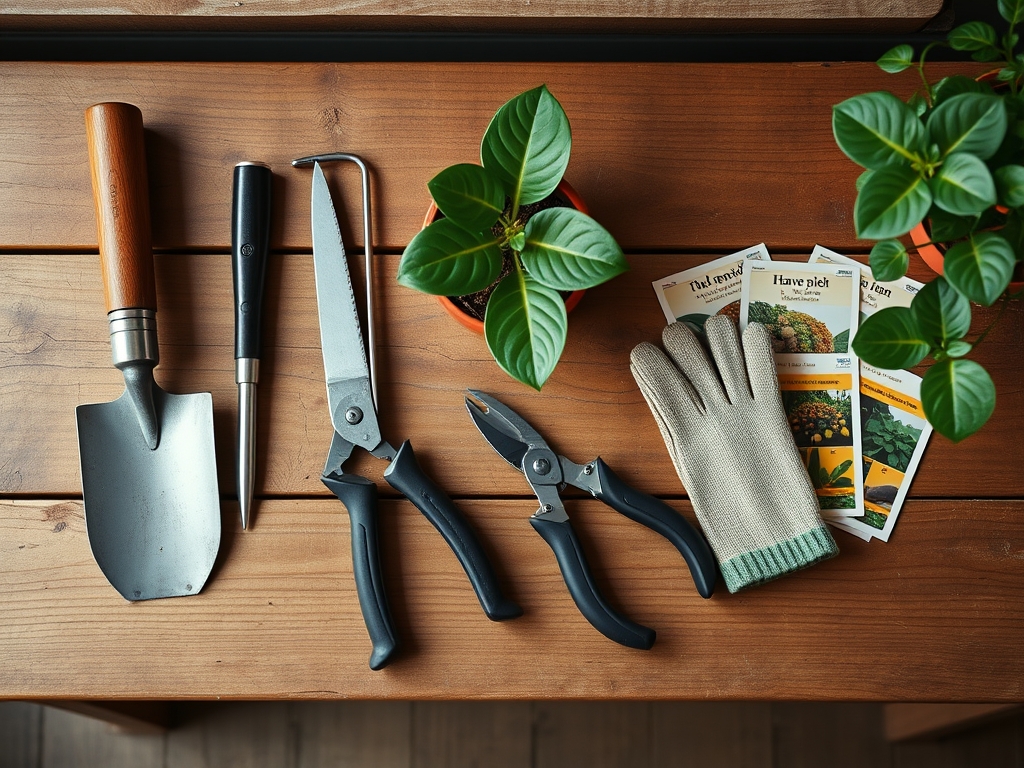
The ideal substrate for Philodendron hederaceum is a friable loam with high porosity. The mix must maintain a **pH range between 5.5 and 6.0** to ensure optimal availability of micronutrients like iron and manganese. A professional grade mix consists of **40 percent orchid bark, 30 percent coconut coir, 20 percent perlite, and 10 percent worm castings**. This composition provides a high Cation Exchange Capacity (CEC), allowing the soil to retain and release essential ions to the root hairs.
For nutritional support, integrate a slow-release fertilizer with an NPK ratio of 3-1-2. This ratio prioritizes nitrogen for leaf development while providing sufficient phosphorus and potassium for cellular integrity and osmotic regulation. Avoid heavy clay soils that collapse and suffocate the root system. The physical texture should be granular; it must crumble easily when compressed, ensuring that oxygen can reach the roots even when the medium is saturated.
Timing:
Philodendron hederaceum follows a distinct biological clock governed by photoperiod and ambient temperature. While usually grown indoors, these plants react to the seasonal shifts of Hardiness Zones 10 through 12. The optimal window for repotting is during the early spring, specifically two to three weeks after the last frost date when light intensity increases. This timing aligns with the plant's transition from a semi-dormant winter state to active vegetative expansion.
Repotting during this phase utilizes the plant's natural surge in auxin production. If the plant is moved during the late autumn or winter, the reduced metabolic rate slows down root regeneration, increasing the risk of opportunistic fungal infections in the rhizosphere. Monitor the "Biological Clock" by observing new leaf spikes; when the first cataphyll emerges in spring, the plant is ready for a larger vessel.
Phases:
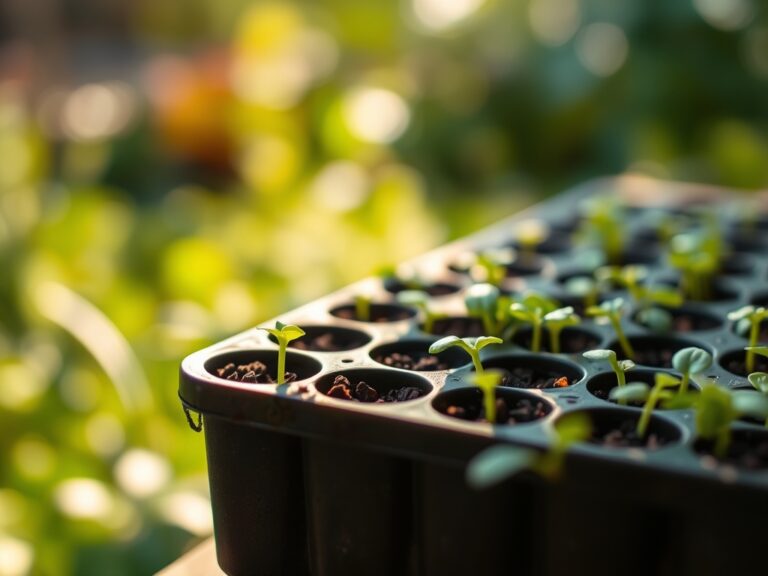
Sowing the Foundation
Begin by hydrating the plant 24 hours prior to the move. This ensures the cells are at maximum turgor and the root ball remains cohesive. Select a new container that is no more than 2 inches wider in diameter than the current one. Excess soil volume leads to "perched water tables" where moisture sits unused, leading to anaerobic conditions.
Pro-Tip: Maintaining high turgor pressure before transplanting reduces mechanical damage to the cell walls. This is vital because damaged cells release ethylene, a gas that can trigger premature leaf drop or localized senescence.
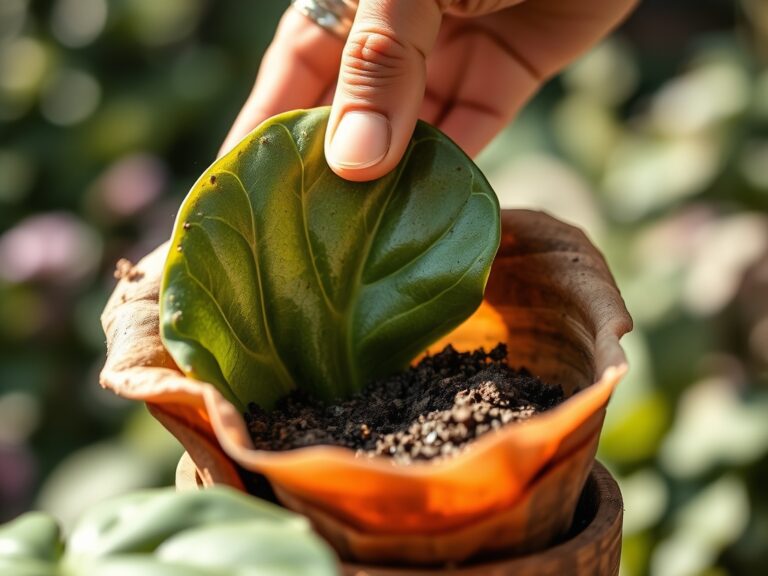
Transplanting and Root Pruning
Invert the plant and support the base of the stems. If the roots are "pot-bound," use a hori-hori knife to make four vertical incisions 0.5 inches deep around the root ball. This severs the circular growth pattern and encourages lateral branching of the root system. Gently tease the outer roots to expose them to the new substrate.
Pro-Tip: Pruning the root tips stimulates the production of cytokinins in the root apical meristem. These hormones travel upward to promote lateral bud activation, resulting in a bushier, more compact growth habit.
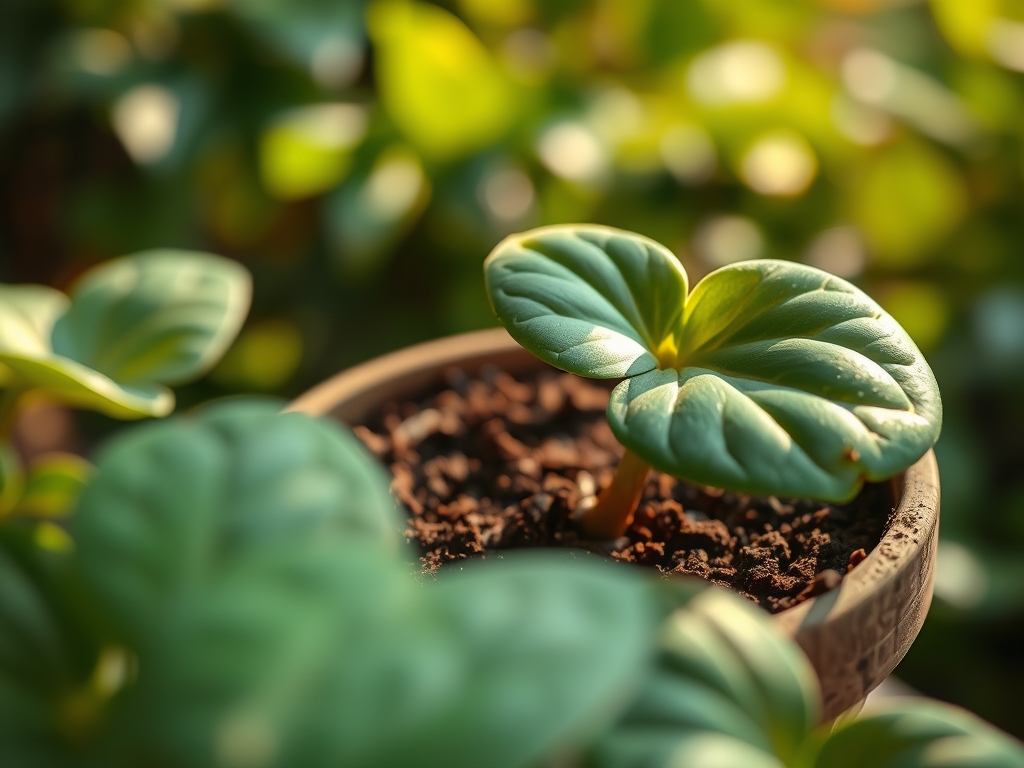
Establishing the Rhizosphere
Place the plant in the new vessel, ensuring the soil line remains at the same level as before. Burying the stems too deep can lead to stem rot at the nodes. Firm the soil gently to remove large air pockets but do not pack it tightly; the goal is to maintain a bulk density that allows for rapid drainage. Water the plant until the effluent runs clear from the drainage holes.
Pro-Tip: Immediate irrigation after repotting facilitates a process called "hydraulic conductivity" between the old root ball and the new soil. This allows for the re-establishment of mycorrhizal symbiosis, where beneficial fungi assist the plant in phosphorus uptake.
The Clinic:
- Symptom: Interveinal chlorosis (yellowing between leaf veins).
- Solution: This indicates a Magnesium deficiency or a pH imbalance. Fix-It: Apply a solution of 1 teaspoon of Epsom salts per gallon of water to restore magnesium levels and check if the pH has risen above 6.5.
- Symptom: Soft, brown necrotic spots on foliage.
- Solution: This is typically a sign of over-saturation and root hypoxia. Fix-It: Increase the perlite content in the mix and reduce watering frequency until the top 2 inches of soil are dry.
- Symptom: Small, stunted new leaves.
- Solution: Nitrogen deficiency. Fix-It: Apply a liquid fertilizer with a high first number (Nitrogen) at half-strength every two weeks during the growing season.
- Symptom: Leaf tip burn.
- Solution: Salt accumulation from tap water or over-fertilization. Fix-It: Flush the substrate with three volumes of distilled water to one volume of soil to leach out excess mineral salts.
Maintenance:
Long-term health requires precision. Provide 1.5 inches of water per week, ensuring the moisture reaches the core of the root mass rather than just the surface. Use a soil moisture meter to verify that the internal substrate remains between a 3 and 4 on a 10-point scale before re-watering.
For pruning, use bypass pruners to make clean cuts 0.25 inches above a node. This prevents "die-back" and keeps the plant's energy focused on new growth. If the plant is climbing, provide a moss pole or cedar plank. Use a hori-hori knife to occasionally aerate the top inch of soil, preventing the formation of a hydrophobic crust that can deflect water away from the rhizosphere.
The Yield:
While Heartleaf Philodendrons are primarily grown for foliage, "harvesting" refers to taking nodal cuttings for propagation. Select a healthy vine and cut a section containing at least two nodes and one leaf. For "day-one" freshness and maximum success, place the cutting immediately into a vessel of room-temperature water or moist perlite. Ensure the temperature remains between 70 and 75 degrees Fahrenheit to accelerate root initiation. Cuttings are ready for soil once the new secondary roots reach 2 inches in length.
FAQ:
How do I know when to repot my Heartleaf Philodendron?
Look for roots emerging from drainage holes or water running straight through the pot without being absorbed. If growth slows significantly during the spring and summer despite proper fertilization, the plant has likely exhausted its current soil volume and CEC capacity.
What is the best soil for a Heartleaf Philodendron?
Use a well-draining, peat-based or coco-coir-based mix with a pH of 5.5 to 6.0. Incorporate coarse materials like orchid bark and perlite at a 30 to 40 percent ratio to ensure oxygen reaches the rhizosphere and prevents root rot.
Can I use a pot without drainage holes?
No. Lack of drainage leads to waterlogging and anaerobic conditions, which cause root tissues to liquefy and die. Always use a vessel with at least one significant drainage hole to allow for the leaching of excess mineral salts and proper gas exchange.
Why are my Philodendron leaves turning yellow after repotting?
This is often "transplant shock" caused by root hair damage. Ensure the plant is not in direct sunlight immediately after the move. Maintain high humidity and consistent moisture levels to help the plant re-establish its hydraulic connection with the new substrate.