6 Steps to Install a Modern Garden Privacy Screen
The scent of damp, anaerobic clay gives way to the earthy petrichor of disturbed topsoil as you begin the site preparation. A healthy plant relies on high turgor pressure; the internal fluid force that keeps stems rigid and leaves expanded. When executing the steps for installing a garden screen, you are not merely placing a physical barrier; you are managing a biological system. Success depends on the intersection of soil physics and plant physiology. A screen that fails to thrive is often the result of poor gas exchange in the rhizosphere or a failure to account for the specific light requirements of the selected species. Precision in the initial installation phase ensures that the root systems establish quickly, allowing the canopy to reach full density before the first season of senescence.
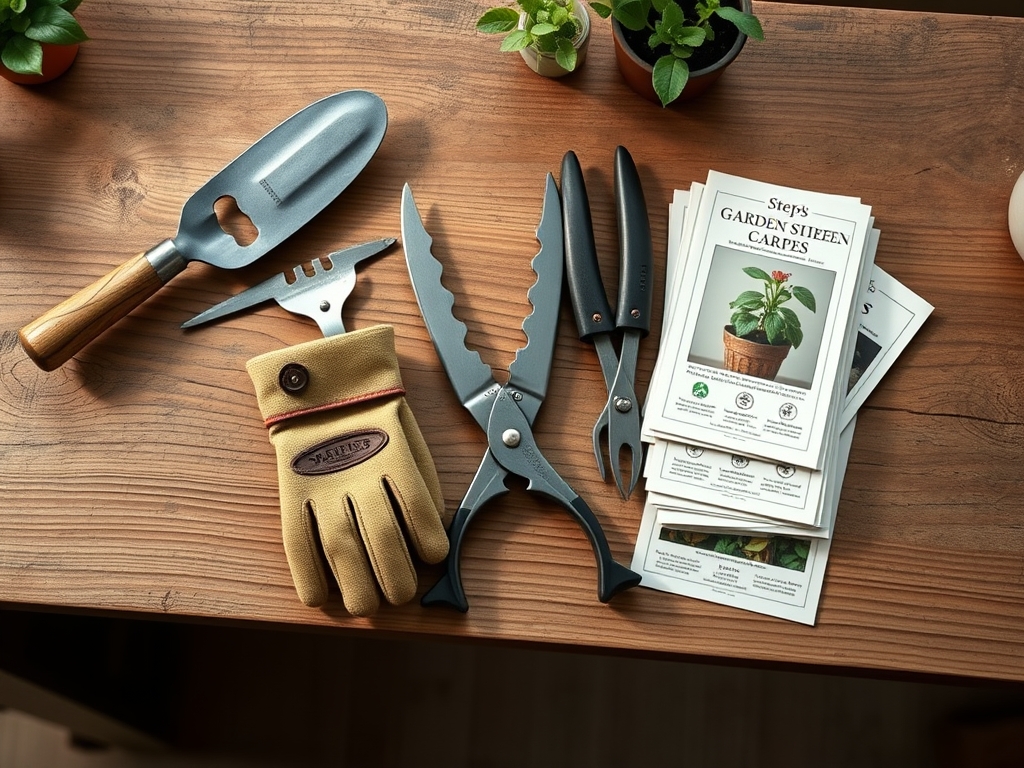
Materials:
The foundation of any living screen is the substrate. You require a friable loam with a Cation Exchange Capacity (CEC) of 15 to 25 meq/100g to ensure the soil can retain and trade essential nutrients with the root hairs. Test your soil pH; most screening species like Thuja occidentalis or Taxus prefer a range between 6.0 and 7.5.
For the initial planting, procure a slow-release fertilizer with an NPK ratio of 10-10-10 or a specialized 5-10-5 to prioritize root development over rapid, weak vegetative growth. You will also need organic matter, such as composted leaf mold, to improve the soil structure. If your soil is heavy clay, integrate expanded shale to increase macropore space, which facilitates oxygen diffusion to the roots. Avoid high-nitrogen synthetic fertilizers during the first month; excessive nitrogen can burn young, developing root tips and lead to salt accumulation in the soil profile.
Timing:
The window for installation is dictated by your USDA Hardiness Zone. In Zones 4 through 7, the ideal time is early spring after the ground thaws but before the plant breaks dormancy. In Zones 8 through 10, autumn is preferable to allow root establishment during the cool, wet winter months.
The biological clock of the plant is governed by the photoperiod. Deciduous screening plants transition from vegetative growth to reproductive stages based on day length. Installing a screen during the peak of summer heat increases the risk of transplant shock because the transpiration rate exceeds the roots' ability to uptake water. Aim for a soil temperature between 45 and 55 degrees Fahrenheit for optimal root initiation. Avoid planting during the "soft growth" phase of late spring when new shoots are highly susceptible to desiccation.
Phases:

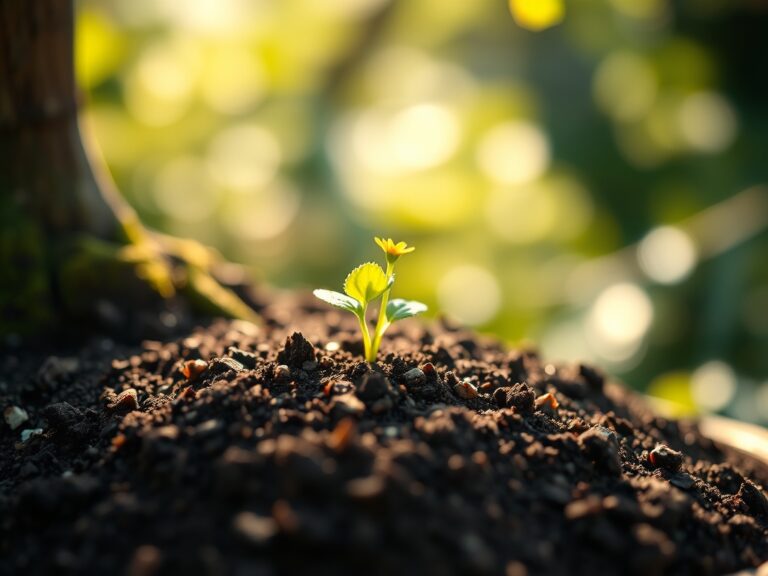
Sowing and Sourcing
Whether you are starting from seed or purchasing container-grown specimens, inspect the root architecture. Avoid "pot-bound" plants where roots have begun to circle the container. If using seeds for a screen like Miscanthus, ensure the soil temperature remains a constant 65 degrees Fahrenheit for germination.
Pro-Tip: When handling bare-root plants, keep the roots submerged in a mycorrhizal fungal dip. This encourages mycorrhizal symbiosis, where fungi extend the root system's reach, increasing the surface area for phosphorus uptake and water absorption.
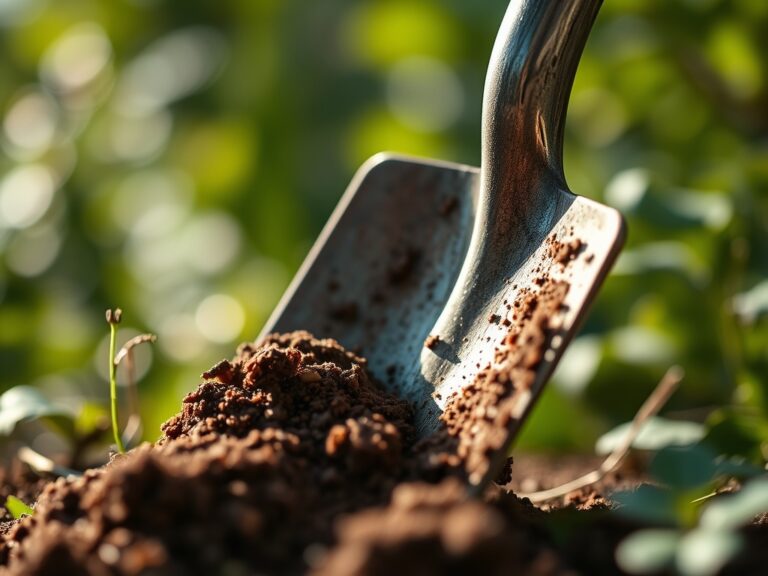
Transplanting
Dig a trench or individual holes twice as wide as the root ball but no deeper. The "root flare," where the trunk meets the roots, must remain at or slightly above the soil line. Planting too deep leads to stem suffocation and fungal pathogens. Backfill with the native soil amended with no more than 20 percent organic matter.
Pro-Tip: Use a sharp hori-hori knife to score the sides of the root ball. This disrupts the circular growth pattern and triggers auxin suppression at the tips, which stimulates the growth of new, lateral feeder roots into the surrounding soil.
Establishing
Once the plants are in the ground, immediate hydration is required to eliminate air pockets. Apply a 3-inch layer of wood chip mulch, keeping it two inches away from the trunk to prevent bark rot. Monitor the plants daily for the first 21 days, as this is the critical window for cellular repair and new root hair formation.
Pro-Tip: Avoid heavy pruning in the first year. The plant needs its leaf surface area for photosynthesis to produce the carbohydrates required for root expansion. This is a response to phototropism, where the plant prioritizes light capture to fuel underground growth.
The Clinic:
Physiological disorders often mimic disease but are usually the result of environmental stress or nutrient imbalances.
- Symptom: Interveinal chlorosis (yellowing between green veins) on new leaves.
- Solution: This indicates an Iron deficiency, often caused by high soil pH. Apply chelated iron and test pH levels.
- Symptom: Needle browning from the inside out.
- Solution: This is often a sign of insufficient light or poor air circulation. Thin the interior branches with bypass pruners to increase gas exchange.
- Symptom: Leaf scorch or marginal necrosis.
- Solution: This suggests "physiological drought" where the plant loses water faster than it can be replaced. Increase irrigation frequency and check for high soil salinity.
Fix-It for Nitrogen Chlorosis: If the entire leaf turns pale green or yellow starting from the bottom of the plant, the specimen is scavenging nitrogen for new growth. Apply a water-soluble 20-20-20 fertilizer at half strength to provide an immediate nitrogen boost without damaging the rhizosphere.
Maintenance:
A modern garden screen is a high-performance biological filter. Precision irrigation is mandatory. Deliver 1.5 inches of water per week directly to the drip line. Use a soil moisture meter to verify that the moisture has penetrated 8 to 12 inches deep. Surface watering encourages shallow root systems that fail during drought.
Annual maintenance involves structural pruning. Use bypass pruners for clean cuts that heal quickly. Always disinfect your tools with a 10 percent bleach solution between plants to prevent the spread of vascular pathogens. In late winter, apply a top-dressing of compost to maintain the Cation Exchange Capacity and provide a slow release of micronutrients. Check the structural integrity of any support wires or stakes; these should be removed after the second growing season to prevent "girdling," which restricts the flow of nutrients through the phloem.
The Yield:
For screens utilizing flowering species like Hydrangea paniculata or Prunus laurocerasus, the "yield" is the density of the foliage and the quality of the blooms. Harvest flowers when the first two rings of petals have opened but the center remains tight. This ensures "day-one" freshness and a longer vase life.
When pruning for density, use the "heading back" technique. Cut just above a lateral bud. This removes the apical dominance and forces the plant to push growth from lower buds, creating a thicker, more opaque screen. For evergreen screens, avoid cutting into "old wood" where no needles are present, as many species lack the latent buds necessary to regenerate from old branches.
FAQ:
How deep should I dig the holes for my screen?
Dig the hole twice as wide as the root ball but only as deep as the root system. Ensure the root flare remains visible at the soil surface to prevent trunk rot and oxygen deprivation in the rhizosphere.
How often should I water a newly installed screen?
Provide 1.5 inches of water per week for the first two growing seasons. Use a soil moisture meter to ensure the water reaches a depth of 12 inches. Frequency should decrease as the root system expands and stabilizes.
What is the best fertilizer for a privacy screen?
Use a balanced, slow-release 10-10-10 NPK fertilizer in early spring. Avoid high-nitrogen formulas in late summer, as this stimulates tender new growth that cannot harden off before the first frost, leading to winter kill and cellular damage.
Why are the lower leaves of my screen turning yellow?
This is typically nitrogen chlorosis or a lack of light. If the soil is saturated, it may be root suffocation. Check drainage and ensure the soil pH is between 6.0 and 7.5 for optimal nutrient bioavailability and uptake.