6 Steps to Build a Garden Bridge for a Yard Renovation
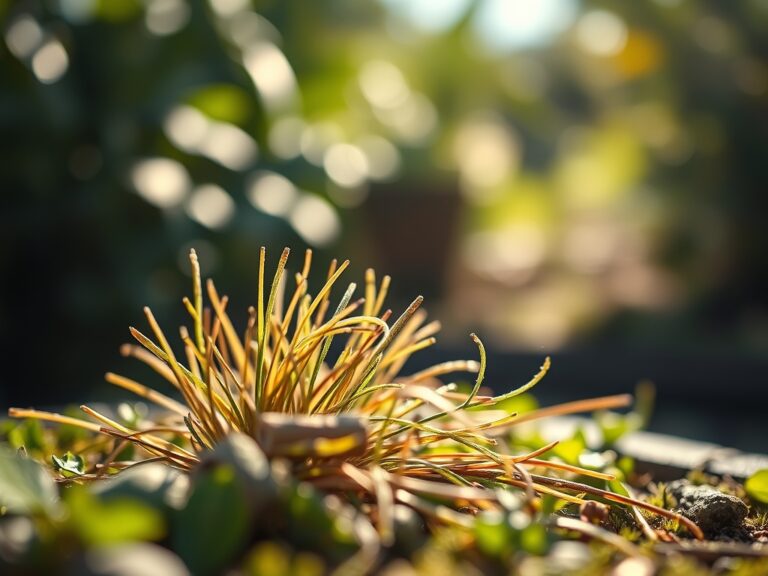
Crushing a handful of damp, friable loam reveals the earthy scent of geosmin; this microbial byproduct signals a healthy rhizosphere ready for structural integration. A yard renovation requires more than aesthetic placement. It demands an understanding of soil load-bearing capacity and drainage patterns. Mastering the steps for building a garden bridge ensures that the structure survives the constant flux of soil moisture and the inevitable expansion of woody root systems. Proper installation prevents soil compaction and protects the delicate turgor pressure of surrounding vascular plants.
Materials:

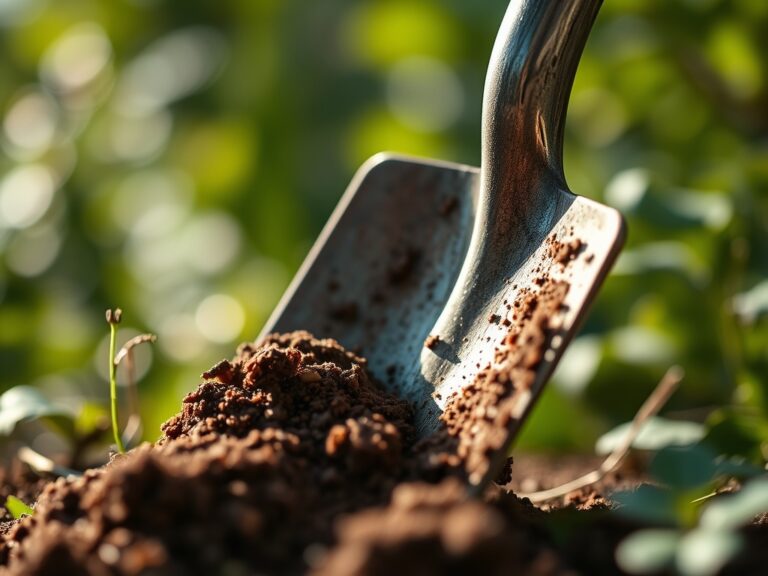
Before setting the first joist, analyze the substrate. A garden bridge must sit upon a stable, **friable loam** with a high Cation Exchange Capacity (CEC). If the soil is excessively sandy, it lacks the cohesive strength to support concrete footings. Conversely, heavy clay with a **pH above 7.5** may lead to alkaline runoff that corrodes metal fasteners.
The surrounding vegetation requires a specific nutritional profile to recover from the disturbance of construction. Aim for an NPK ratio of 10-10-10 for general establishment, or a 5-10-5 ratio if working near phosphorus-hungry flowering perennials. Ensure the soil has a bulk density of approximately 1.33 g/cm3 to provide adequate aeration for the mycorrhizal fungi essential for nutrient cycling. Use pressure-treated lumber rated for ground contact or naturally rot-resistant species like Western Red Cedar to withstand the constant microbial activity of the topsoil.
Timing:
Timing the construction is a matter of botanical survival. In Hardiness Zones 4 through 7, the ideal window opens after the final spring frost when soil temperatures stabilize at 55 degrees Fahrenheit. This prevents the heavy machinery or foot traffic from causing anaerobic conditions in waterlogged spring soil.
The biological clock of your garden dictates the schedule. Construction should ideally occur during the late dormant phase or early vegetative stage. Avoid building during the peak reproductive stage (flowering) of nearby specimens. Disrupting the soil during high transpiration periods can cause a sudden drop in turgor, leading to permanent wilting point stress. By aligning the renovation with the plant's natural senescence in late autumn or its slow awakening in early spring, you minimize the risk of transplant shock for any relocated flora.
Phases:

Sowing the Foundation
The first of the steps for building a garden bridge involves excavating footings to a depth of 18 to 24 inches, depending on the local frost line. This prevents frost heave from displacing the structure. Clear all competitive weeds within a 36 inch radius of the bridge anchors.
Pro-Tip: Utilize a mycorrhizal inoculant in the backfill soil. This encourages mycorrhizal symbiosis, where fungal hyphae extend the root reach of nearby plants, allowing them to scavenge phosphorus and water more efficiently after the soil has been disturbed.
Transplanting and Anchoring
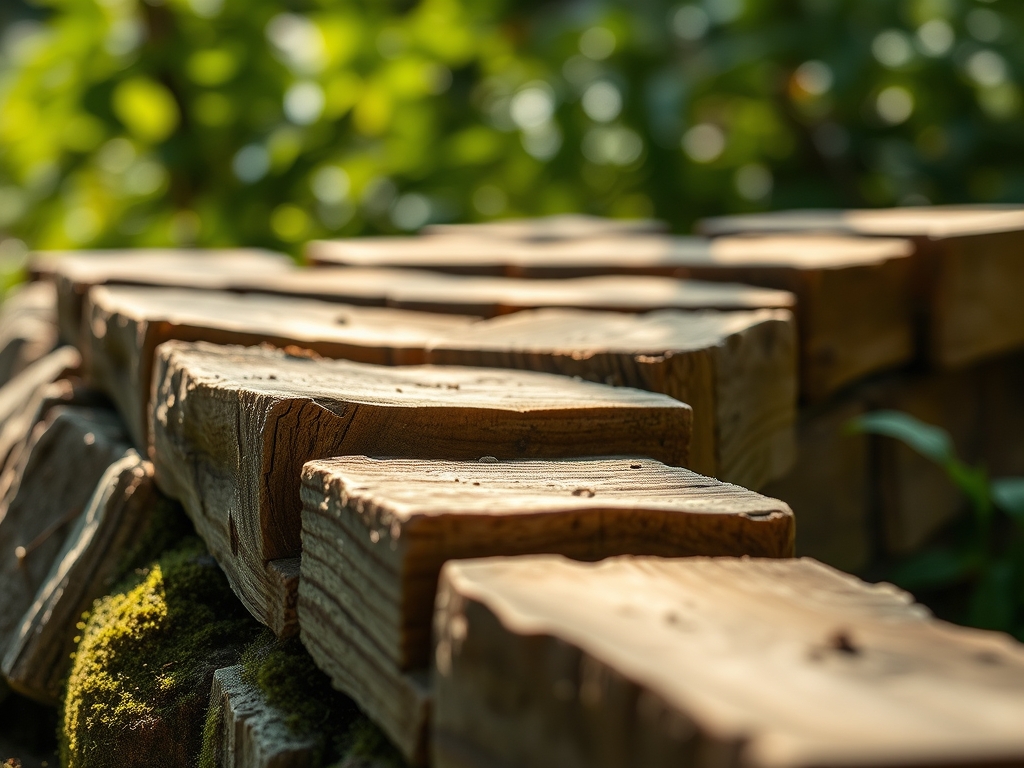
Set the primary stringers. These are the load-bearing beams that arch across the span. Use 3/8 inch galvanized carriage bolts for all structural connections. If you must move plants to accommodate the bridge, keep the root ball intact to protect the fine root hairs responsible for water uptake.
Pro-Tip: When pruning roots of relocated plants, use a sharp hori-hori knife to make clean cuts. This prevents ragged edges that are susceptible to pathogens and encourages the release of auxins, the hormones that stimulate new lateral root growth.
Establishing the Surroundings
Once the decking is secured with 2.5 inch stainless steel screws, begin the restoration of the surrounding biomass. Re-establish ground cover to prevent erosion around the bridge footings. Apply a 2 inch layer of organic mulch to regulate soil temperature and moisture.
Pro-Tip: Arrange new plantings to avoid shading the bridge deck excessively. This prevents the buildup of bryophytes (moss) which can accelerate wood decay. Understanding phototropism ensures that your plants grow away from the structure rather than leaning into the walkway and creating a tripping hazard.
The Clinic:
Physiological disorders often follow a yard renovation due to soil compaction and altered drainage.
-
Symptom: Interveinal chlorosis (yellowing leaves with green veins) on nearby shrubs.
-
Solution: This indicates Iron deficiency often caused by a pH spike from concrete dust. Apply chelated iron and sulfur to lower the pH to a 6.0 to 6.5 range.
-
Symptom: Leaf scorch and marginal necrosis.
-
Solution: This is a sign of Potassium deficiency or salt buildup. Flush the area with 2 inches of water and apply a high-potassium fertilizer (0-0-50).
-
Symptom: Stunted growth and purple tinting on underside of leaves.
-
Fix-It: This is Phosphorus deficiency. The soil is likely too cold or too compacted for uptake. Aerate the soil using a garden fork and incorporate bone meal.
Maintenance:
Consistency is the hallmark of a professional horticulturist. Use a soil moisture meter twice weekly to ensure the rhizosphere maintains a moisture level of 25% to 35%. Most garden bridges alter the microclimate; the area underneath will remain drier than the surrounding yard.
Provide 1.5 inches of water per week at the drip line of all plants adjacent to the bridge. Use bypass pruners to remove any dead or crossing branches (the "3 Ds": dead, damaged, diseased) to maintain airflow. Inspect the bridge footings annually for signs of "soil creep" or erosion that could expose the foundation. If wood surfaces become slick, use a stiff brush to remove algae without introducing harsh chemicals into the water table.
The Yield:
If your bridge spans a kitchen garden or a cutting garden, harvest timing is critical. Harvest leafy greens and herbs in the early morning when turgor pressure is at its peak. This ensures the cells are fully hydrated, extending the shelf life of the produce. For woody perennials near the bridge, prune only after the first hard frost to ensure the plant has translocated all sugars to the root system for winter storage. Use a hori-hori knife for harvesting root crops to minimize disturbance to the bridge's structural soil.
FAQ:
How deep should bridge footings be?
Footings must reach below the local frost line; typically 18 to 24 inches. This prevents soil expansion from shifting the bridge. Use a post-hole digger to ensure vertical precision and fill with gravel for drainage.
What is the best wood for a garden bridge?
Select Western Red Cedar or Redwood for natural rot resistance. These species contain tannins that inhibit fungal growth. Pressure-treated lumber rated for ground contact is an alternative for high-moisture environments.
How do I prevent weeds under the bridge?
Install a heavy-duty geotextile fabric topped with 3 inches of river rock. This suppresses weed germination by blocking light while allowing gas exchange and water infiltration into the soil profile.
Can I build a bridge over a dry creek bed?
Yes; ensure the bridge clear-spans the high-water mark. Use rip-rap stone to stabilize the banks and prevent scouring around the bridge supports during heavy rain events of 2 inches or more.
How do I fix yellowing leaves near the bridge?
Check the soil pH first. Concrete runoff can raise pH levels; causing Nitrogen or Iron chlorosis. Adjust the soil with elemental sulfur to return it to a slightly acidic 6.5 pH for optimal nutrient uptake.