6 Aeration Steps to Repot a Parlor Palm for Better Drainage
The smell of damp, oxygen-depleted peat signals the immediate need for intervention. When the turgor pressure in a Chamaedorea elegans begins to fail, the fronds lose their rigid structural integrity and take on a dull, matte appearance. This physiological decline often stems from a compacted rhizosphere where gas exchange has ceased. Mastering the steps for repotting a parlor palm requires more than a simple container change; it demands a surgical approach to substrate aeration and root health to prevent anaerobic decay. Proper execution ensures the plant maintains its osmotic balance and continues upward growth.
Materials:

The substrate is the foundation of the palm’s metabolic success. You must assemble a medium that maintains a **pH range between 5.5 and 6.5** to ensure optimal nutrient bioavailability. The ideal physical texture is a friable loam that resists compaction even after repeated hydration cycles.
- Substrate Components: Mix two parts peat moss or coconut coir, one part coarse perlite, and one part pine bark fines. This creates the macropores necessary for oxygen diffusion.
- Nutrient Profile: Incorporate a slow-release fertilizer with an NPK ratio of 3-1-2. Parlor palms require higher nitrogen for frond development but are sensitive to salt buildup.
- Container: Select a pot only 1 to 2 inches wider than the current root ball. Ensure it has at least three drainage holes.
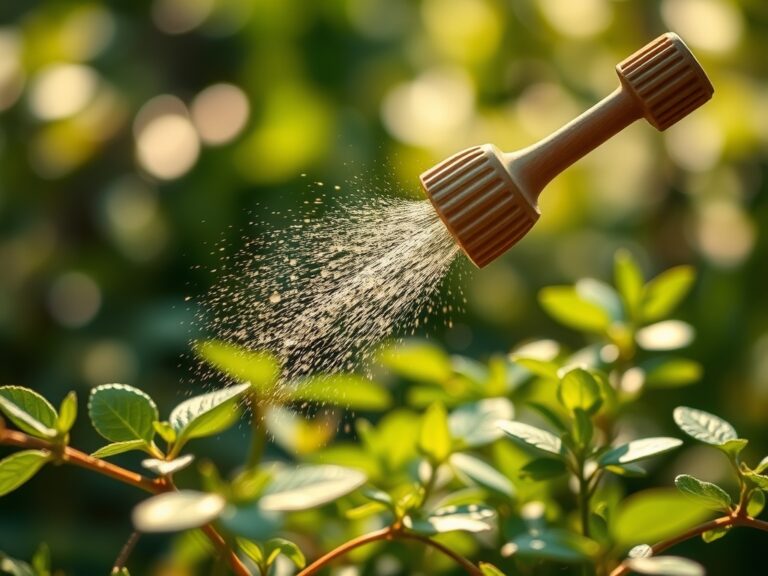
- Water Source: Use distilled or rainwater. This species is highly sensitive to fluoride and chlorine found in municipal tap water, which causes necrotic leaf tips.
Timing:
Parlor palms are native to the understory of Mexican and Guatemalan rainforests, corresponding to USDA Hardiness Zones 10 through 12. In temperate climates, the biological clock dictates that repotting must occur during the onset of the active growing season, typically between late March and early May.
This window aligns with the transition from semi-dormancy to the vegetative stage. During this period, the plant's metabolic rate increases, and auxin production at the apical meristems stimulates rapid root regeneration. Attempting a transplant during the winter senescence phase increases the risk of root rot, as the plant lacks the energy reserves to repair damaged tissue or utilize the moisture in a larger volume of soil.
Phases:
Sowing and Preparation
Before removing the palm from its current vessel, hydrate the root ball 24 hours in advance. This increases the elasticity of the roots and reduces the risk of mechanical fracturing during the transition. Sterilize a hori-hori knife with 70 percent isopropyl alcohol to prevent the introduction of pathogens into the vascular system.
Pro-Tip: Maintaining high root hydration before the move prevents "transplant shock" by ensuring the xylem remains fully pressurized. This facilitates the continuous flow of water to the upper canopy even while the root system is disturbed.
Transplanting for Aeration
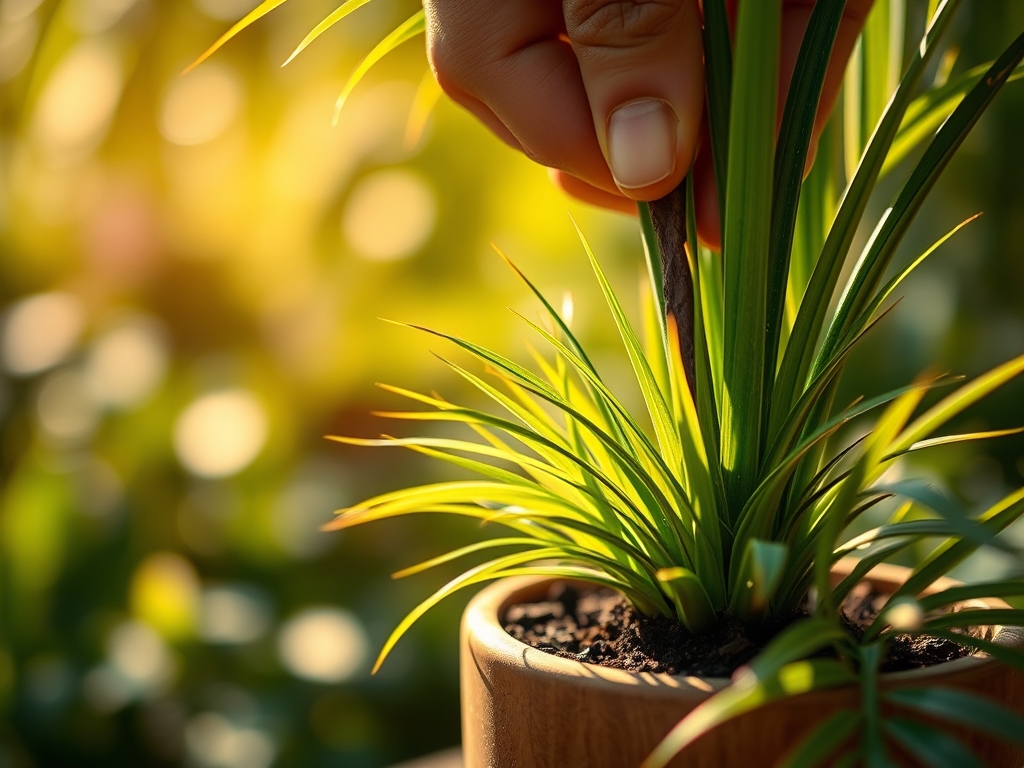
Gently invert the pot and slide the palm out. Do not pull by the stems; this can detach the delicate root hairs responsible for the majority of water uptake. Examine the root architecture. If the roots are circling the perimeter, use your fingers to tease them outward. This breaks the "memory" of the old container and encourages lateral expansion into the new medium.
Pro-Tip: Parlor palms benefit from a shallow planting depth. If the crown is buried too deep, it restricts gas exchange at the base of the stems, leading to basal rot. Always keep the root flare level with the soil surface to optimize atmospheric oxygen access for the upper rhizosphere.
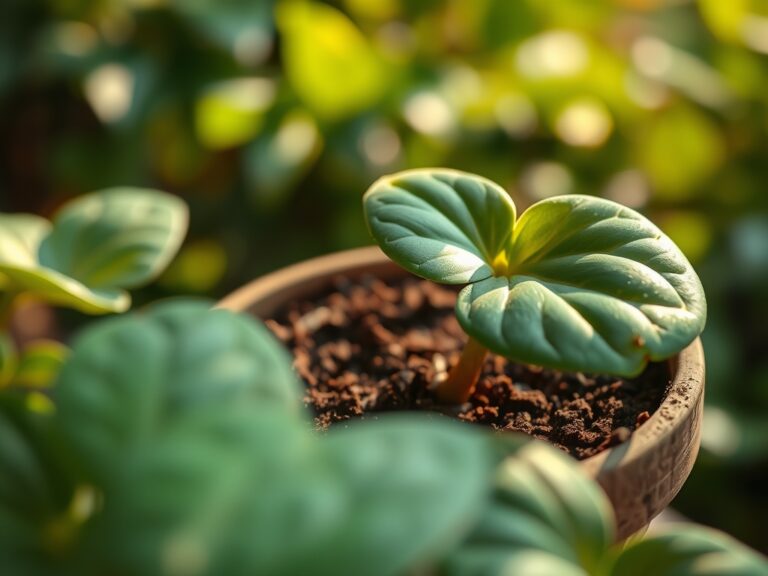
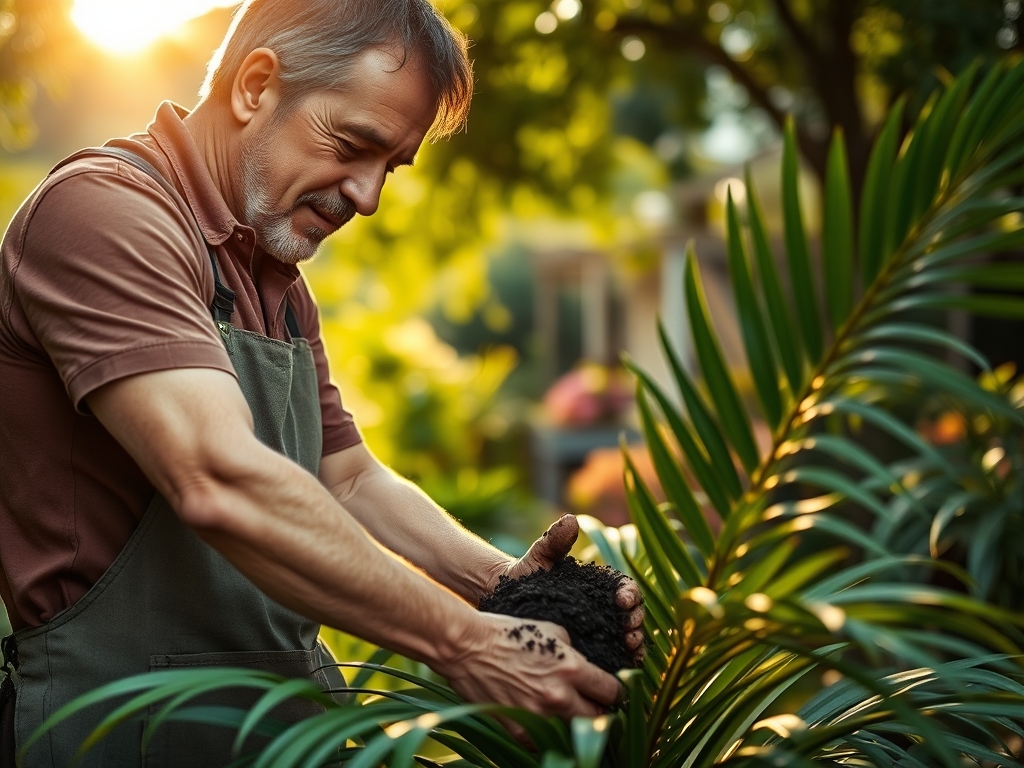
Establishing the Root Zone
Fill the bottom of the new container with enough substrate so that the plant sits at its previous depth. Settle the soil by tapping the sides of the pot rather than pressing down with your hands. Manual compression destroys the soil structure and reduces the Cation Exchange Capacity (CEC) by eliminating the air pockets where ions are exchanged between the soil and the roots.
Pro-Tip: Mycorrhizal fungi can be added to the new soil to enhance nutrient uptake. These fungi form a symbiotic relationship with the roots, effectively increasing the surface area for absorption and helping the plant resist soil-borne pathogens through competitive exclusion.
The Clinic:
Physiological disorders in parlor palms are often misdiagnosed as infectious diseases when they are actually symptoms of environmental stress or chemical imbalances.
- Symptom: Yellowing of lower fronds (Chlorosis).
- Solution: This typically indicates a Nitrogen deficiency. Apply a water-soluble fertilizer at half-strength to restore chlorophyll production.
- Symptom: Brown, crispy leaf tips.
- Solution: This is usually "tip burn" caused by fluoride toxicity or low humidity. Flush the soil with three volumes of distilled water to leach out accumulated salts.
- Symptom: Soft, blackened stem bases.
- Solution: This is a sign of anaerobic conditions. Reduce watering frequency and increase the perlite content in the soil to improve drainage.
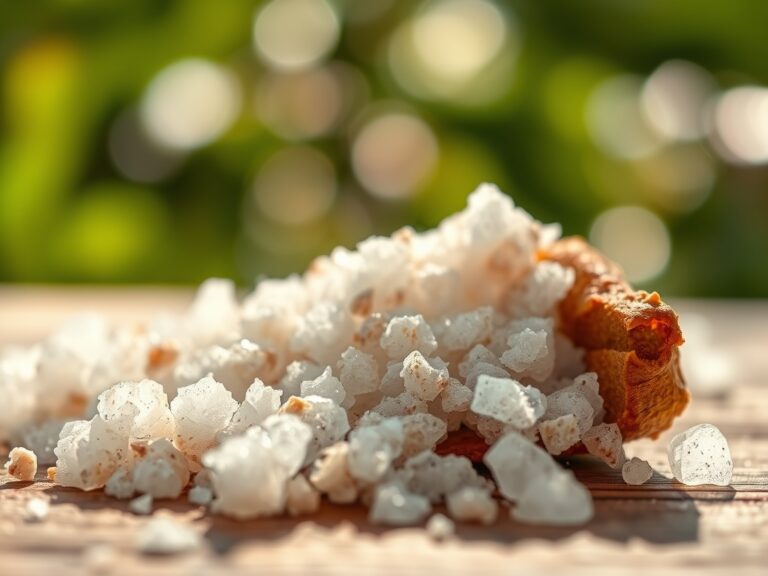
- Fix-It for Magnesium Deficiency: If new growth shows interveinal yellowing while the veins remain green, apply 1 teaspoon of Epsom salts per gallon of water once a month until the color corrects.
Maintenance:
Post-repotting care requires precision. Use a soil moisture meter to ensure the substrate remains at a consistent moisture level. The goal is to keep the soil "moist but not saturated." For a standard 10-inch pot, aim for approximately 0.75 to 1.0 liters of water every 7 to 10 days, depending on ambient humidity.
Place the palm in a location with indirect light; direct solar radiation will cause photo-bleaching of the leaves. Use bypass pruners to remove any dead or senescent fronds at the base. This redirects the plant's energy toward new growth rather than attempting to sustain failing tissue. Monitor the soil surface for a white crust, which indicates salt accumulation. If this occurs, perform a deep flush of the root zone immediately.
The Yield:
While the parlor palm is not an edible crop, its "yield" is measured in biomass and air filtration efficiency. To maximize the aesthetic and functional output, maintain a consistent photoperiod of 12 to 14 hours of bright, filtered light. If the plant becomes too tall for its space, do not prune the top; parlor palms grow from a single terminal bud. Removing the top will kill the main stem. Instead, focus on maintaining the health of the existing foliage to ensure a dense, lush canopy that can last for decades.
FAQ:
How often should I follow the steps for repotting a parlor palm?
Repot every 24 to 36 months. These palms grow slowly and prefer being slightly root-bound. Only increase the pot size when roots occupy more than 80 percent of the current container volume or emerge from drainage holes.
What is the best soil pH for a parlor palm?
The ideal pH is 5.5 to 6.5. Maintaining this slightly acidic range is critical for the solubility of micronutrients like iron and manganese. Use a peat-based mix with added perlite to ensure the proper chemical and physical balance.
Why are my parlor palm leaves turning brown?
Brown tips usually indicate fluoride toxicity from tap water or low humidity. Use distilled water and ensure the soil has high porosity. If the entire leaf turns brown and mushy, it indicates overwatering and potential root rot.
Can I use garden soil for repotting?
No. Garden soil is too dense and lacks the macropores needed for aeration. It often contains pathogens and weed seeds. Always use a sterile, soilless medium containing peat, pine bark, and perlite for indoor palms to prevent compaction.